
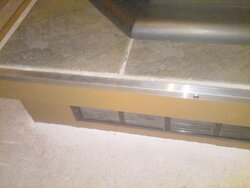
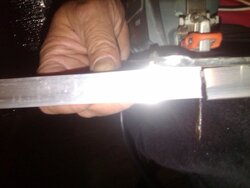
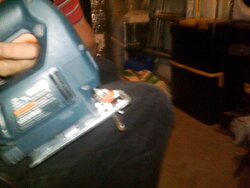
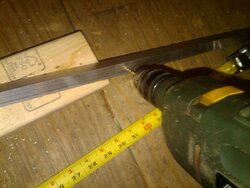
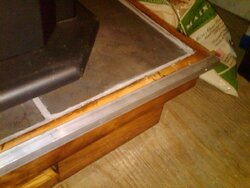
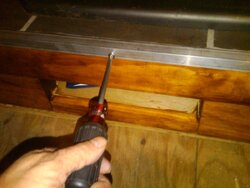
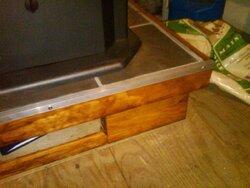
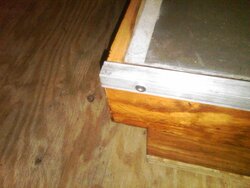
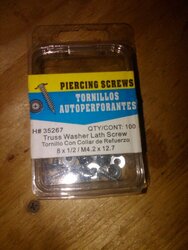
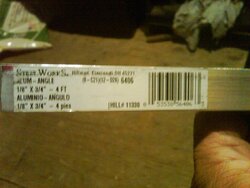
I was wondering of different ideas of how to make stove boards. I wonder if anyone has ever used like an aluminum diamond plate or welded up a custom metal plate...like 1/8" steel with support cross rails underneath. These would be heavy...maybe not good for all floors. Also, has anyone ever fabricated sheet metal over a plywood board? I know they sell the cheaper stove boards for $50, and I like them, but I think they dent up easy. I have my pellet stoves on stone tile boards which were made by a carpenter at a local hearth shop years ago. At the time they were made for about a third of the cost of a commercial tile hearth board. The trouble with tile boards is that the tiles scratch when you move the stove for cleaning, the wood trim gets disloged or discolored when cleaning up ash. Stove boards get thrown out in garbages with broken tiles. I think a flat plate under the stove with some sort of lip seems best as far as durability is concerned.
Different Stove Board Construction Ideas
- Thread starter Val
- Start date
-
Active since 1995, Hearth.com is THE place on the internet for free information and advice about wood stoves, pellet stoves and other energy saving equipment.
We strive to provide opinions, articles, discussions and history related to Hearth Products and in a more general sense, energy issues.
We promote the EFFICIENT, RESPONSIBLE, CLEAN and SAFE use of all fuels, whether renewable or fossil.
")

