
Hello
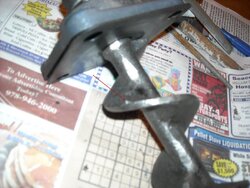
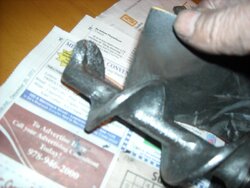
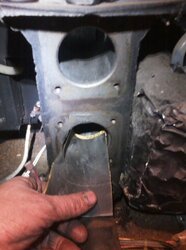
Working on a used 25-PDVC. I pulled the top auger and it basically looked good but just had a few pokey little burs on the auger see red arrow in first pic.
Has anyone looked closely at their augers lately? Do they need a little sprucing up?
Here are the steps I took to pimp up my auger for less resistance and longer auger motor life while trying to avoid the binding and jams.
In my experience, even the cheaper auger motors work pretty well after this treatment!
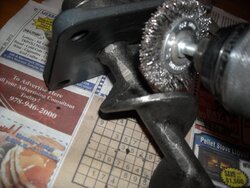
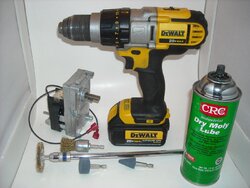
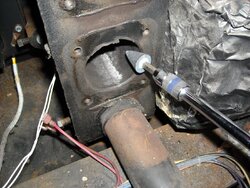
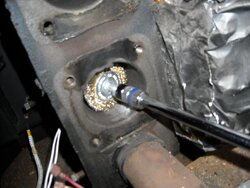
1. Remove all black carbon with a wire wheel
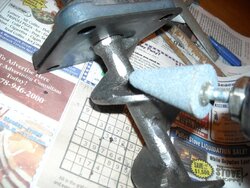
2. Ground down burs and jagged edges with arrow shaped grinding stone.
3. Smooth it all out with Emory cloth from Home Depot
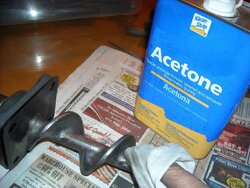
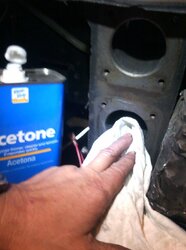
4. Clean up with a rag an Acetone from Home Depot
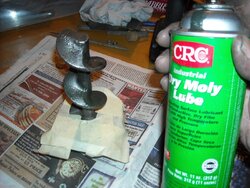
5. Mask up bottom gasket with masking tape and spray down shaft with Dry Moly Spray
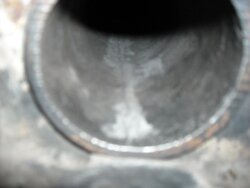
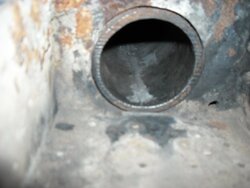
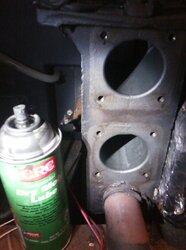
Also I will smooth and spray the auger tubes and grease the bearings!
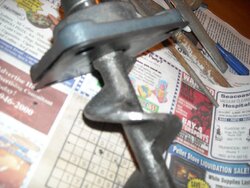
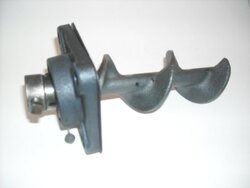
See final finished picture beauty shoot! The auger is real slick to the touch!
Working on a used 25-PDVC. I pulled the top auger and it basically looked good but just had a few pokey little burs on the auger see red arrow in first pic.
Has anyone looked closely at their augers lately? Do they need a little sprucing up?
Here are the steps I took to pimp up my auger for less resistance and longer auger motor life while trying to avoid the binding and jams.
In my experience, even the cheaper auger motors work pretty well after this treatment!
1. Remove all black carbon with a wire wheel
2. Ground down burs and jagged edges with arrow shaped grinding stone.
3. Smooth it all out with Emory cloth from Home Depot
4. Clean up with a rag an Acetone from Home Depot
5. Mask up bottom gasket with masking tape and spray down shaft with Dry Moly Spray
Also I will smooth and spray the auger tubes and grease the bearings!
See final finished picture beauty shoot! The auger is real slick to the touch!
Attachments
-
 EnglanderJucedUpAuger (2)scra.jpg170.8 KB · Views: 1,232
 -
 EnglanderJucedUpAuger (3)sc.jpg186.2 KB · Views: 1,191
 -
 EnglanderJucedUpAuger (4)sc.jpg238.3 KB · Views: 1,137
 -
 EnglanderJucedUpAuger (5)sc.jpg172.2 KB · Views: 1,064
 -
 EnglanderJucedUpAuger (6)sc.jpg140.8 KB · Views: 1,097
 -
 EnglanderJucedUpAuger (7)sc.jpg254.5 KB · Views: 1,124
 -
 EnglanderJucedUpAuger (9)sc.jpg243.5 KB · Views: 1,121
 -
 EnglanderJucedUpAuger (10)sc.jpg73.8 KB · Views: 1,189
 -
 EnglanderJucedUpAuger (11)sc.JPG62 KB · Views: 1,100

")
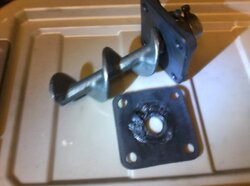

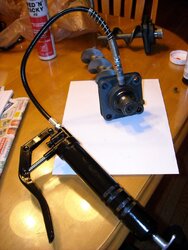
 . Bought at a local brick & mortar bearing supply company. It was a standard size that they had a lot of on hand, so they gave me a good price. Evidently you are not supposed to grease the bronze bushing because that can clog the porosity that would slowly feed oil to the surfaces over its lifetime.