Damper modification for liner

  • Active since 1995, Hearth.com is THE place on the internet for free information and advice about wood stoves, pellet stoves and other energy saving equipment.

    We strive to provide opinions, articles, discussions and history related to Hearth Products and in a more general sense, energy issues.

    We promote the EFFICIENT, RESPONSIBLE, CLEAN and SAFE use of all fuels, whether renewable or fossil.
Status
Not open for further replies.

Tom Wallace

Burning Hunk
Jan 20, 2013
204
Shoreline, WA
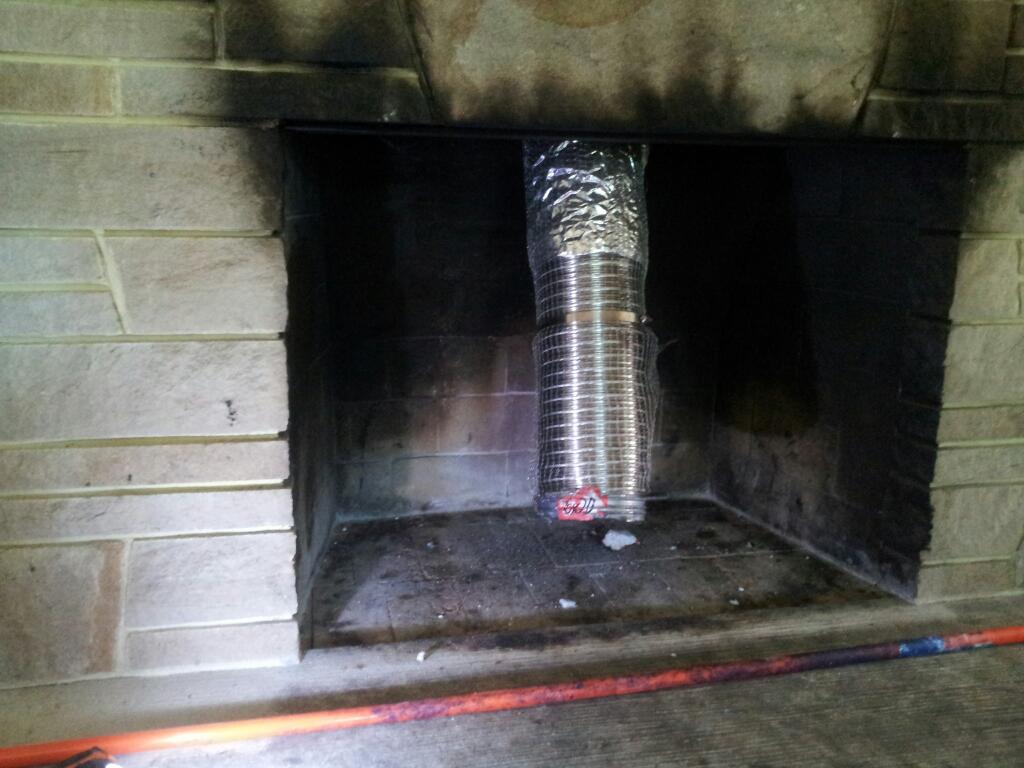
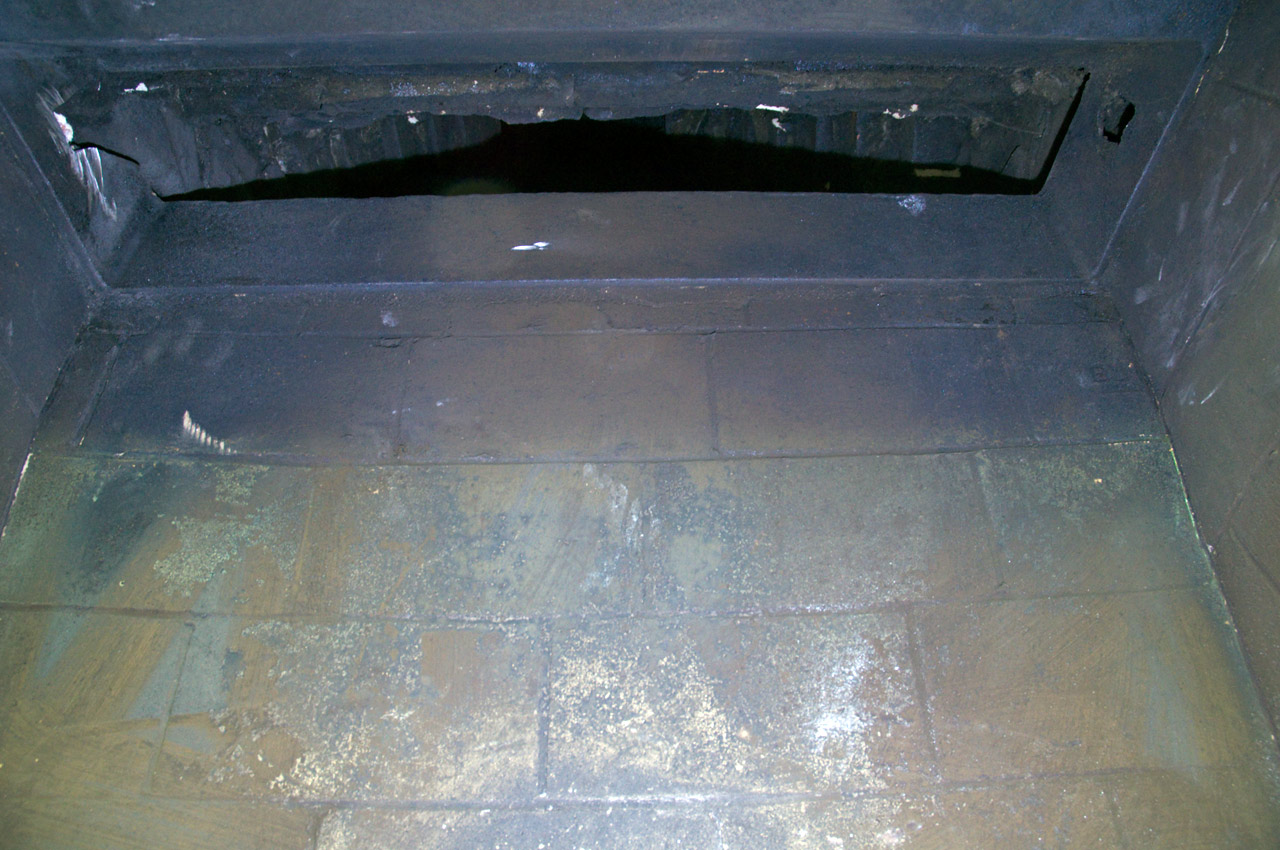
I got to work on my fireplace today in preparation for an insert to be installed soon. My existing damper was a horizontal slot which only opened maybe 3.5". I'll be running a 6" liner through here, so I need to remove the damper flap and then carve an opening in the iron frame immediately below the damper flap.

7iaJCR9.jpg


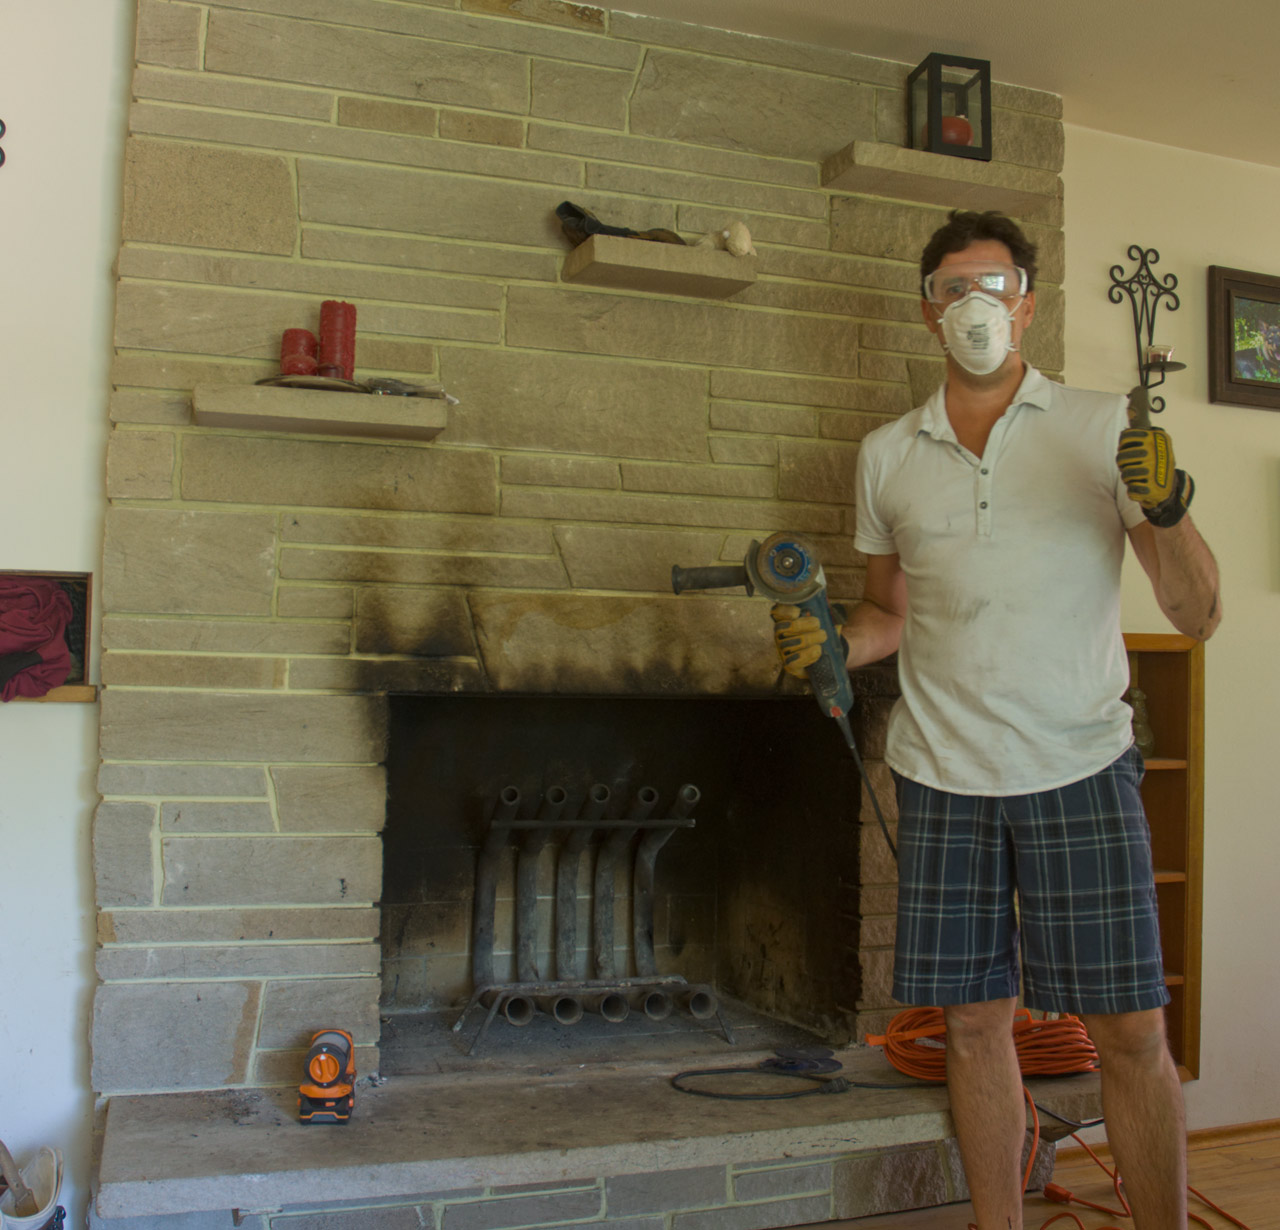
I used a 4.5" angle grinder for this which worked very well. It was a bit time consuming to cut through, but not terribly messy. The real mess came when carving through the masonry.
4oadPlZ.jpg


The damper flap did not come out easy. I'd read that in most fireplaces, there are pins to remove from the handle, which allow the flap to come right out. Not the case for me. Mine lifts up to allow for removal, however there were bricks above it which blocked it from coming out. So, I used the angle grinder to cut through the "axle" on the left side where it sticks into the wall. It was about 1" thick solid iron. Once that was cut through, the damper just fell right down.

ZhMEIr4.jpg


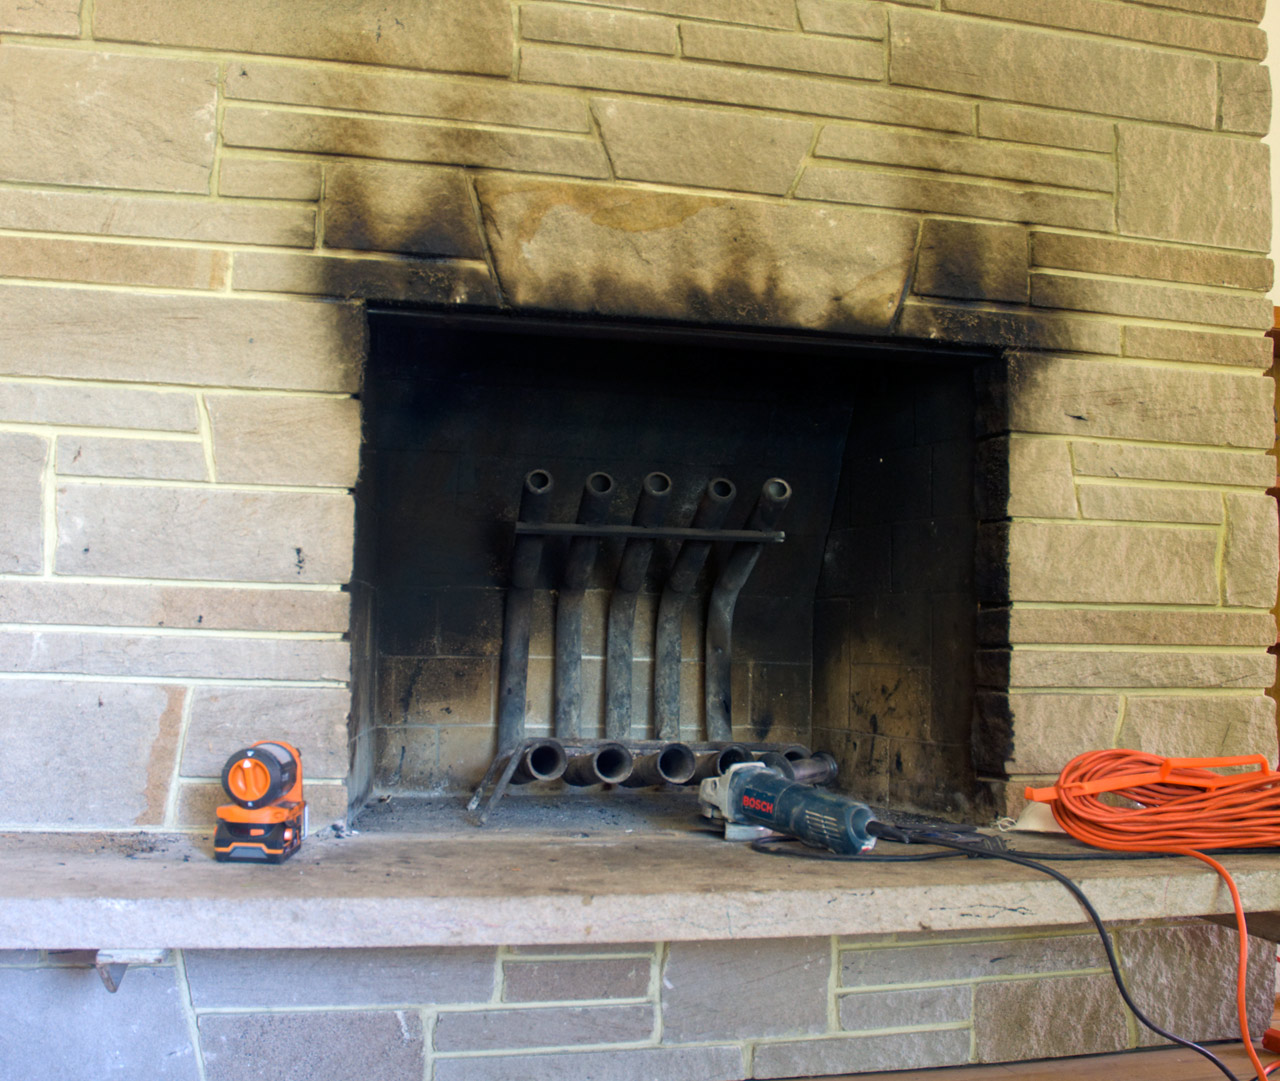
Here's a look at the metal frame below the damper.

vf4n4Fq.jpg


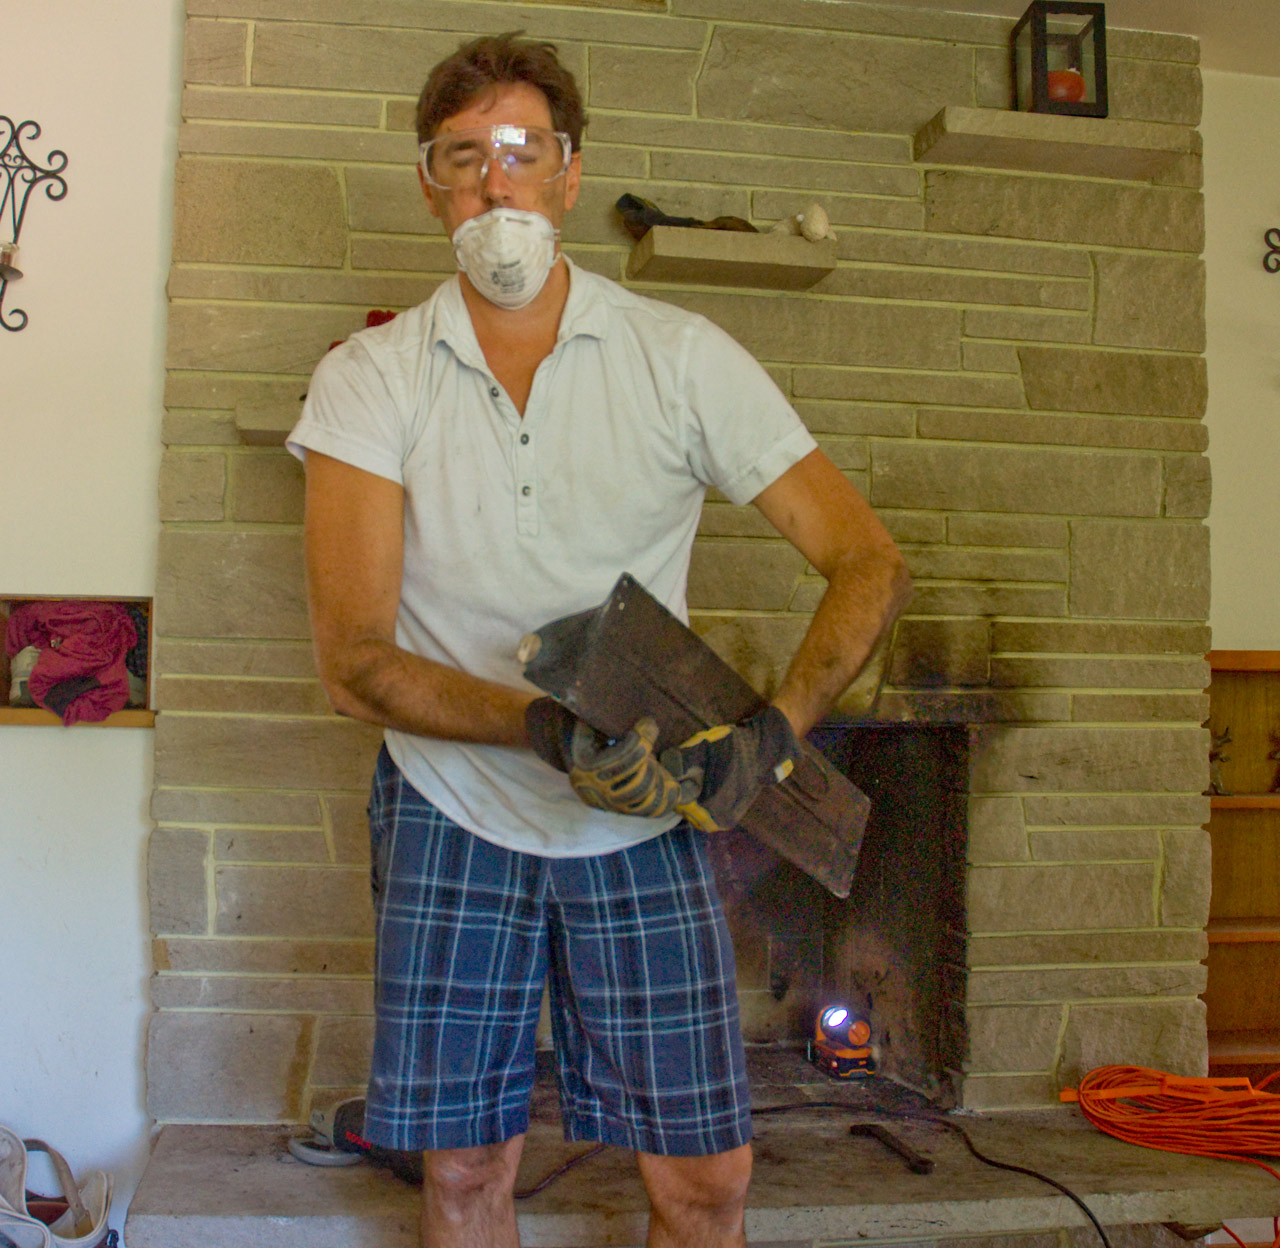
Here's the piece I had to cut out.

5W2PZ7u.jpg


This was the most time consuming part by far. The vertical piece I cut through has a 90 degree turn at the bottom where the iron sticks into the masonry. So I had to cut not just the left and right sides, but the bottom side as well. As soon as the grinder would poke through the iron, it would hit masonry, sending a cloud of dust everywhere. Messy, but was a good indicator that I had cut through the iron and could move on to another spot.

With the metal part out of the way, I found there were bricks directly behind it that would have to come out to make way for the liner. I dreaded cutting through this because I knew how messy it would be.

vIzAV49.jpg


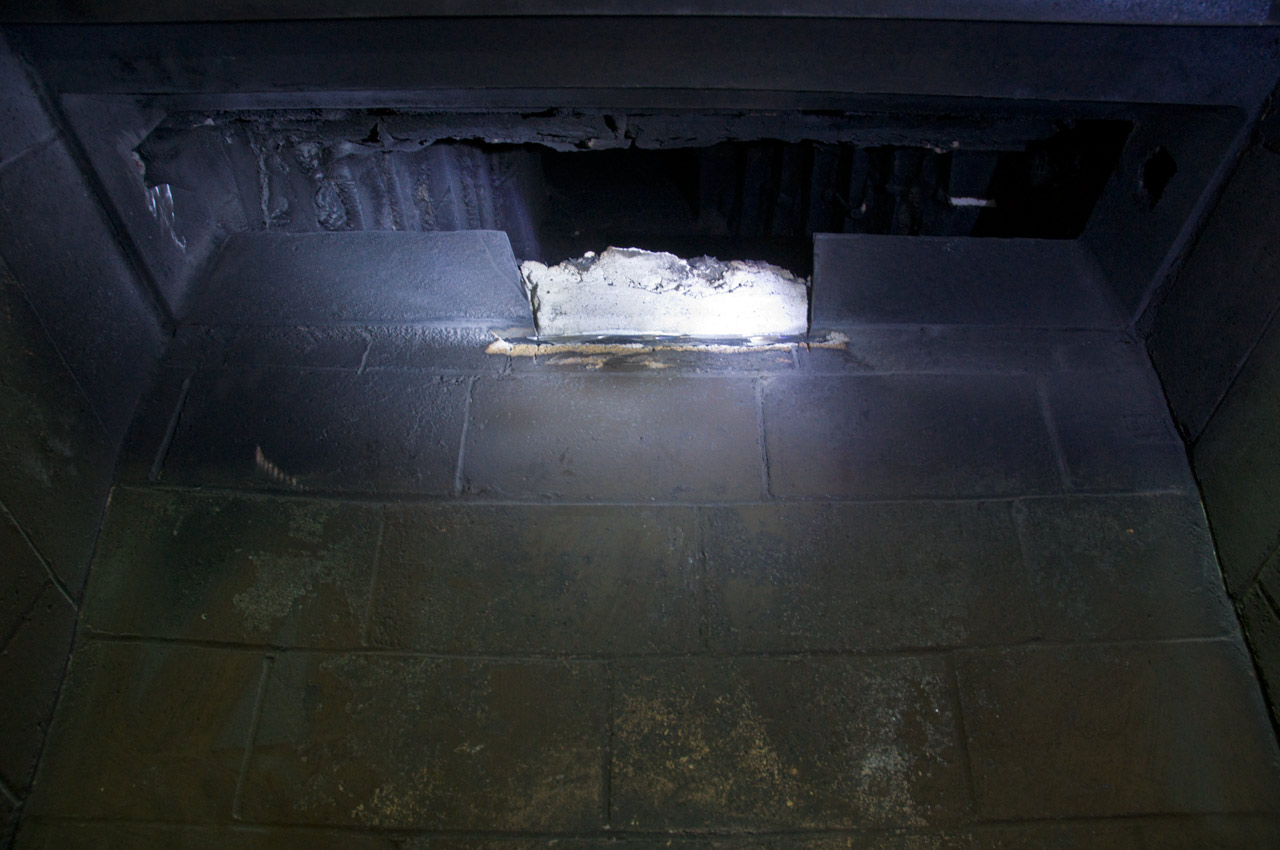
Fortunately I found that some of the masonry cement here was pretty weak and easy to break with just my hand. I decided to try to get the rest with a chisel and hammer. I'm so glad I tried that because it was so easy to pop them off and so much less messy than using an angle grinder on it.

UGsJhHW.jpg


I used my newly purchased shop vac to suck out all the debris above the damper. I had the chimney cleaned less than a month ago and have not burned anything since, but there was still a lot of ash up there. Guess my cleaner didn't vacuum very well.

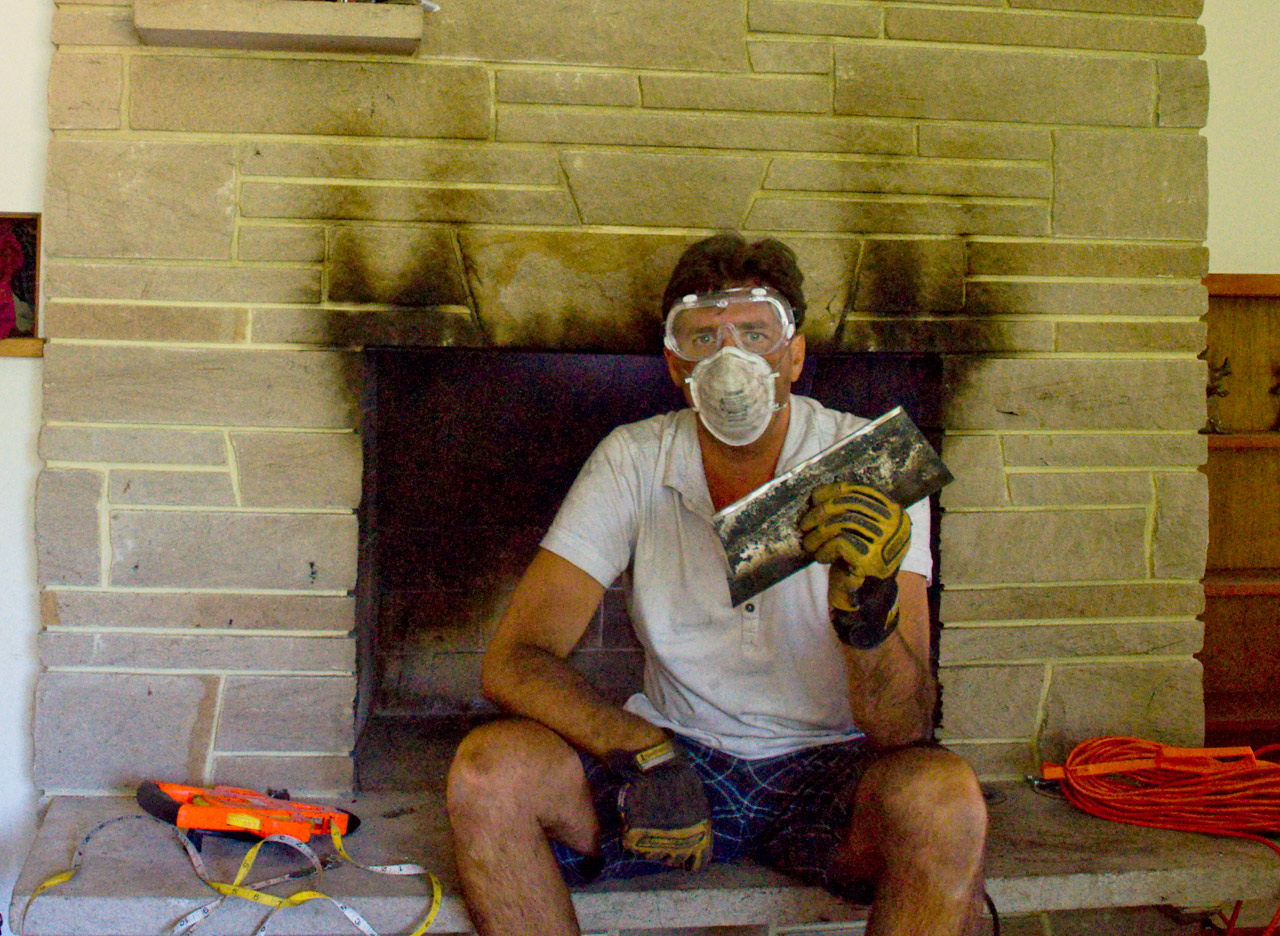
I got a little dirty in the process of this job.
FgkORad.jpg


Thanks to all the Hearth.com people who have answered my questions in the past regarding this job. I'm fairly handy, but was nervous about altering a fireplace.

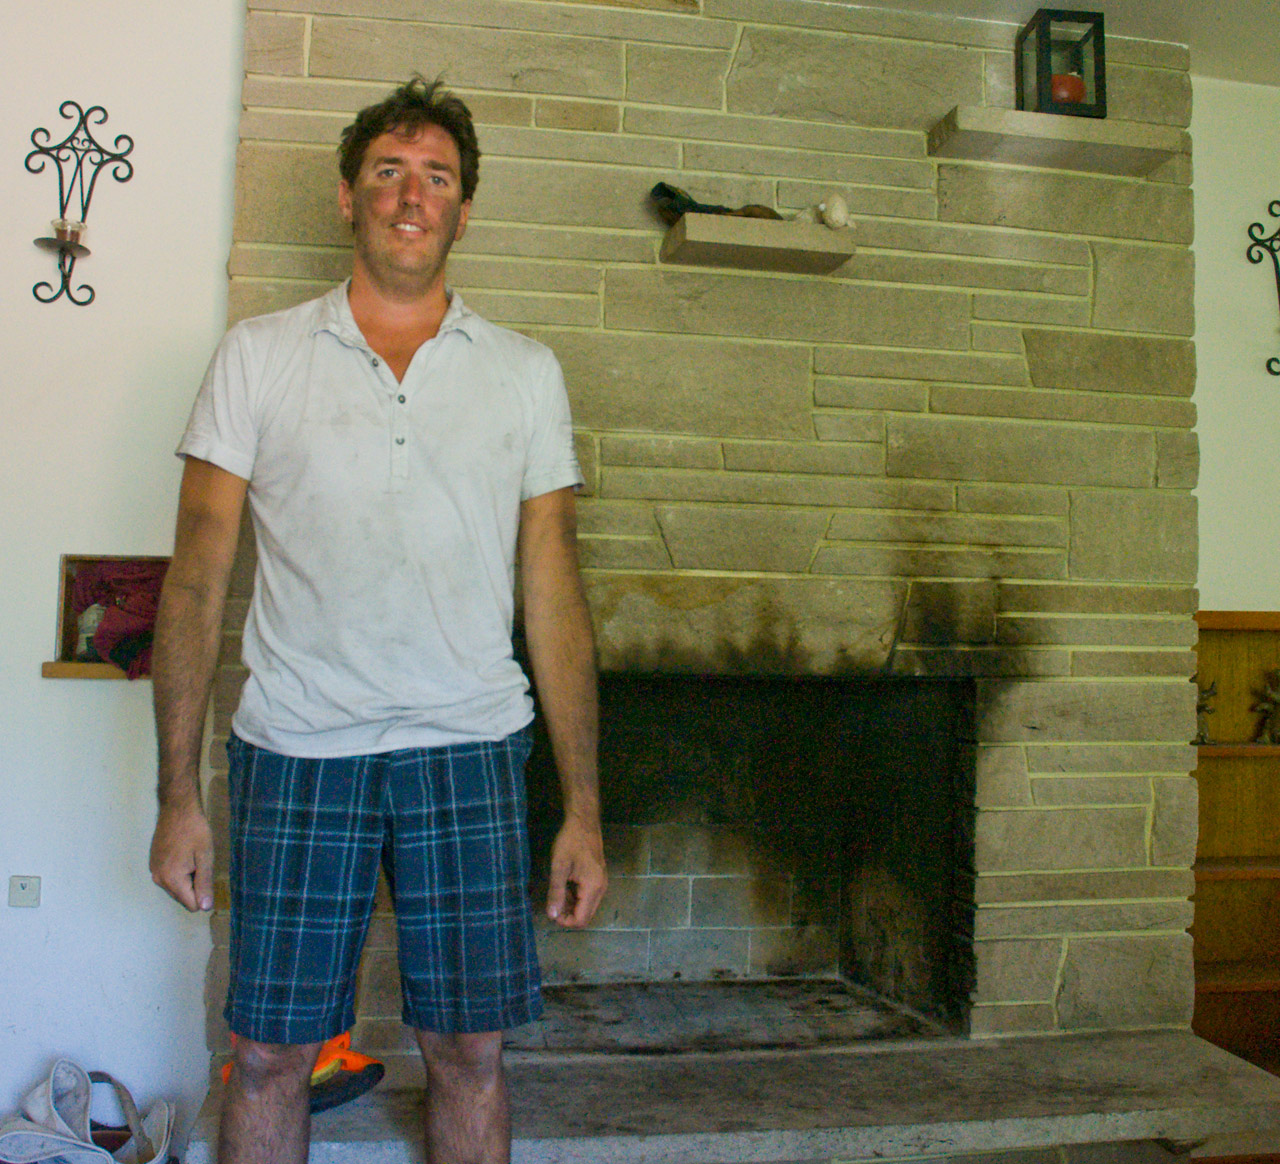
Now, anyone know a good, easy way to get rid of the smoke stains on the front of my hearth? The surround for the insert will cover some, but not nearly all of that.
 
Congrats, now take a shower!

Try TSP for the soot stains.
 
I hit the shower immediately after putting the tools away. Felt so good to get that grit off of me. Masonry debris in my hair was the worst part.

Last week I built these two firewood racks and loaded them up with a mix of madrone, cedar and douglas fir.

qwxS0nb.jpg


1.5 cords total. I'm not sure if I need to cover them. That area stays dry when it rains due to the trees above. As you can see, pretty much nothing grows in that area as a testament to its dryness. I tested the firewood with a moisture meter, it's all around 9%. I've never burned madrone before, but hear it's excellent wood. I actually have a madrone tree at my house coincidentally.
 
  • Like
Reactions: webby3650
People never believe me when I say how easy, spark free and clean it is to just do it with a hacksaw. ;lol
 
Madrone is primo firewood for us PNW folks. Over here east of the Cascades, we very rarely have an opportunity to snag any of it. Rick
 
I have about a cord of madrona that I would love to burn but it needs another year. Unless your madrone has been split and stacked for 2 years, stick to the fir and cedar. When you test for moisture test on a freshly split face, not the end grain. Your wood may be dry enough, but the unchecked endgrain makes me a little dubious. Or, it could just be the photo doesn't show it well.
 
I have about a cord of madrona that I would love to burn but it needs another year. Unless your madrone has been split and stacked for 2 years, stick to the fir and cedar. When you test for moisture test on a freshly split face, not the end grain. Your wood may be dry enough, but the unchecked endgrain makes me a little dubious. Or, it could just be the photo doesn't show it well.


Thanks begreen. I just split one log and tested it, 37%! 20% is the cutoff, correct? I was happy when I first tested the ends of the logs and it was consistently 9%. This will be my first winter with a wood stove, so I'm behind on my firewood. I know that in the future I'll need to have next winter's wood already split and stacked at least a year before I plan to burn it.

What do you mean by unchecked endgrain?

When it starts to dry out the ends split a little and you see cracks.
 
Thanks begreen. I just split one log and tested it, 37%! 20% is the cutoff, correct? I was happy when I first tested the ends of the logs and it was consistently 9%. This will be my first winter with a wood stove, so I'm behind on my firewood. I know that in the future I'll need to have next winter's wood already split and stacked at least a year before I plan to burn it.

20% is the goal, but perhaps not a hard cut-off. Either way, 37% ain't gonna burn! Save that for next year. Softwoods, stacked now in single rows, in the sun and wind... you'll get thru this winter okay. It can be very frustrating, trying to heat with poor wood, so don't let it put you off burning completely. Just keep telling yourself, "Next year will be better."
 
  • Like
Reactions: Woody Stover
Vinegar (mixed with warm water) also works for the soot stains.. try a test area first to ensure that you don't discolor the brick.. Not sure if the acidity of the vinegar would negatively impact the mortar or not, but when i used it, I cleaned up with a liberal soaking of warm water. I also think that pre-wetting the brick would reduce the amount of vinegar that is absorbed into the brick. Wet/Dry Vac helps with the cleanup afterwards..
 
Chimney Saver has a new product that's just for removing those stains. I saw it at the HPBA show in Orlando this Spring. It looked like it does really well!
http://chimneysaver.com/
 
The first one I did I started with a Sawzall. Like to have shook my teeth out. Grabbed the grinder and had images of a fireworks show. Grabbed the hacksaw and rip-zip done. I was surprised.

Stuck with the hacksaw for any cast iron including damper frames every since.
 
Thanks begreen. I just split one log and tested it, 37%! 20% is the cutoff, correct? I was happy when I first tested the ends of the logs and it was consistently 9%. This will be my first winter with a wood stove, so I'm behind on my firewood. I know that in the future I'll need to have next winter's wood already split and stacked at least a year before I plan to burn it.

What do you mean by unchecked endgrain?


Dry wood will show lots of cracks and fissures (checks) like this:wood_ends_0013_01_preview.jpg

Unseasoned wood will not have them, like this:wood-end-grain.jpg

Buy yourself at least a cord of "seasoned" fir and alder or maple now and get it stacked so that the prevailing winds (N/S) can blow through the stacks. It won't be fully seasoned, but it will burn a lot better than that 37% wood. Test the wood before they dump it off the truck by resplitting and on a fresh face of wood. If it is over 27%, reject the load.
 
I thought you guys were joking about using a hacksaw. I can see that it would be less mess, but it sure seems like it would take way longer. Especially in my case where I had to cut horizontally across the bottom. I don't even know how I would have got a hacksaw into that position to start it. In any case, I'm done and glad it's over.

Today I'm going to try to get the liner down into the chimney. I'm a little worried about the bend in the flue about halfway down. I didn't get a pull cone with the liner. I may drill two holes in the end and stick a rope through that to pull it from below, then cut that bottom section with the 2 holes off. My liner is 20' but my chimney is only just short of 15'. So I'm going to have cut a few feet off the liner anyway. I intentionally got the liner a bit too long because when I measured the chimney I was worried that with the turns the liner would have to make, it may put it a hair over 15' and then I'd come up short with a 15' liner.
 
Today I'm going to try to get the liner down into the chimney. I'm a little worried about the bend in the flue about halfway down. I didn't get a pull cone with the liner. I may drill two holes in the end and stick a rope through that to pull it from below, then cut that bottom section with the 2 holes off.


You can get a 2x8, cut it down to a circle (or at least close), put an eye bolt in the middle, fasten it to the end of your liner and pull a rope attached to the eye bolt. It's a little extra work but you won't cut your rope on the liner. As you said, after that you can cut off the last few inches as it would tend to get a little beat up. Good luck
 
Or just use the rope, or a length of tie wire works ok too. If you really need to pull HARD, none of these methods will works very well. If it's a very big offset in the flue, you might need a pull cone. But being only 15', you will be able to twist it through the bend easily I bet! Just give it a little corkscrew action as it goes down. ;)
 
  • Like
Reactions: Woody Stover
Or just use the rope, or a length of tie wire works ok too. If you really need to pull HARD, none of these methods will works very well. If it's a very big offset in the flue, you might need a pull cone. But being only 15', you will be able to twist it through the bend easily I bet! Just give it a little corkscrew action as it goes down. ;)


Well I got it down just fine, didn't need to use a rope or anything. It passed right through the bend without even catching. When it finally stopped going in, I thought I hit the bend, but it turns out it hit the bottom of the chimney, but missed the hole I carved in the damper. Took a couple of trips up and down the ladder, but I worked it through the damper gap by placing a broomstick behind it at the bottom to wedge it forward towards the hole, then shoving it down from above.

3mZDsuv.jpg


There's still probably 5' sticking out above the chimney, and obviously I'll have to cut at least a foot off the bottom as well. Just need to put the chimney cap on and create and install a block off plate, then I'm ready for an insert.

Thanks all for the help. I would never have considered tackling this job myself if it wasn't for the people on this forum. You saved me hundreds of dollars by not having to pay someone to do this.
 
Good work.
 
Thanks all for the help. I would never have considered tackling this job myself if it wasn't for the people on this forum. You saved me hundreds of dollars by not having to pay someone to do this.


... and... you know it's done right! If you want to see some horror stories, search for threads on my most recent two chimney liner installs.
 
Tom, what are those 5 tubes in the first picture that you show, thanks...
 
There's still probably 5' sticking out above the chimney, and obviously I'll have to cut at least a foot off the bottom as well.

Pull it back up. And then sit it back down in the flue collar before you cut anything. Last step is cutting the excess after you install the top plate.
 
  • Like
Reactions: webby3650
Status
Not open for further replies.