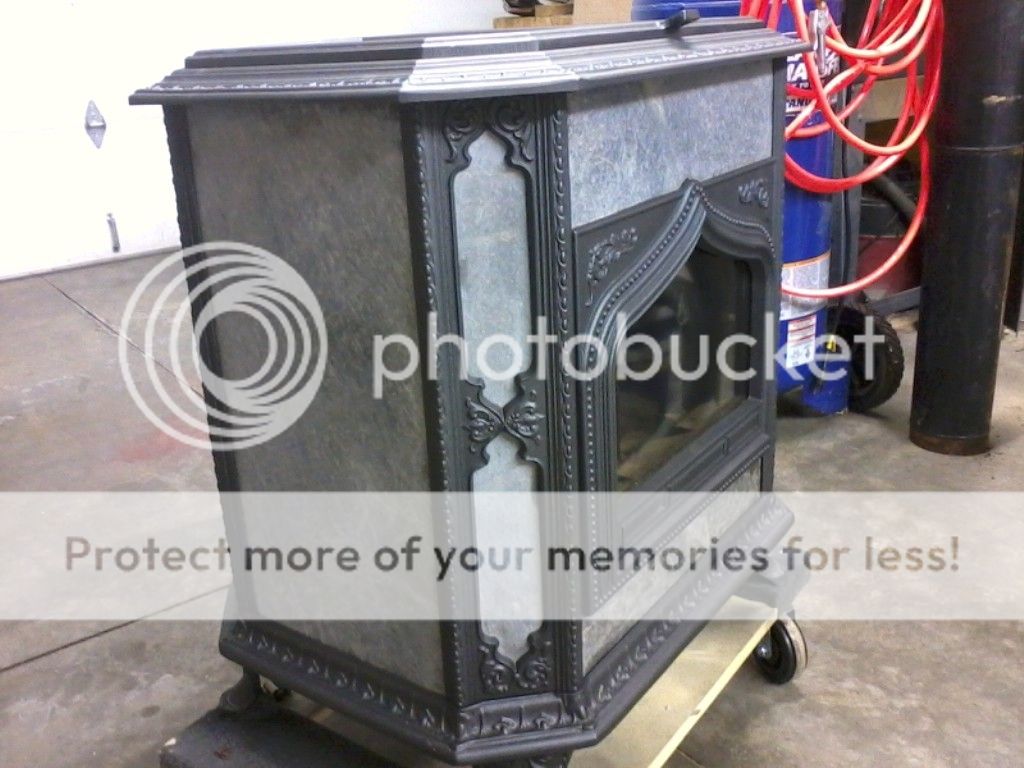
I've lurked on here awhile and appreciate the wealth of knowledge and info available here. I'm just beginning a basement remodel project that will include the addition of a woodstove. After a lot of back and forth, I decided to go with a Woodstock Fireview. I was able to find a used one on Craigslist at a decent price. One of the reasons I chose a Woodstock stove was the availability of reasonably priced replacement parts. Because of this, I wasn't too afraid to take a gamble on a used stove. I plan on documenting my progress here and hope to get additional ideas and encouragement here. And so it begins......
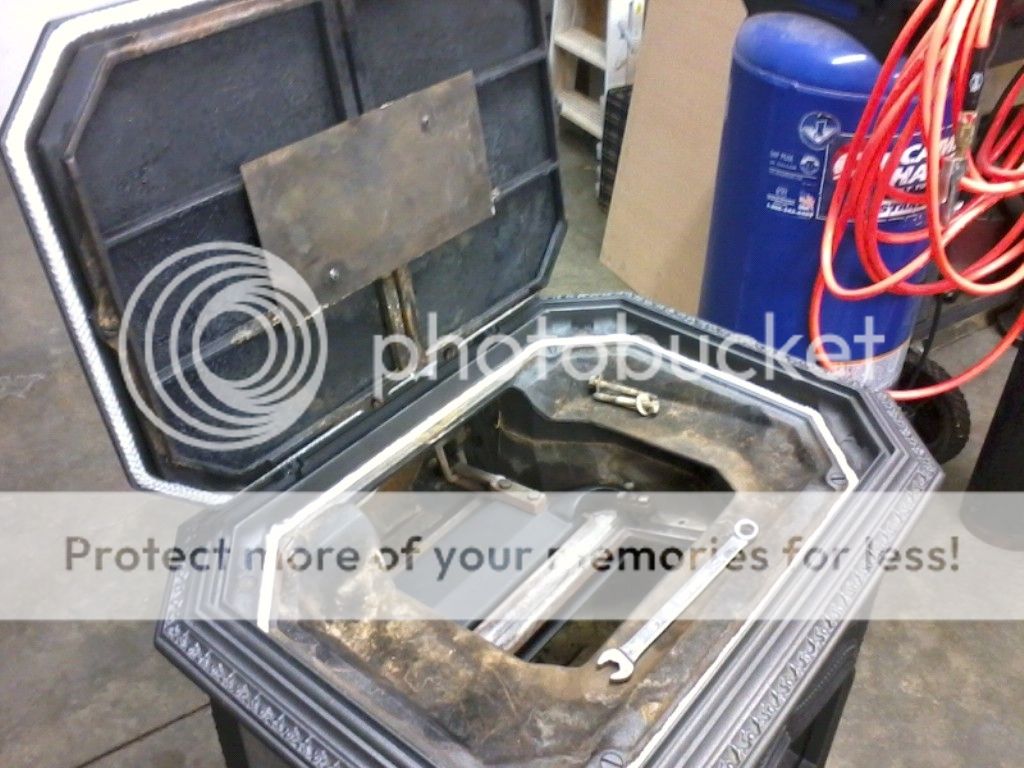
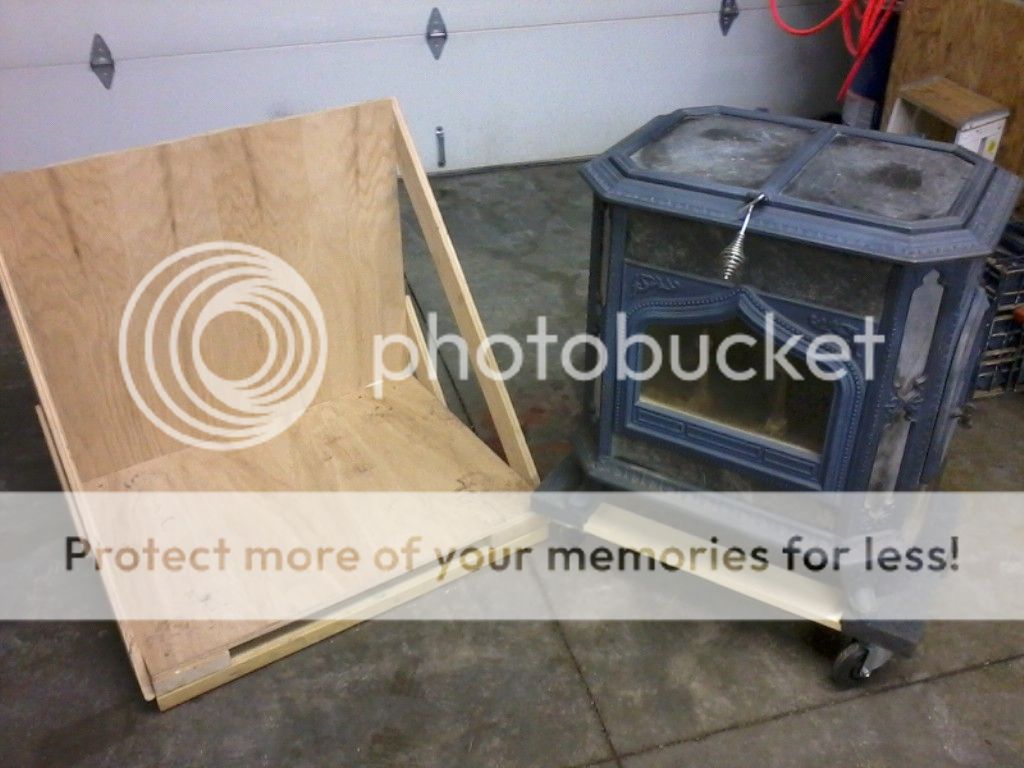
The first order of business after picking the stove up was to unload it from my pick-up. I tried to find an Escalera to rent to load and unload it but didn't have any luck so I built a "box" to put the stove in to help protect it during the loading, unloading and the drive (I traveled roughly 450 miles each way to pick up the stove). I don't know if I can actually call it a "box" since it is only a bottom and a back with a little bracing on the sides but.....
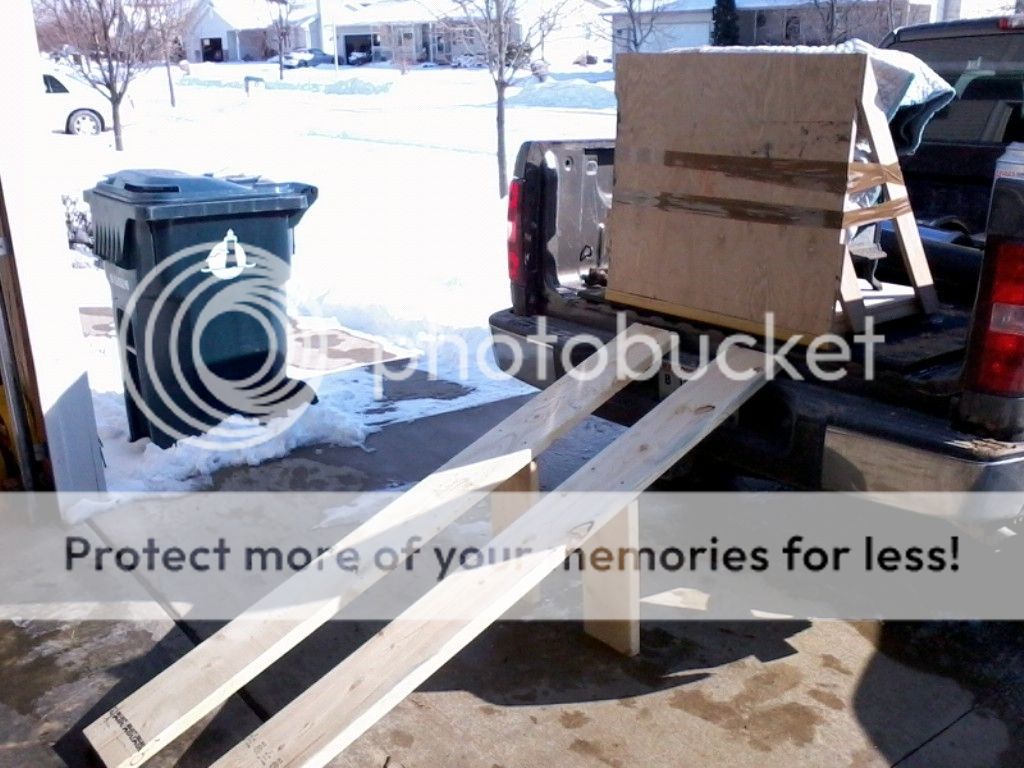
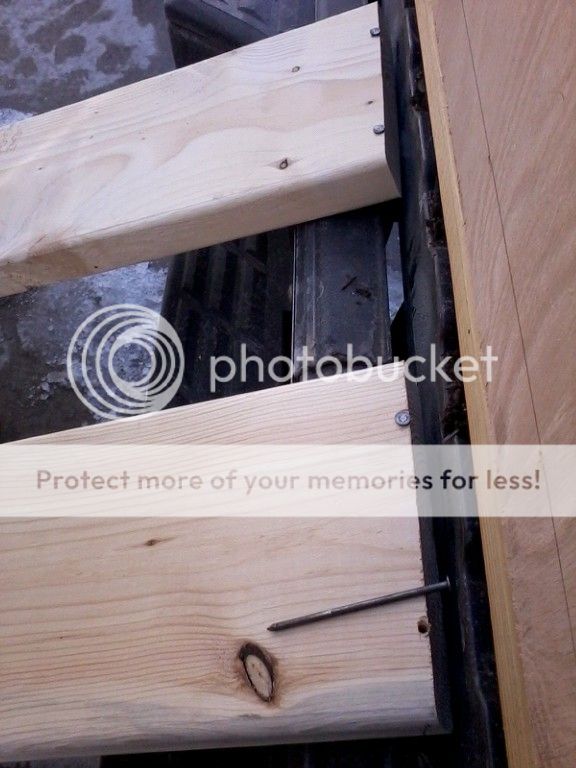
I used a couple of 2X8X8 for ramps. I cut about 16-18" off the length and use them to support the middle of the ramps. Where the ramps rested on the bumper, I drilled some holes and inserted some 16d nails in the gap between the bumper and bed to keep the ramps from sliding off.
Using this set up, I was able to unload the stove by myself.
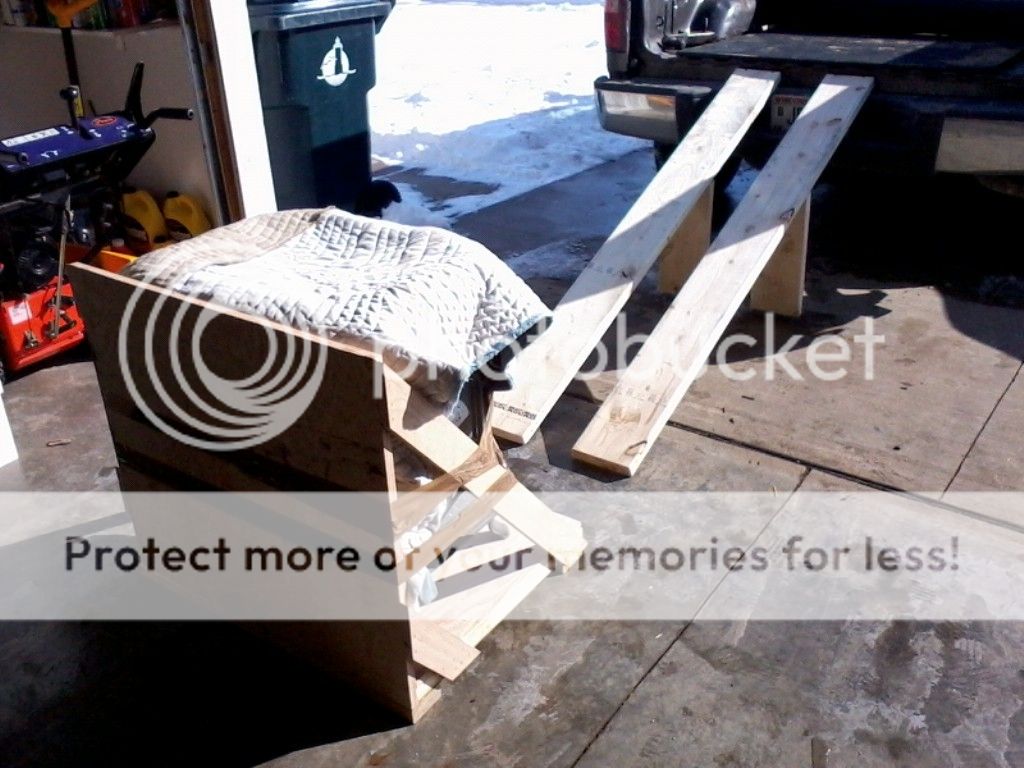
Once it was unloaded, I needed to get it up on a furniture dolly. I wasn't able to do this by myself so I enlisted a couple of neighbors to help. We got is slid off the box and onto the dolly with out any difficulty and the dolly was just the right size for the legs to sit on.
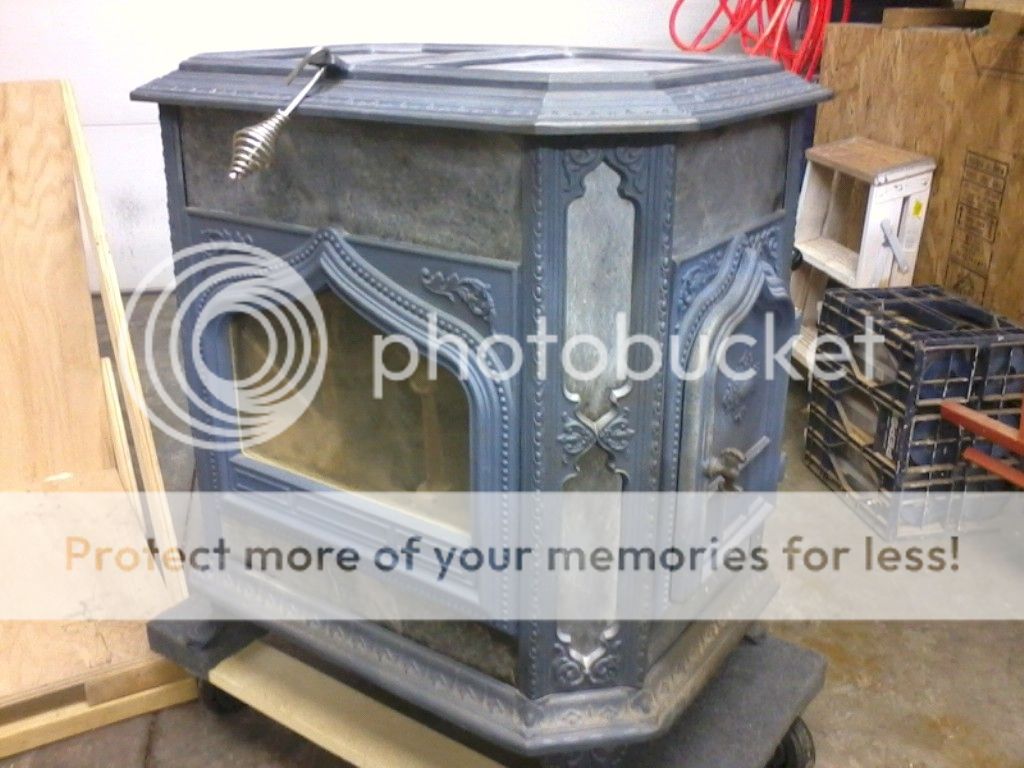
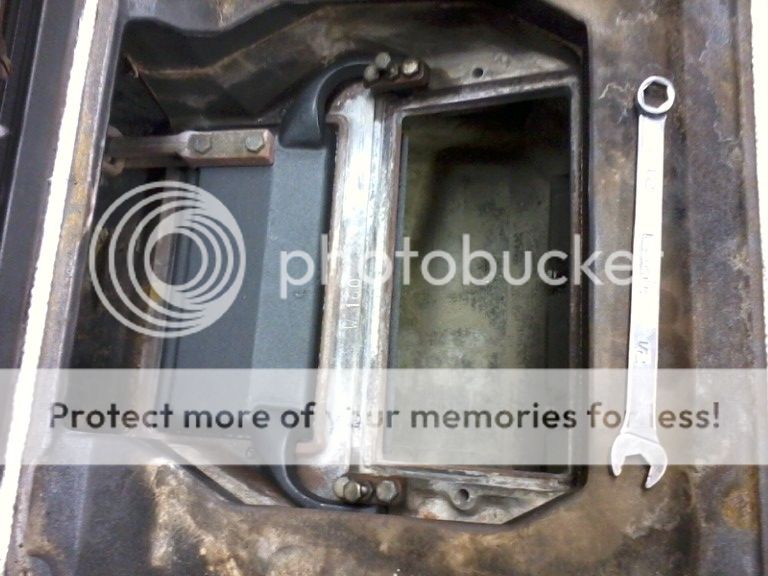
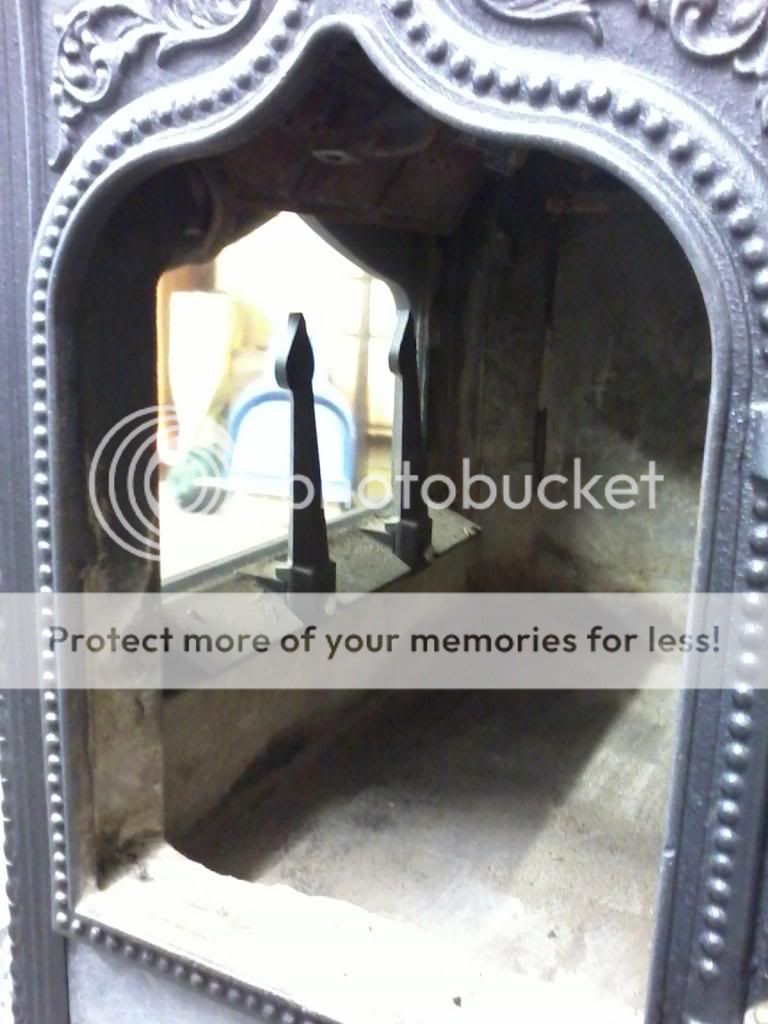
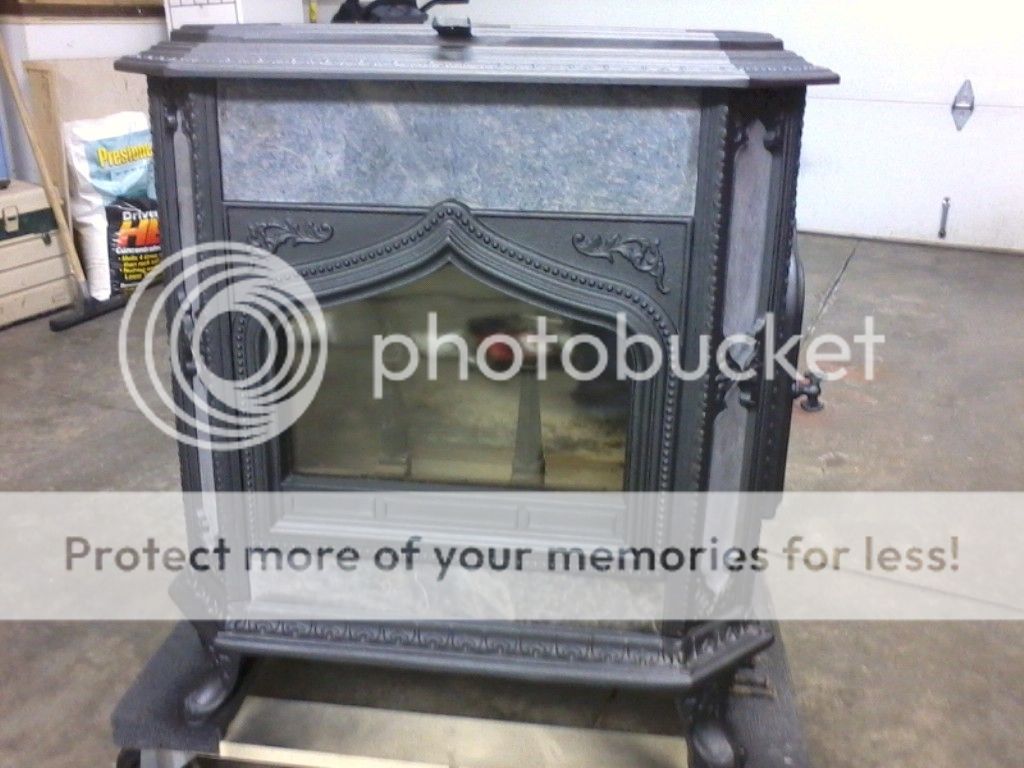
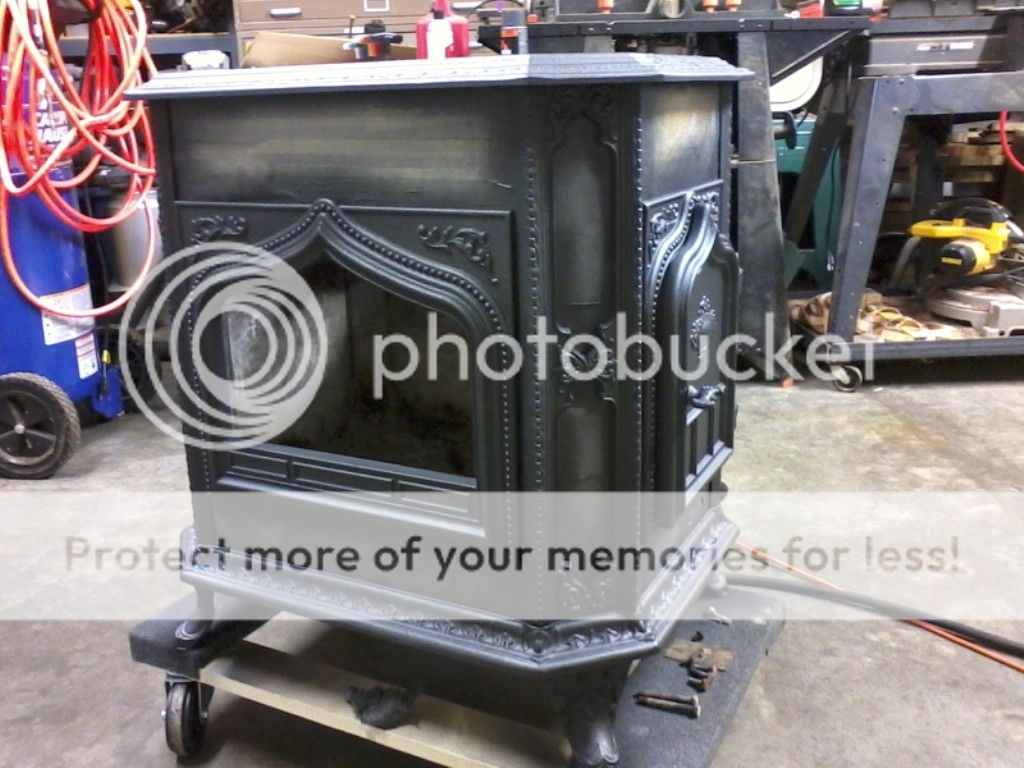
At this point, it was time to start the refurbishing. I disassembled some of the inside to replace the gaskets, catalyst, bypass door, scoop, andirons and one piece of the glass that I couldn't get clean. I also wanted to change the color from metallic blue to charcoal. I buffed out a lot of the scratches in the soapstone, wire brushed the surface rust off the cast iron and then masked it off to paint. I bought a couple of cans of charcoal colored stovepaint from Woodstock and painted the cast iron.
At this point, I have to wait on some parts to come in so I can begin to change the gaskets and put it all back together. This basement remodel project is going to take a few months so it will end up being April or May before I can get the stove moved to the basement and installed. I can see now that I'm going to get impatient. I will have a hard time waiting until next fall for my first fire.")
The first order of business after picking the stove up was to unload it from my pick-up. I tried to find an Escalera to rent to load and unload it but didn't have any luck so I built a "box" to put the stove in to help protect it during the loading, unloading and the drive (I traveled roughly 450 miles each way to pick up the stove). I don't know if I can actually call it a "box" since it is only a bottom and a back with a little bracing on the sides but.....
I used a couple of 2X8X8 for ramps. I cut about 16-18" off the length and use them to support the middle of the ramps. Where the ramps rested on the bumper, I drilled some holes and inserted some 16d nails in the gap between the bumper and bed to keep the ramps from sliding off.
Using this set up, I was able to unload the stove by myself.
Once it was unloaded, I needed to get it up on a furniture dolly. I wasn't able to do this by myself so I enlisted a couple of neighbors to help. We got is slid off the box and onto the dolly with out any difficulty and the dolly was just the right size for the legs to sit on.
At this point, it was time to start the refurbishing. I disassembled some of the inside to replace the gaskets, catalyst, bypass door, scoop, andirons and one piece of the glass that I couldn't get clean. I also wanted to change the color from metallic blue to charcoal. I buffed out a lot of the scratches in the soapstone, wire brushed the surface rust off the cast iron and then masked it off to paint. I bought a couple of cans of charcoal colored stovepaint from Woodstock and painted the cast iron.
At this point, I have to wait on some parts to come in so I can begin to change the gaskets and put it all back together. This basement remodel project is going to take a few months so it will end up being April or May before I can get the stove moved to the basement and installed. I can see now that I'm going to get impatient. I will have a hard time waiting until next fall for my first fire.

")
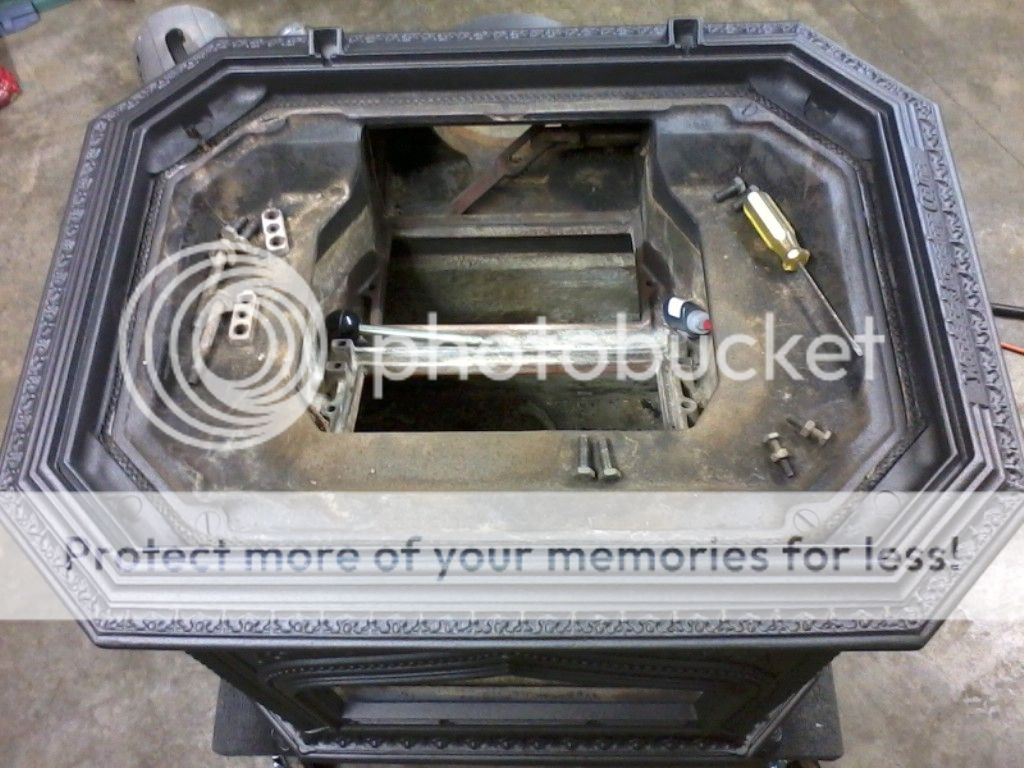
 . So, when I went to work on the stove, I found water sitting on the top and some rust on the newly painted surfaces. Soooooooo, I started by cleaning up some of the areas that I had already worked on. After that was ready to go, I installed the bypass door and replaced the gaskets.