
So this is an edited version of my blog. You'll see why if you visit the original here.
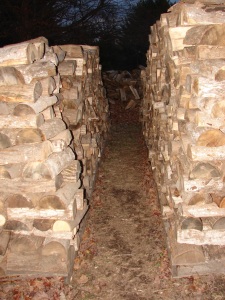
Got your wood ready? We do! I stacked two more rows today.
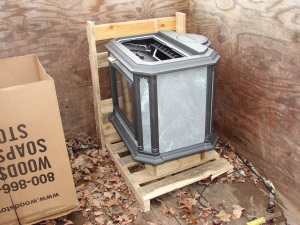
Uncrated and unboxed… my first peek at this charming young stove.
The 749 pound stove was in my trailer. One lone man showed up to install it. No special tools to move it. So how did two of us get that behemoth into the house?
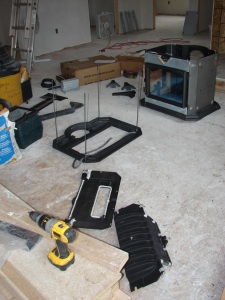
In pieces, that’s how. We took it apart piece by gorgeous piece, carefully setting all of them inside the house. Then we screwed two 2×12′s into the trailer bed to make a ramp up to the house. After a bit of make-do strengthening of the make-do ramp, we heaved the main body up into the house a few inches at a time. When we finally made it to the top, we were both sweating and leaning on the wall to catch our breath. That’s one heavy stove!

Putting it back together.
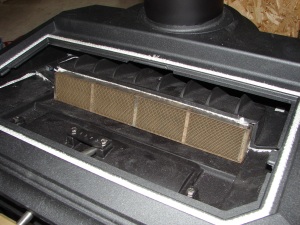
Catalyst in place.
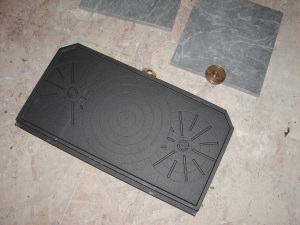
Cast iron cooktop. It sits underneath a layer of soapstone that props up to act as a back splash during cooking. It’s so pretty… will I have the heart to cook on it?
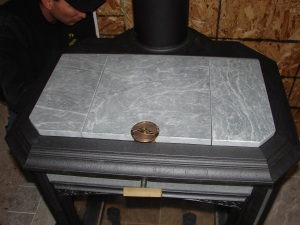
The cooktop with soap stone in place.
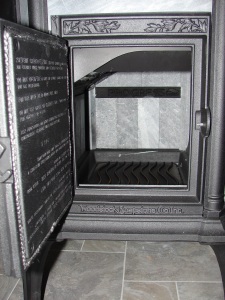
Even the inside is pretty! This is before he got the floor in.
Floor in and door on.

Bottom heat shield is on.
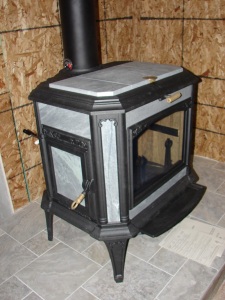
Done!
I wasn’t able to take a picture of the shiny new cap on the chimney, nor was I able to get one of the finished piping inside. Thanks to the time change, it now gets dark at 5pm here. Rawr. And I won’t have any lights or electrical outlets in the house until after next week.
I hope you enjoyed looking at pictures of my undressed Progress Hybrid wood stove by Woodstock. It’s a hot little number that is really difficult to find pictures of online. Which is sad because all the little cast iron details and the marbled soap stone are mesmerizing. More pictures to come once I light this lady up for the first time. Maybe even a video if I’m feeling generous…
----------------------------
And for anyone who is curious about the hearth build, I have a few pictures of how I built it here. This is after I royally screwed up with my first try at building a hearth. I fixed all of the issues, and the new hearth is sturdy and has a beauty to match the stove that sits on it. Yeah, I know. I still have to do something to the walls behind the stove. I'll get to that eventually. I have proper clearances and heat shielding, so it's not at the top of my priorities right now.")

Got your wood ready? We do! I stacked two more rows today.

Uncrated and unboxed… my first peek at this charming young stove.
The 749 pound stove was in my trailer. One lone man showed up to install it. No special tools to move it. So how did two of us get that behemoth into the house?

In pieces, that’s how. We took it apart piece by gorgeous piece, carefully setting all of them inside the house. Then we screwed two 2×12′s into the trailer bed to make a ramp up to the house. After a bit of make-do strengthening of the make-do ramp, we heaved the main body up into the house a few inches at a time. When we finally made it to the top, we were both sweating and leaning on the wall to catch our breath. That’s one heavy stove!

Putting it back together.

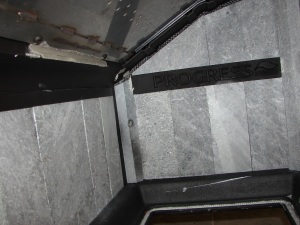
Catalyst in place.

Cast iron cooktop. It sits underneath a layer of soapstone that props up to act as a back splash during cooking. It’s so pretty… will I have the heart to cook on it?

The cooktop with soap stone in place.

Even the inside is pretty! This is before he got the floor in.

Floor in and door on.
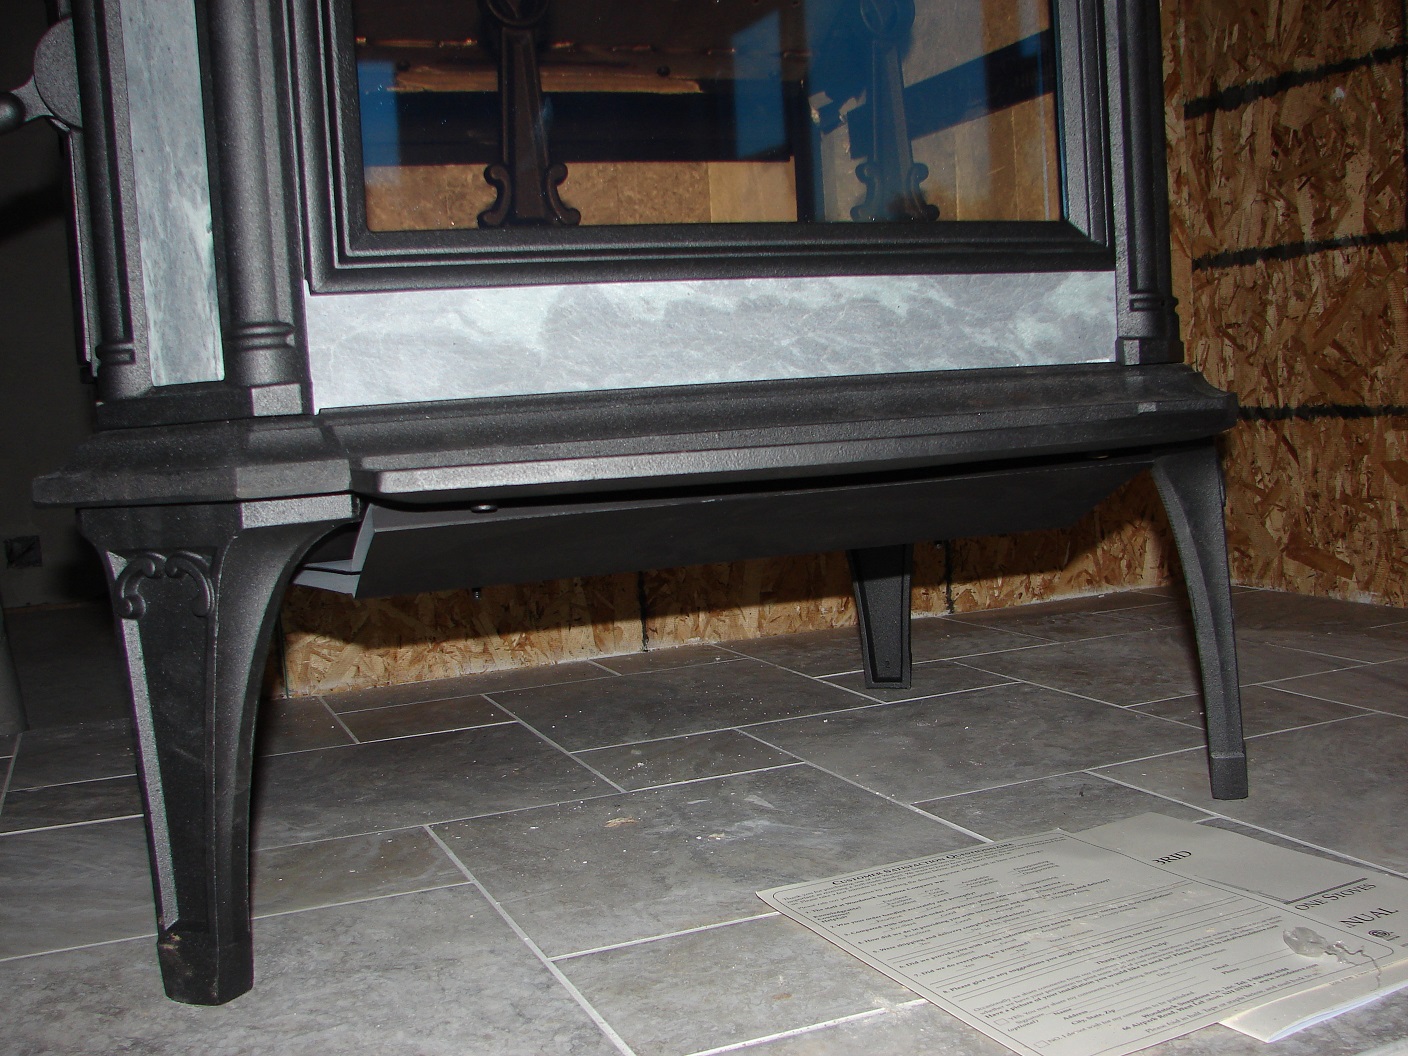
Bottom heat shield is on.

Done!
I wasn’t able to take a picture of the shiny new cap on the chimney, nor was I able to get one of the finished piping inside. Thanks to the time change, it now gets dark at 5pm here. Rawr. And I won’t have any lights or electrical outlets in the house until after next week.
I hope you enjoyed looking at pictures of my undressed Progress Hybrid wood stove by Woodstock. It’s a hot little number that is really difficult to find pictures of online. Which is sad because all the little cast iron details and the marbled soap stone are mesmerizing. More pictures to come once I light this lady up for the first time. Maybe even a video if I’m feeling generous…
----------------------------
And for anyone who is curious about the hearth build, I have a few pictures of how I built it here. This is after I royally screwed up with my first try at building a hearth. I fixed all of the issues, and the new hearth is sturdy and has a beauty to match the stove that sits on it. Yeah, I know. I still have to do something to the walls behind the stove. I'll get to that eventually. I have proper clearances and heat shielding, so it's not at the top of my priorities right now.
