1985 Hearthstone II

  • Active since 1995, Hearth.com is THE place on the internet for free information and advice about wood stoves, pellet stoves and other energy saving equipment.

    We strive to provide opinions, articles, discussions and history related to Hearth Products and in a more general sense, energy issues.

    We promote the EFFICIENT, RESPONSIBLE, CLEAN and SAFE use of all fuels, whether renewable or fossil.
Status
Not open for further replies.

Kevlar_vw

Member
Apr 5, 2015
45
Vermont
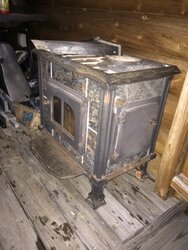
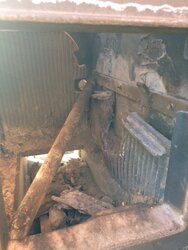
I Recently picked up another Hearthstone II ala cheap. It is a 1985 model year, and the ultra rare right hand door model (only about 30% were RHD). The stone was beautiful; but of course, all were cracked. It will get a whole new set of stone. The inside was completely burnt up, so everything inside will be replaced as well.

The day I took it home:
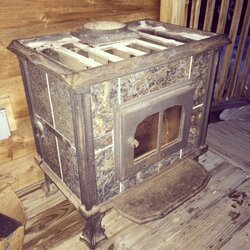
IMG_0899.JPG
IMG_0897.JPG

Inside was bad:
IMG_0904.JPG

It has a coal grate shaker, which I am going to remove. There is no use for it, so its gone...
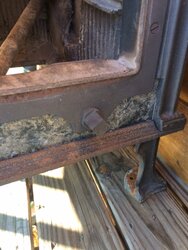
IMG_0905.JPG

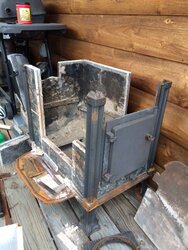
5/3 - I grabbed some Sam Adams Boston lager, and started the tear down.
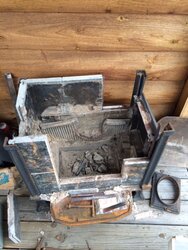
IMG_0938.JPG

IMG_0939.JPG

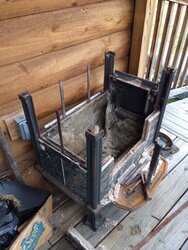
IMG_0940.JPG
As it sits now. Next step is sandblasting/painting the cast. Then to cut new stones.
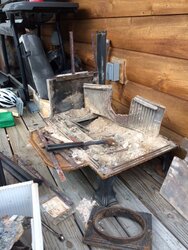
IMG_0943.JPG

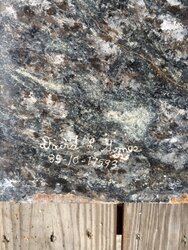
Thought this was kinda cool, I was only a few weeks old was this stove was first built. October-1985. Original builder signed, I'll sign my name, once its done.
IMG_0942.JPG

I'll try and keep this thread updated, as I progress. You can also follow my builds on instagram @Kevlar_vw. Thanks for reading...
 
Last edited by a moderator:
Able to incorporate the original builder's signature in the rebuild or save it to place nearby? Good luck with the rebuild.
 
I usually cut the excess stone around the signature, and bevel the edges. I give it to the new owner, along with a new owners manual.

BTW, this stove is for sale when it's done. [emoji3]
 
Last edited:
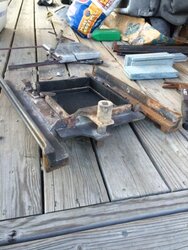
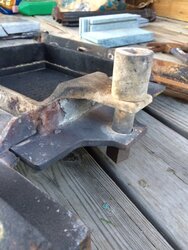
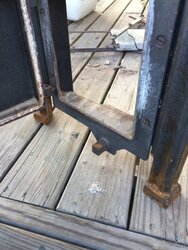
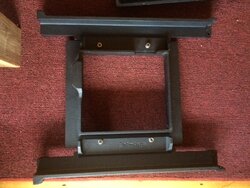
5/13 - I finished tearing down the stove, and now I can focus on the stove bottom. I am fitting this stove with an ash pan "retrofit" upgrade, and getting rid of the old cam lock set up. That means I will no longer need the hinges on the bottom...
IMG_0958.JPG
so, there gone...
IMG_0959.JPG

No one will ever know they were there. I could have left them, but I wanted it to look sleek. Its all in the details.

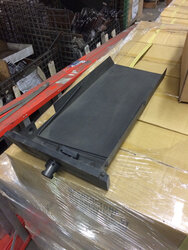
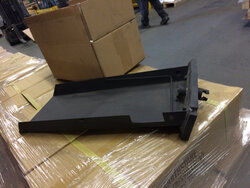
I put it through the blaster, gave it a few coats of paint, and there it sits. You can have any color you want, as long as its black...
IMG_0961.JPG IMG_0962.JPG

Thats where I stand now. I have a few stones cut, not worthy of pictures though. Once I get the stone set done, I'll snap a few pics....
 
Last edited by a moderator:
  • Like
Reactions: dafattkidd
Definitely a labor of love. I do make a little money on these, but the real motivation is the happy home owner when they install a 30 year old stove that I restore.
 
  • Like
Reactions: Heatsource
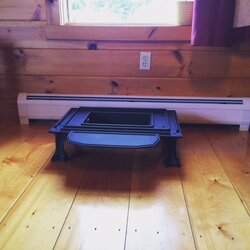
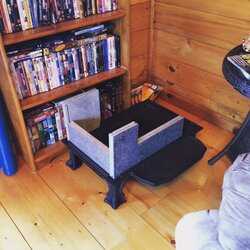
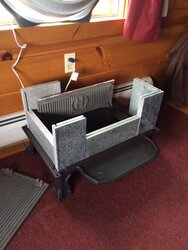
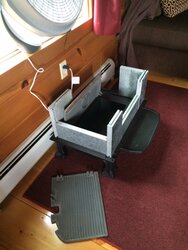
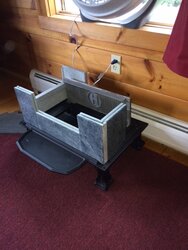
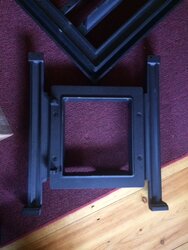
6/24 - so, I assembled the bottom of the stove last night before my hockey game. I put it in my living room because its rained for like 7 days straight, and cast iron and moisture don't mix. It looked so good, I decided to dry fit a few of the stones I cut. I still need to bevel a few edges, but the dimensions are spot on.

Everyone likes pictures...

IMG_1075.JPG IMG_1076.JPG IMG_1074.JPG

I finished up the metal work on the side door frame as well. Once its got a few coats of black, I'll post before and afters.

Cheers...
 
Last edited by a moderator:
  • Like
Reactions: dafattkidd
Looking good! Nice to have a record of progress. Half the time when I strip and refinish old family furniture, I forget to take the before pictures:)
 
kevlar got any pictures of the new ash door? my stove has the cam lock and i didn't know there was a update. just curious what are your thoughts on a insulation blanket on top of the baffle? would it get to0 hot? thinking of it for a better and quicker secondary combustion

frank
 
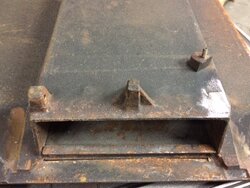
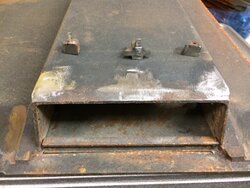
Sorry for the late reply, I'm am getting married at the end of August, and plans need to be finalized. Here are a few pictures of the ash pan. It uses the same "D handle" as the front/side door, and damper, so the T handle is used for everything. ImageUploadedByTapatalk1436572074.107807.jpg

ImageUploadedByTapatalk1436572088.370105.jpg

No progress has been made on the rebuild, I've been enjoying summer, and doing in home repairs. I'm a few stones shy of a full set, so cutting the remaining stones will be my next step.

Cheers.
 
  • Like
Reactions: dafattkidd
8/11

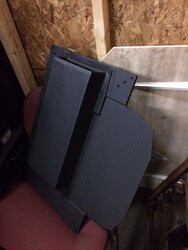
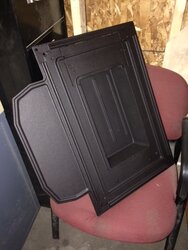
small update. I have some interest on the stove, but everyone wants a left hand side door, so I will be converting it. Not a big deal, other then now its not 100% original. anyway, I test fit the back plate, which will need a little trimming before installation. Also, I have the first layer of stones cut. I really should knock this out this weekend, my wedding is coming up (8/29) and I have 2 more full rebuilds.

on to the pics...
IMG_1214.JPG

IMG_1215.JPG
IMG_1216.JPG

Dont worry, the back plate will receive a coat of black :)

The side plate pictured is for a right hand door, and will not be used.

I have hockey tonight, so off to the rink for me, cheers...
 
  • Like
Reactions: dafattkidd
Two more refurbs? How many a year do you normally do? Better get moving ... cold weather not that far away:(
 
I hate cold weather, but you're right, its coming...This is my 3rd this summer, and I try to do as many as possible. I also do in-home stove repairs. Stoves keep me busy, and out of trouble-for the most part ;)
 
  • Like
Reactions: Lake Girl
Nice work. I just purchased my first pellet stove to replace my 1987 Hearthstone I. Inside is shot, outside is in great shape. Looking to sell for the right price. Used it right up to this past winter. 27 years and 150 cords and it was an awesome stove.
 
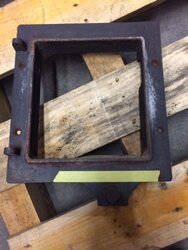
8/22- Side door frame is done, and painted, and bolted to the side legs. I cut the coal shaker stuff out, for a nice clean look.

IMG_0346.JPG IMG_0347.JPG IMG_0348.JPG IMG_0349.JPG IMG_0592.JPG IMG_0593.JPG

Looks good I think. Now for a cool story. I got a call from a gentleman looking for an HII. He told me he had one years ago, with his previous wife, and previous home. We got to talking about his old stove, and where he lived. Then he asked where I picked this stove up, just to get a little background on it. When I told him where I got the stove, and really started describing the home, he got quiet. Then he told me...This is the exact stove he used to own, and I bought it from his ex wife! Unbelievable turn of events. This stove is going full circle, and will be back in the original owners new house, and living room. In addition to buying a great stove, he is buying a truly great story. This is the reason I do this, yea there's money in it, but the attachment people have to old Hearthstones is unique. There more than a heat source, there almost a family member. So, I will finish the stove up, and deliver to its new home in the next few weeks.

cheers...
 
That's an amazing story and coincidence. Thanks for the update.
 
Wow ... guess the gentleman is going to be happy getting his old stove back ... well refurbished of course!
PS Does he get photos of the rebuild in progress?

How long til the wedding? Enjoy your day and don't let little derailments bug you or your lady ... there are always some.
 
Yes, I've shown him pics of my progress, and will continue to. Wedding is in 1 week! She is a wedding planner, so everything is "perfect", but I'm sure something will go wrong. Bachelor party is tonight, so probably won't amount to much tomorrow. Here's to tonight...[emoji482]
 
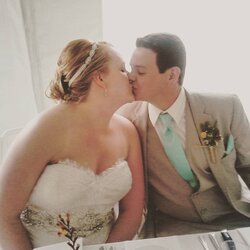
So, this happened
Kiss.jpg

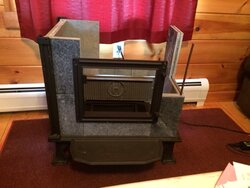
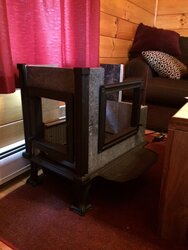
Now to get moving on the stove. I dry fit the stone, but still need to cut a few. Everything fits well, so I just need to bevel a few edges. Hoping to assemble this weekend.

IMG_1310.JPG

IMG_1309.JPG

Before you guys go crazy, the stone under the front door frame, is actually the stone that goes above it. I have not cut that stone yet, but wanted to set in the door frame.

Thats all for now...
 
Status
Not open for further replies.