
My newbie self be using the product on my new stove in a month or so to check out how I'm doing. I understand the concept of hanging plastic over the stove opening to prevent creosote and soot from entering my living room, but are there any tips on ensure I don't pop the Sooteater out the top of the liner and tear it up on the grating for my stove cap? thx.
Any tips for Sooteater from the bottom?
- Thread starter Bster13
- Start date
-
Active since 1995, Hearth.com is THE place on the internet for free information and advice about wood stoves, pellet stoves and other energy saving equipment.
We strive to provide opinions, articles, discussions and history related to Hearth Products and in a more general sense, energy issues.
We promote the EFFICIENT, RESPONSIBLE, CLEAN and SAFE use of all fuels, whether renewable or fossil.
You are using an out of date browser. It may not display this or other websites correctly.
You should upgrade or use an alternative browser.
You should upgrade or use an alternative browser.
- Status
- Not open for further replies.
Ashful
Minister of Fire
I actually let it whip around up in that area, to clean any gunk off the mesh cap. I can't speak for yours, but mine is so heavy that it could never be damaged by something as flimsy as the soot eater.
One thing I added, that I haven't seen anyone else do, is a 1 gallon RubberMaid pitcher. I drilled a hole in the bottom center of the pitcher, finding thru which I can insert my rods. I connect the first rod to the head, slip it into the pitcher, and then slide the pitcher onto the bottom of my stovepipe, which I've disconnected from the stove. I found it's a perfect fit, and I just hold the rig to the pipe with some 2" blue masking tape. Based on the recommendation of several others here, I replaced my stovepipe with a telescoping stovepipe, since I have a top exit stove going directly up to the chimney. I just slide the telescoping section up a foot or two, install my RubberMaid pitcher rig, and go at it with the drill.
You need to make the hole in the pitcher large enough to clear the couplings on the sooteater. A little creosote will make it's way out thru the hole, around the rod, but it's sand-like in consistency (no dust) and just goes right to the floor behind the stove. It gets vacuumed up when I'm done. I've thought about putting a bag over the pitcher, but honestly, that would be more work than vacuuming up the little that makes it thru the hole.

Any comments on whether to start the whip at the bottom and work up, or whether to start the whip at the top and work its way down?
Can you tell anything about the chimney or creosote type by the condition of the whip when it comes out? Anyone ever end up with a guey whip?
Can you tell anything about the chimney or creosote type by the condition of the whip when it comes out? Anyone ever end up with a guey whip?
Hrmm, starting the whip from the top is a good idea (provided your chimney isn't taken over by creosote and u can get it up there). Just insert the sooteater and run it all the way up until you think u are at the top, then go outside for visual confirmation, and then just lower the head back in just a bit and crank her up.
Hrmm, starting the whip from the top is a good idea (provided your chimney isn't taken over by creosote and u can get it up there). Just insert the sooteater and run it all the way up until you think u are at the top, then go outside for visual confirmation, and then just lower the head back in just a bit and crank her up.
That's what I was originally thinking. Then, with the info that guey stuff would most likely be near the top, I was thinking it might make sense to end at the top and pull down the whip to see whether is has sticky stuff on it or not.
How would you know you got to the top (or are near? I guess you could send the whip to the top and then mark your extensions so you know when you are near the top.
Is that idea nonsense?

fire_man
Minister of Fire
My first experience with the sooteater was VERY messy.I tried using a plastic bag covering the bottom of the "T" , and wrapped it around the rods. The bag unravelled/slipped and I ended up with a full gallon of dust and soot all over the hearth - what a horrendous mess.
I like Joful's 1/2 gallon Rubbermade idea and will be trying that next time. I still have to figure out how to clean the hearth from all the soot mess.
I like Joful's 1/2 gallon Rubbermade idea and will be trying that next time. I still have to figure out how to clean the hearth from all the soot mess.
Ashful
Minister of Fire
1 gallon. A 1/2 gallon is probably too small to fit over your pipe, but my old 1 gallon jug was a perfect slip fit over the pipe. I have two, and they're both identical, but they're probably 1990's vintage. Not sure if they still make them the same, but it's the one with the top that slips into the jug, and can be spun 180 degrees for open pour vs. grated pour (keeps the ice in the jug).I like Joful's 1/2 gallon [RubberMaid] idea and will be trying that next time. I still have to figure out how to clean the hearth from all the soot mess.
As to when you reach the top, I can feel my cap pretty positively, but all of my chimney caps are thick slabs of flagstone.

NickDL
Burning Hunk
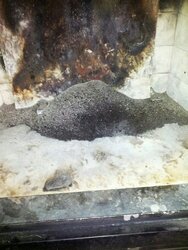
I cleaned mine from the bottom & it worked out pretty well. I didn't follow the directions exactly & I didn't end up with a mess. I took the plastic & just duck taped it to my fireplace. I ran the soot eater under the plastic. I managed to get a good bit out & did not make a mess. Here is a picture of what came down. This is from at least 2 years of use, not really sure when it cleaned before as we moved in just over 2 years ago. Now I'm looking forward to seeing how my chimney does this year with well seasoned wood.
Attachments
DanCorcoran
Minister of Fire
Step by step...hope this helps. (Not an insert, but you should get a better idea of the whole process.)
https://www.hearth.com/talk/threads/cleaning-the-flue-on-a-hearthstone-shelburne.87644/#post-1134032
https://www.hearth.com/talk/threads/cleaning-the-flue-on-a-hearthstone-shelburne.87644/#post-1134032
I knew my chimney was a certain height and after so many lengths of rod I'd be really close to the top. I listened to hear the change of the sooteater moving around the liner to a screened cap. The sound is pretty different. You'd have to try to tear up the head. It's pretty tough.
Matt
Matt
jharkin
Minister of Fire
I don't have a screened cap, just one of these

And I just run the sooteater all the way up to the top till I feel the resistance of it bumping the underside of the cap. I run it quite a bit up there to clean out the cap. Usually I run the sooteater in one direction on the way up (closkwise say) and then in the other direction on the way down.
This does work very well to clean the cap, I just went on the roof to check it last weekend and the cap and top few feet of the liner where spotless.
I have heard about but not yet tried Joful's 1 gallon bucket idea. I need to do that, usually I just tape 6mil plastic over the bottom of the clean out tee but it always tears and makes a mess.
What I started doing this year is to put the shopvac outside a nearby window plugged into an outdoor outlet and just run an extra long hose in through a window. Works great and completely eliminates any dust or smell inside even if you dont have a hepa vac.
Ashful
Minister of Fire
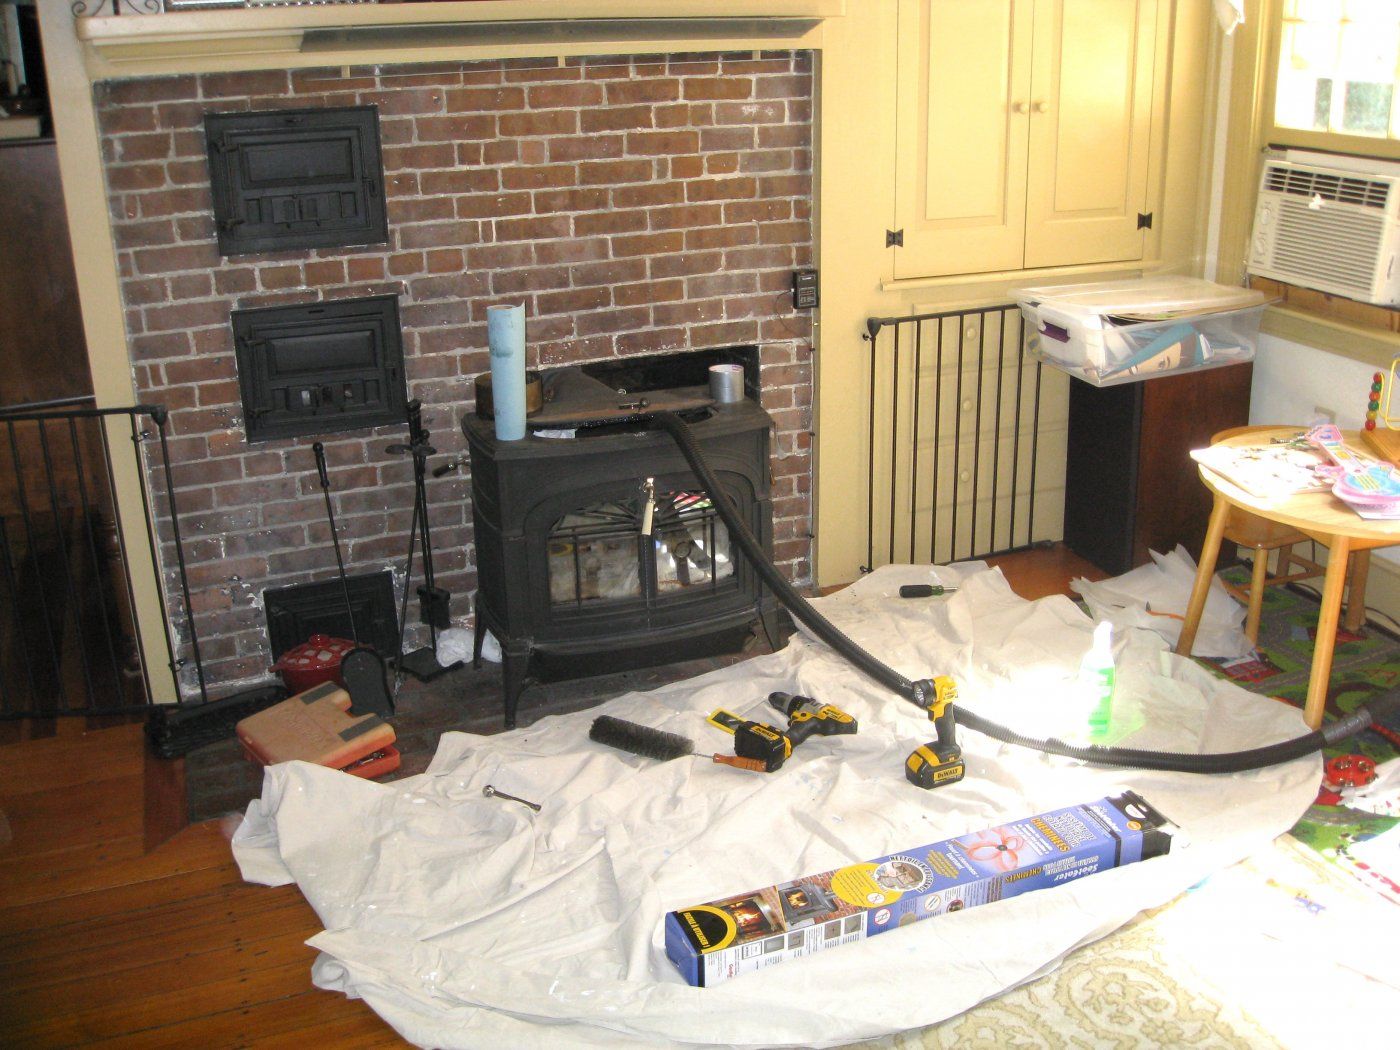
Sorry for the OT, but... do you ever wonder what's behind that brickwork, Jeremy? That brick looks Victorian to my eye, and I know your house is colonial. Is it covering an old cooking fireplace?
jharkin
Minister of Fire
Sorry for the OT, but... do you ever wonder what's behind that brickwork, Jeremy? That brick looks Victorian to my eye, and I know your house is colonial. Is it covering an old cooking fireplace?
I think that my house is technically Federal Period, though it is a mutt of different styles. The town lists the build date as 1795, but my best guess at the moment is more like 1820s based on nails and construction methods, though maybe with reclaimed wood from earlier houses for those crazy wide second story floors.
Anyway this fireplace. It is a head scratcher to me....
This is in the ell, which I used to think was an addition. The foundation is different - its just a rubble stone crawlspace, whereas the rest of the house is a full rubble stone basement with 6ft granite slab caps above grade. The floors are also different in this area, narrow more late 18th century looking. But OTOH if I go up to the second floor I can get into the attic above the addition and see the roof sheathing boards where they cut an access from the main house into the addition attic. There are no visible shingle nail holes in those boards as if it was an addition built on an already existing roof line. Another interesting point is that my center chimney has only 2 first floor fireplaces in the two front rooms. There is no large cooking fireplace in the area that would have been the keeping room and from the basement I don't see any evidence that one was removed and the floor patched.
The missing fireplace and roof situation both seem to point to the ell being original and the small fireplace above you see was the original kitchen. But its so small. One house expert I talked to though that it could have been an 1820s transitional house and had an early cast iron cook stove there. I can tell you that the ovens where functional and definitely used, but probably not colonial vintage as you can see the doors are 19th century factory made cast units with air inlet and the upper even has a movable flue damper - as opposed to the simple hand wrought door you might see in the 18th cent. The paneling is all reproduction from whenever the last renovation happened (the built in cabinet is drywall on the inside).
I have had a look at the back side of that chimney when we took down paneling in the modern kitchen, its quite odd, the main mass of brickwork stops at the base of that paneling and transitions to the stack that run up through the roof in a squared off shoulder - the top of it is open somewhat and there is an old layer of vermiculite insulation on top of the brick. There is also an old opening for a stovepipe on the modern kitchen side filled in with cement and hidden behind paneling.
/thread jack
- Status
- Not open for further replies.
Similar threads
- Replies
- 13
- Views
- 930
- Replies
- 16
- Views
- 882
- Replies
- 4
- Views
- 521
- Replies
- 6
- Views
- 619