New Stove Install (with pics)

  • Active since 1995, Hearth.com is THE place on the internet for free information and advice about wood stoves, pellet stoves and other energy saving equipment.

    We strive to provide opinions, articles, discussions and history related to Hearth Products and in a more general sense, energy issues.

    We promote the EFFICIENT, RESPONSIBLE, CLEAN and SAFE use of all fuels, whether renewable or fossil.
Status
Not open for further replies.

ArkyGuy

New Member
Feb 3, 2014
8
Arkansas
Bought my first wood stove about 6 months ago, been a long trip but I finally finished it.

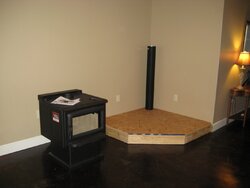
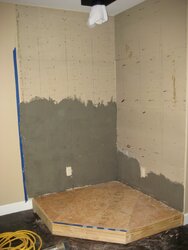
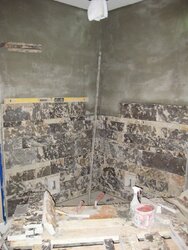
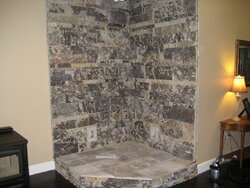
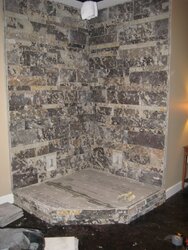
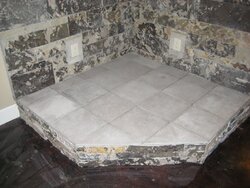
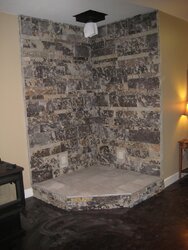
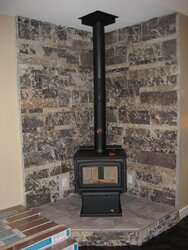
I had a chimney installed in my house, built a hearth, had the wall stoned (limestone from a local quarry), tiled and then installed my stove. Haven't lit it yet. I tried to put down a photo series here of the progress and finished product. I did some of the work myself and hired some of it out. I still have to put some trim on the outside edge of the stone but that's about it!

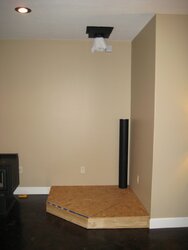
Hearth is framed with 2x6's supported with concrete blocks in between. Perfect fit.

Pretty excited. I have about a cord of dry wood but working on more. I'm going to use my stove for supplemental heat on extremely cold days and power outages. I may end up using it more if it heats my house evenly. The stove is dead center in my single level home (~2300sq ft) so we'll see what happens! I think I have about a 25ft chimney (Metal-Fab).

Lemme hear what you think! (Thanks begreen for some of the help you offered early on)

PE Summit
IMG_0574.JPG IMG_0576.JPG IMG_0659.JPG IMG_0662.JPG IMG_0665.JPG IMG_0686.JPG IMG_0755.JPG IMG_0756.JPG IMG_0757.JPG
 
Last edited by a moderator:
Looks fantastic! I think you will be surprised how much you use it when you start getting used to it being 75 in the house when its 10 out.
 
Looks great! Should be a fun winter for you. What is your primary source of heat?
 
Looking good, very interesting choice in wall stone. Im in the middle of a similar install, just getting ready to set my stone tiles on the wall soon. Bet you're glad its done, i know i will be.
 
Nicely done, it looks great. You're going to love this setup in the winter.
 
Looks very nice. The only problem I see you need more wood. You say now it's going to be supplemental but belive me once you going to light it up and enjoying the heat there is no going back. It's very addicting I know it happened to me. One cord will last you probably a month or two and then you will be eye balling anything made out wood just to keep the fire going. Good luck.
 
Looks great AK, dry wood is the ticket with them as in any stove. The bigger size Bio Bricks work great in mine also if you run short through winter. I used a skid of them just to try and they did well, every set up is different though, not as cheep as cord wood but cheeper than the backup oil furnace.
 
That's a nice setup. Time to get the saw out and make it a game.. By the way scoring the wood is just as addictive as burning it and then there's c.a.ds . All over but the cryin
 
Looks great! You'll really enjoy it this winter when you fire up that stove.
 
Looks like a nice set up. You might want to check on the temperature of those two electrical outlets once you get a hot fire burning this fall. They look kind of close to the stove, but maybe it's just how the photo makes it look.
 
The outlets should be fine. There isn't a lot of heat radiated behind the stove and that low.
 
After last year outlets and heat scare me. When I took the powered attic fan out of the attic I went to take out the outlet I put up there years ago and the outlet crumbled in my hand. !!!

Had to sit on a rafter for a while till my knees felt strong enough to climb back down the ladder into the house.
 
No worry. Ours have been behind the stove for 8 yrs now and are fine.
 
Thanks, I think it's actually further back than it looks. I am beating stove clearances by 3 inches despite how close it looks to the wall.
 
Status
Not open for further replies.