
heavy wall and an insulation kit will cost more than preinsulated light wall and there is no need for any special equipment unless you need to pull it up instead of dropping it which in that case you would need a winch either way. I fell that it is worth the extra money for heavy flex but many here disagree. We use a soft stainless steel bristle brush for most all of our cleanings and have had no problems on either light or heavy wall. But we have seen many more light wall liners fail ( usually due to fires or consistent over firing) and very few failed heavy wall liners. The failed heavy wall liners we have seen have all been at least 24 years old the newest light wall that we pulled was 3 years. All that being said there are very many light wall liners out there that have been in a long time and work very well.
Any similar liners like Magnaflex Insul-flex preinsulated liner?
- Thread starter wahoowad
- Start date
-
Active since 1995, Hearth.com is THE place on the internet for free information and advice about wood stoves, pellet stoves and other energy saving equipment.
We strive to provide opinions, articles, discussions and history related to Hearth Products and in a more general sense, energy issues.
We promote the EFFICIENT, RESPONSIBLE, CLEAN and SAFE use of all fuels, whether renewable or fossil.
You are using an out of date browser. It may not display this or other websites correctly.
You should upgrade or use an alternative browser.
You should upgrade or use an alternative browser.
- Status
- Not open for further replies.
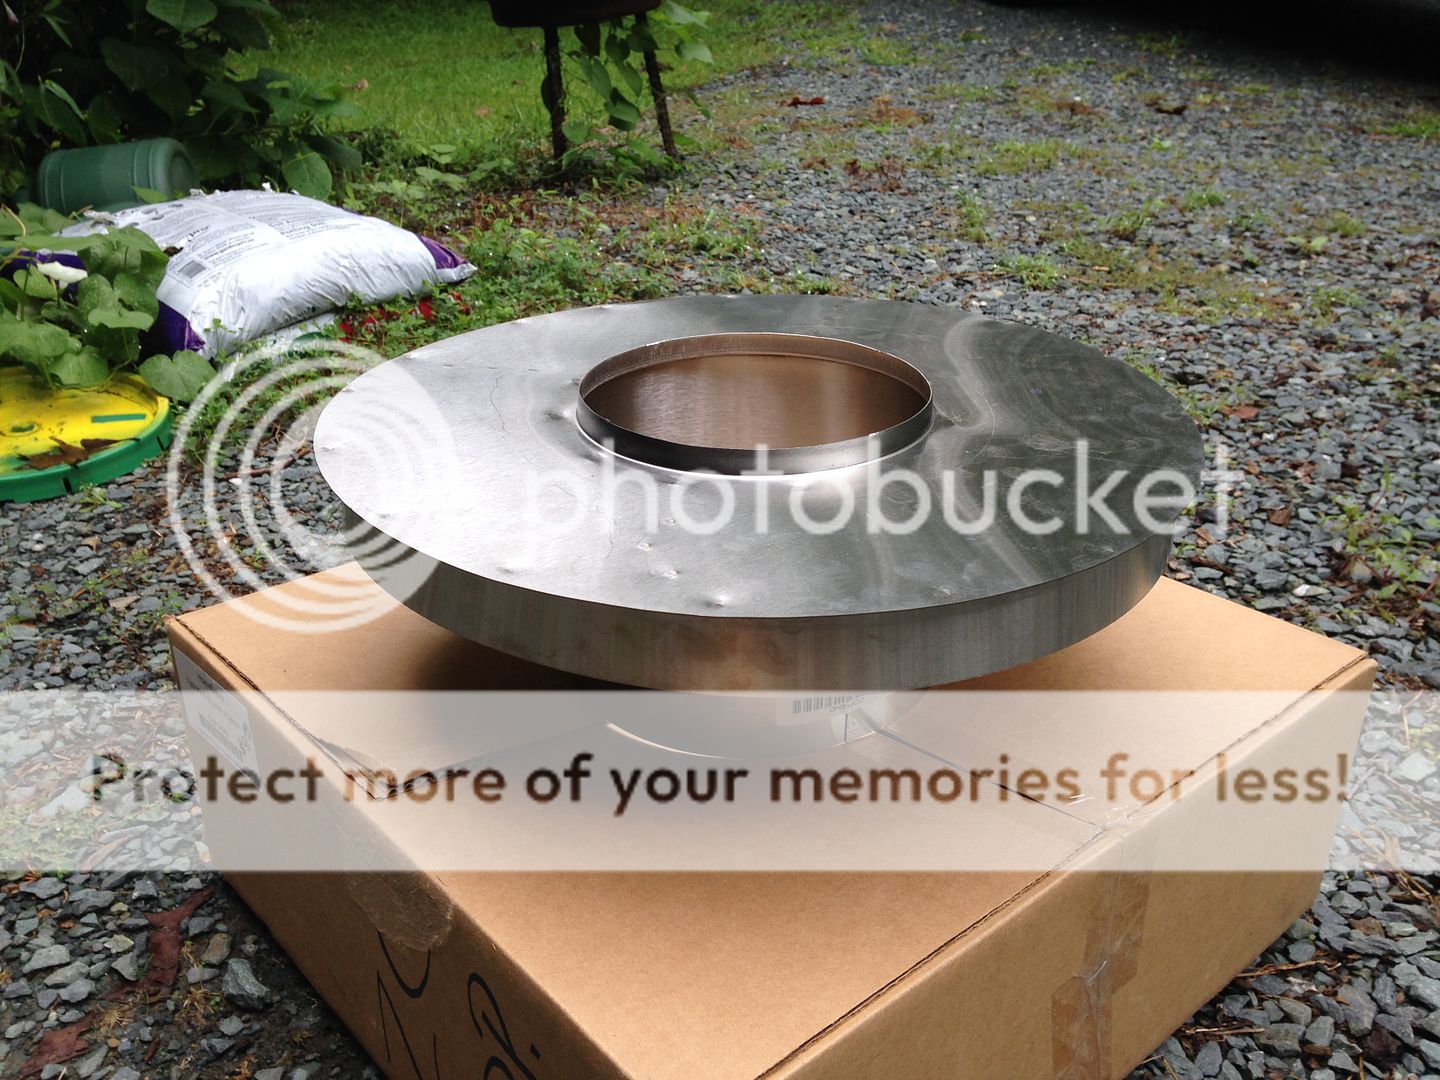
I am close to buying my preinsulated liner from firesidechimneysupply as I was advised the sell the preinsulated liner that replace the maganflex I was looking to buy. Anyway, the fella I'm working with there has been very helpful but he's not sure he has a cap that can be used to terminate the liner. Here are a couple photos of what I am working with:
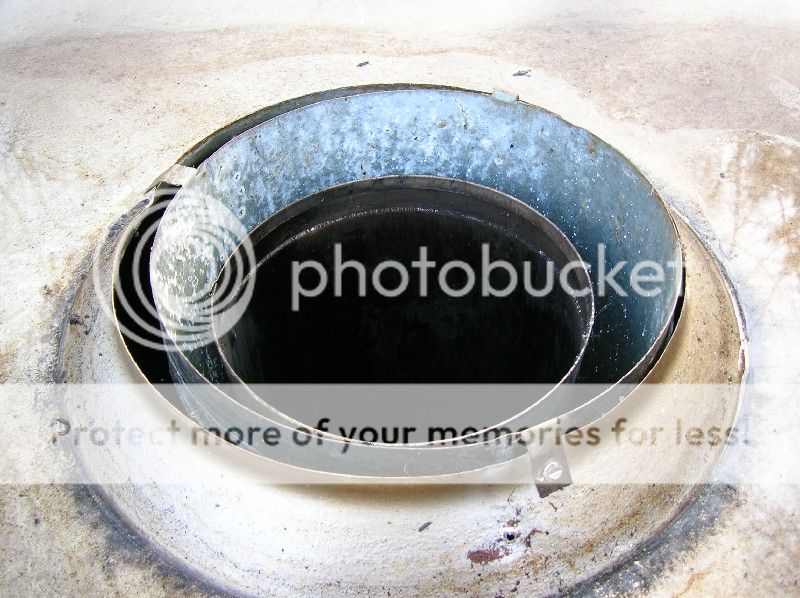
My current cap has a 12" extension you can't see that slides down into the center 8" pipe. I need a solution that lets the air flow out of the outer pipe so I can't seal that off. I'm looking at the Homesaver liner caps but don't understand how they work in my situation.
My current cap has a 12" extension you can't see that slides down into the center 8" pipe. I need a solution that lets the air flow out of the outer pipe so I can't seal that off. I'm looking at the Homesaver liner caps but don't understand how they work in my situation.
More importantly it looks like you need a large storm collar to cover the the whole pipe. I wouldn't worry about outer wall venting too much. With an insulated liner that shouldn't be a big deal.
I am sorry begreen is absolutely wrong that pipe needs to vent in order to be safe. This is why modifying prefab stuff is a problem there are no parts made to do it and there is no testing done to check the safety of it. If you are going to do it you need to make sure you maintain that airflow and keep any debris or critters out of that cavity.
Any specific storm collars your recommend? I still may need one depending on the type of cap I settle on. I'd prefer one that vents.
Could still use recs for a cap that will help support my liner. I'm trying to figure out how the 'liner cap' will both support the liner from the top and still allow me to remove the cap to clean the liner.
Could still use recs for a cap that will help support my liner. I'm trying to figure out how the 'liner cap' will both support the liner from the top and still allow me to remove the cap to clean the liner.
brenndatomu
Minister of Fire
Not sure if this helps or not, just throwing out ideas here, see what sticks. Chimney Liner Depot (for example), Deluxe Cap. I guess I'd hafta think about the details of how this would all come together...anyways ^ >
1. Maybe the center section of the deluxe cap that the liner attaches to could be cut out and tin-smithed up in a way to sit on/attach to your existing flue pipe in manner so as to not block the air flow of the outer section. Then the remainder of the deluxe cap glued n screwed down to your existing metal chimey top...cap...cover...thingy.


2. Maybe this is a better idea, CLD, Terra Cotta mount Deluxe Cap ^ >
 Mount 8 short pieces of stainless or aluminum square tubing, on their side, in L shapes, to your existing metal chimney cover so that they form a "square" the same inside dimensions as the mounting plate of the deluxe cap. The new cap can now sit on and be mounted to this tubing. Leave enough room between the ends of your "L brackets" so that you can cut out the center of each side of the terra cotta mounting plate, allowing the air cooled part of your chimney to breath through these 4 holes. Here's a crude example of what the heck I'm tryin to e'splain here (hey, it's late...way past my bedtime)
 <^ black is the square tube "L brackets", blue arrows represent the cooling air, brown is the shmoke...
 < ^ red is where you cut out for the cooling air flow...like BG said, prolly wouldn't be much of an issue anyways,, but better safe than sorry.
This solve all the issues? What ye think?
1. Maybe the center section of the deluxe cap that the liner attaches to could be cut out and tin-smithed up in a way to sit on/attach to your existing flue pipe in manner so as to not block the air flow of the outer section. Then the remainder of the deluxe cap glued n screwed down to your existing metal chimey top...cap...cover...thingy.
2. Maybe this is a better idea, CLD, Terra Cotta mount Deluxe Cap ^ >
<^ black is the square tube "L brackets", blue arrows represent the cooling air, brown is the shmoke... < ^ red is where you cut out for the cooling air flow...like BG said, prolly wouldn't be much of an issue anyways,, but better safe than sorry.This solve all the issues? What ye think?
Last edited:
Thanks brenndatomu! I like that cap style and will keep your ideas in mind. Still trying to think through what you said.
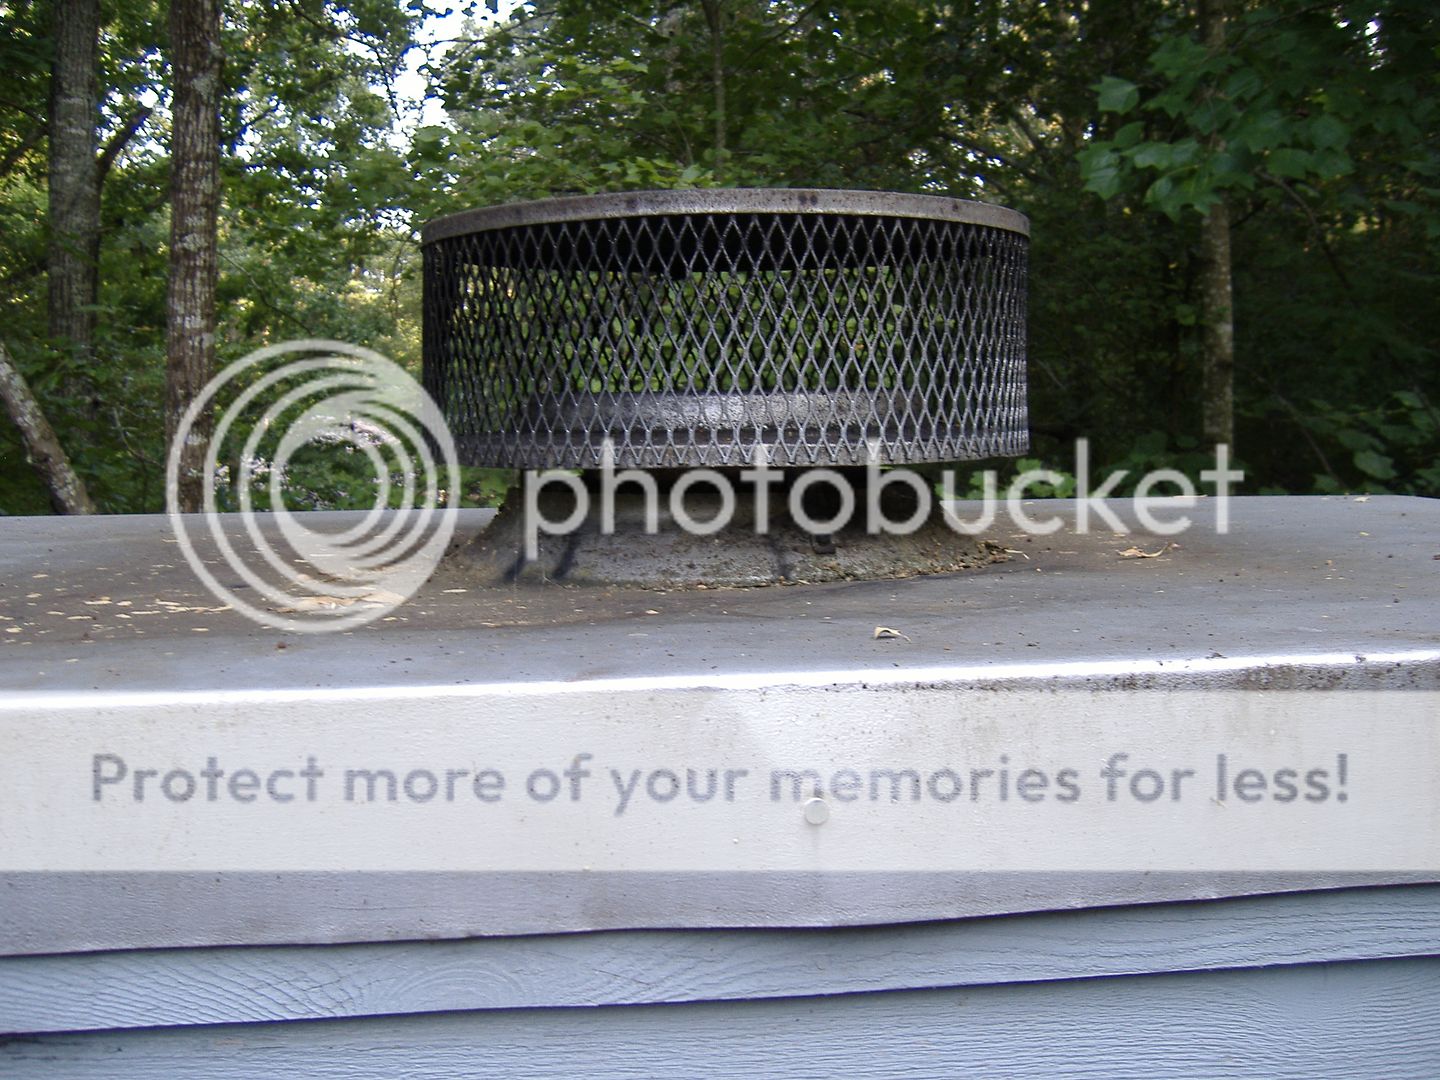
Unfortunately I'm still not comfortable purchasing my kit until I fully understand my top termination. My current cap uses 3 stand-off straps (see red arrow) that keep my cap up off the chimney to allow airflow from the outer pipe. It has a 16" pipe that goes down into the inner 8" pipe. I could cut this 16" portion completely off my cap and then reattach the cap to my chase cover using the existing 3 stand-offs. That, in my mind, would be an effective cap that allows airflow. And I can easily remove it as I do now to clean the chimney.
But it doesn't help me with supporting the 20' preinsulated liner from the top. I'm expecting about 40 lbs of liner to hang down. I will have a block-off plate screwed to the ceiling of my firebox with a collar that will secure the lower end but feel I need a secure termination at the top too. I've seen some have run screws thru the liner and into the inner 8" chimney pipe but 40 lbs. pulling down on those screws doesn't feel adequate to me. I don't feel I can screw it to my modified cap as I need to be able to lift/remove the cap to clean it annually.
Keep the ideas coming guys. I'm expecting an early burning season so feeling anxious to get my order in.
brenndatomu
Minister of Fire
Yeah, I figured it was gonna be a lil hard to understand what I was talkin about. Basically, you would take off the existing cap, bend down the 3 mounting tabs, leave the rest there, then you would be mounting the new cap to your chimney top cover, "hovering" above the chimney pipe so as to allow air flow through the outer pipe and out from under the mounting plate of the Deluxe cap The new liner then clamps into the new cap, and I also personally used stainless screws through the cap into the liner too. I really like the hinged cap, easy to clean, won't blow off! Lil pricey though...
PM if you are confused, you can call me for a better description
PM if you are confused, you can call me for a better description
I like the idea to brenndatomu and i agree to back up the clamp with screws i usually do as well
Woody Stover
Minister of Fire
I used HomeSaver Roundflex, 16', put the insulation and 'armor mesh' on myself, and with a nose cone my nephew and I installed it from the bottom. He was up top pulling the nose cone rope, I was at the fireplace lifting, and we worked it up through the smoke chamber and into the 12x12 ID clay liner without too much trouble. My chimney has two flues, and wasn't straight enough below the clay liner for me to figure out how to put in rigid with fixed elbows, and have it come out right, or even make the connections. Previously, it was all rigid but there were a couple of adjustable elbows, which I didn't want in the new liner. We put 20' rigid in on my BIL's basement stove, using a rope tied to a short 2x4 dropped through the first section, and adding 4' sections and insulation as we lowered it down.My impression is that the heavies last longer but because of their weight need special equipment to install and the others are better for DIY.
brenndatomu
Minister of Fire
Thinkin about this a bit more, I'm making this too complicated, This is just a regular simple install, only difference is that the deluxe cap is mounted on stand offs (square tubing) instead of direct to the chimney. Thats what I was getting at in my above post. I think you can figure out the rest of the details from there...
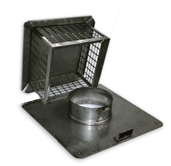
I found this Homesaver adapter for sale at a local shop. It looks one piece of the solution - namely keeping me from sealing off the outer chimney. It should slide down over the flex liner if I peel back the preinsulated part of the liner right at the very top.

This is the bottom side
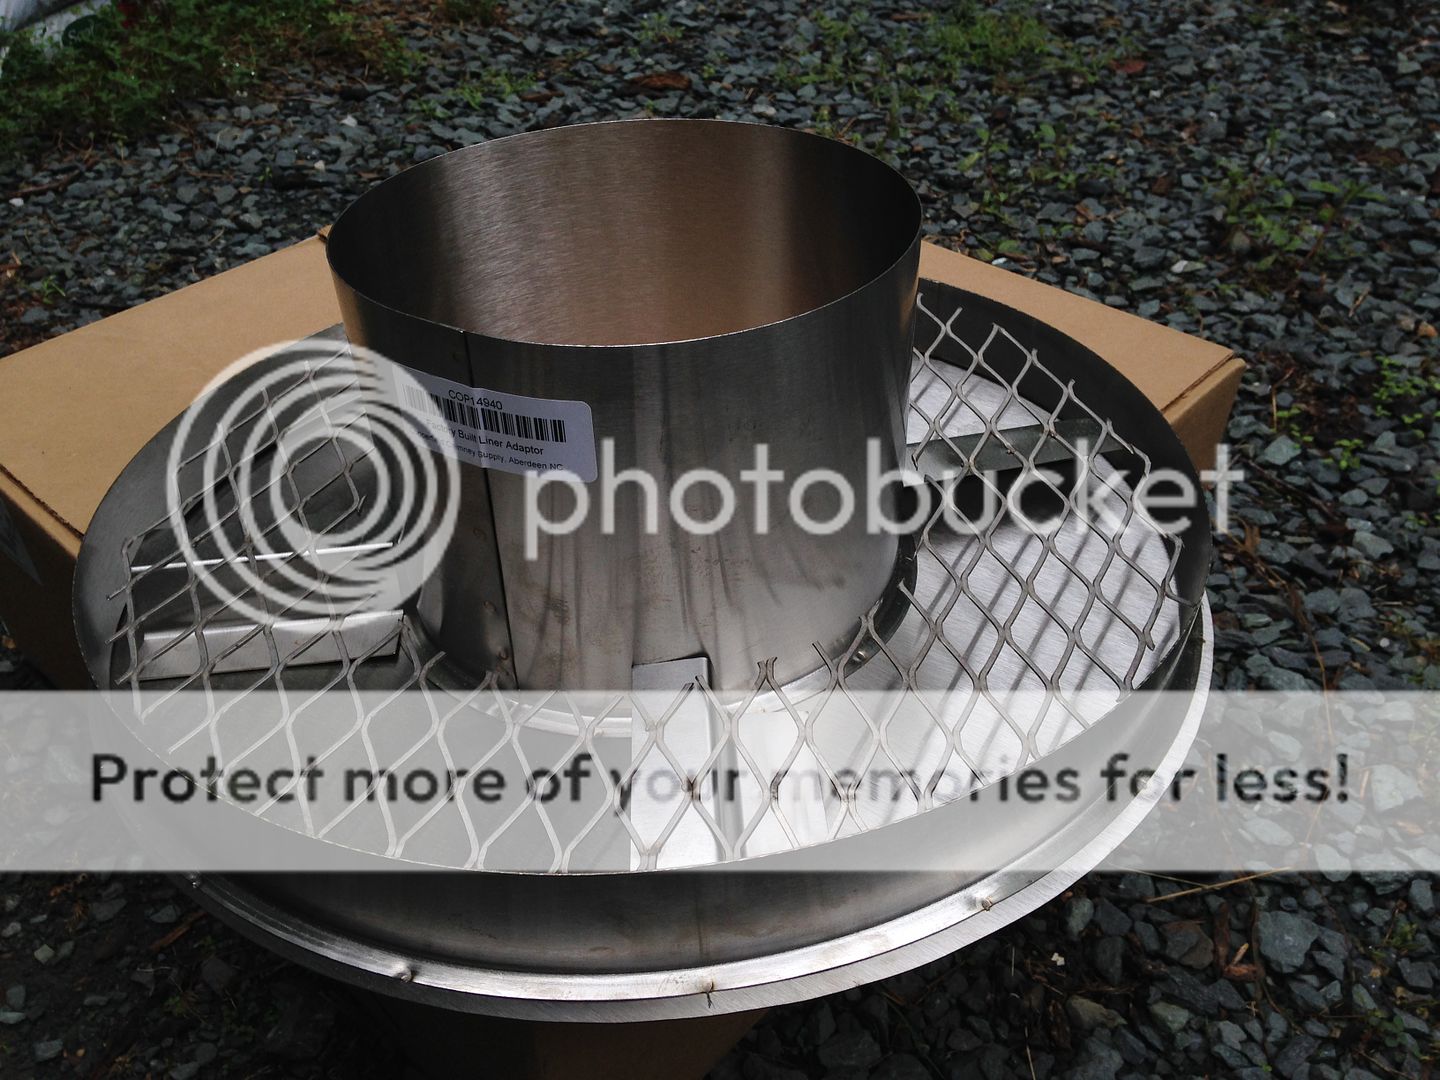
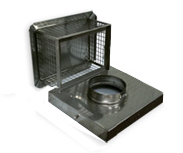
Then my liner kit should come with some type of collar like below that will sit on top of the Homesaver adapter and support the weight from the top. Then a cap goes on top of this.

Anybody see a problem with this plan?
This is the bottom side
Then my liner kit should come with some type of collar like below that will sit on top of the Homesaver adapter and support the weight from the top. Then a cap goes on top of this.
Anybody see a problem with this plan?
brenndatomu
Minister of Fire
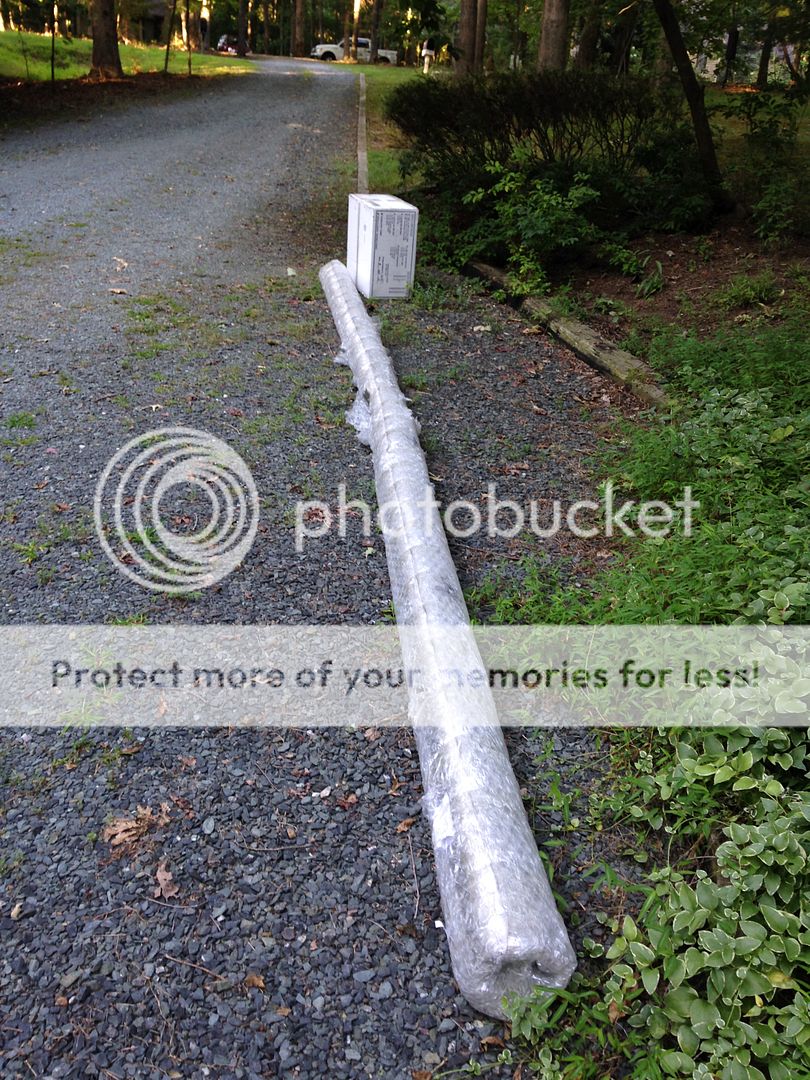
My new pre-insulated/double-wall flex liner is sitting in the driveway! ")
Any tips regarding lifting and feeding the liner down into the chimney? This liner is supposed to have an outer diameter of 7" to 7 1/4" and I'll be dropping it down a straight 8" chimney.
I'll have a helper supporting/feeding the liner from ground level and he will move up the ladder as needed. I'm anticipating the biggest challenge will be managing the big bend at the top where I turn it to go down the chimney. Being double-wall it will not likely be as flexible as a standard liner so the bend could be a bit unwieldy. I don't know - hence any tips?
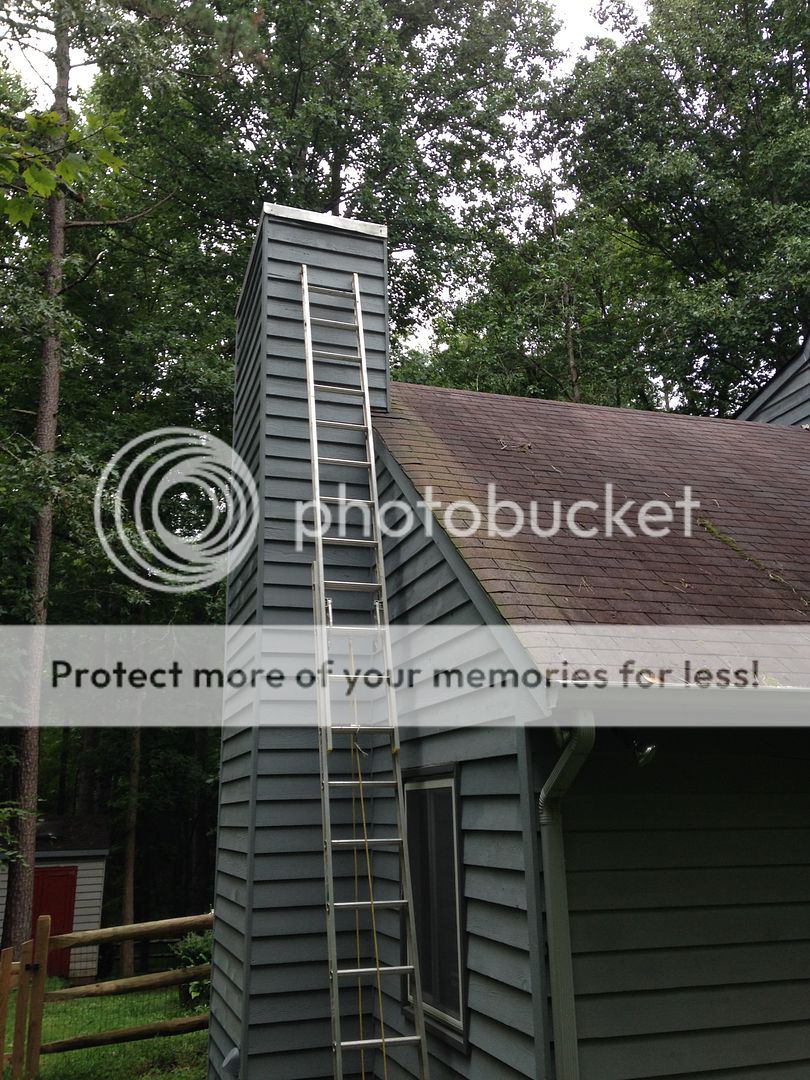
Oh that one is going to be hard is there anyway to pull it up from the bottom. if not I would set up roof platforms to have some where to work off of or you could rent scaffold or a lift i would not stand on that chimney and try to muscle that in there it looks dangerous. And i usually do at least one liner a week so i am not scared of heights but i wouldn't try that without some more room to work
brenndatomu
Minister of Fire
That looks a lot easier than mine! Tape a funnel to the bottom of the liner to help thread it down through. I ran a rope through the liner with 3-4' hanging out the bottom, put a knot in the rope under the funnel, that will allow you to pull back up if needed. Having a person inside and one up top to help feed you the liner will help too. Don't forget the pics ")
yeah i would do that to clean to but not to muscle that liner around. i havn't installed a pre insulated yet but i have messed with some of the pipe at olimpias factory and they are not that flexible. I agree the funnel and rope is a good idea and if you are set on doing it with what you have you get on the roof and have the person on the ground feed it up to you till you get the arc you need to get it started down. That will be the dangerous part. once you get that end in a foot or 2 you should be ok
brenndatomu
Minister of Fire
I did a 8" flex king pro with insulation and a 6" magnaflex, the magnaflex was much easier to work with.i havn't installed a pre insulated yet but i have messed with some of the pipe at olimpias factory and they are not that flexible.
Oh, and wear heavy leather gloves, that stuff is REALLY sharp. I bled all over the place and I was wearing gloves most of the time. I'm used to working with metal often time bare handed, but those liners are REALLY sharp!

Last edited:
I did a 8" flex king pro with insulation and a 6" magnaflex, the magnaflex was much easier to work with.
I would think it would be easier than a wrapped liner but still not that flexible. Getting that arc initially will be the hard part can you walk the roof at all?
- Status
- Not open for further replies.
Similar threads
- Replies
- 14
- Views
- 896
- Replies
- 4
- Views
- 602
- Replies
- 4
- Views
- 469
- Replies
- 10
- Views
- 826