
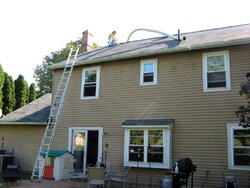
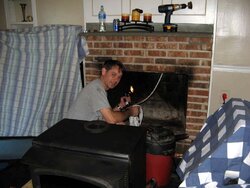
A big "Thank YOU!" goes out to Hogwildz who last weekend volunteered to help me install a new chimney liner!
Here is an account of how it "went down"!")
(For background information on my previous situation see the following thread (contains lots of pics as well).
https://www.hearth.com/econtent/index.php/forums/viewthread/9622/
It is my hope that this thread will give ideas to those who wish to install their own chimney liners.
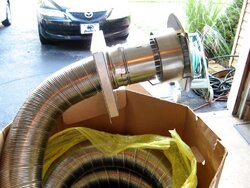
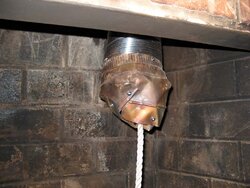
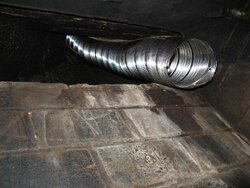
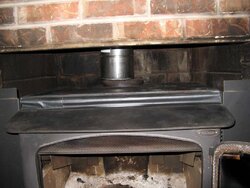
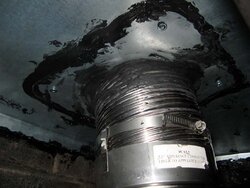
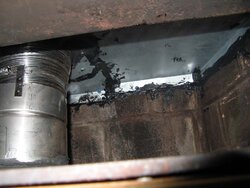
316Ti Titanium chimney liner (0.006 thickness), 5.5" diameter, 25 feet lenght. Terracotta compatible top plate and stainless steel top cap. 5.5" -> 6" liner to wood stove adapter + 26 gauge steel block off plate and misc hardware (Total: ~$500). Started at about 10:00am, finished at about 8:00pm.
Here is an account of how it "went down"!
(For background information on my previous situation see the following thread (contains lots of pics as well).
https://www.hearth.com/econtent/index.php/forums/viewthread/9622/
It is my hope that this thread will give ideas to those who wish to install their own chimney liners.
316Ti Titanium chimney liner (0.006 thickness), 5.5" diameter, 25 feet lenght. Terracotta compatible top plate and stainless steel top cap. 5.5" -> 6" liner to wood stove adapter + 26 gauge steel block off plate and misc hardware (Total: ~$500). Started at about 10:00am, finished at about 8:00pm.
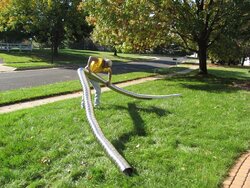
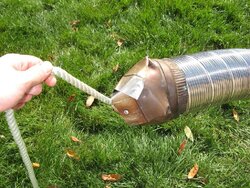
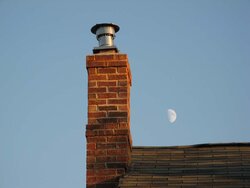
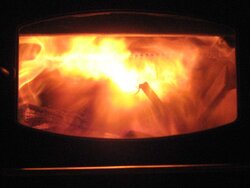
 Somehow reminds me of E.T.
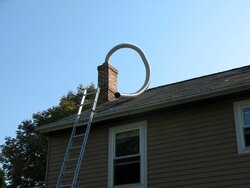

")
