
Hi Everyone, For years I've been interested in getting a wood stove. My neighbor had one when I was younger and I loved it, but my parents weren't the wood burning type. My wife and I now own a house with a fireplace, so we just picked up a wood insert. We have quite a few mature trees in our yard and had to have 2 taken down in the spring, why waste free heat? For the past few months, I've been scrounging for wood and splitting. I have around 2 cords that needs to be seasoned. I also bought a cord of seasoned wood, a friend of mine gave me some seasoned wood and I got a bunch of pallets to supplement with. I also came across American Climbers (the company from the TV show Big Bad Wood) in my neighborhood taking down a maple on Monday, I asked if I could take some of the wood and they let me bring my saw over and take what I wanted. Most of it was way too big for my saw, but I did get some.
I ended up buying an Enerzone 1.8 at at local store. I wanted a Jotul, but my wife didn't want to spend that much, so this was the compromise. I'm hoping she likes it enough that in a couple years we can add a freestanding wood stove. I had Barry John Chimney install it yesterday, and I was really happy with the results and the installers.
This weekend I'm going to do my break-in fires. We have a 5 month old son and I don't want to do them with him in the house, and my wife happens to be going to visit her parents for a couple days and I'm staying home.
Anyway, enough of that, here's the pictures of the install and some of my wood supply.
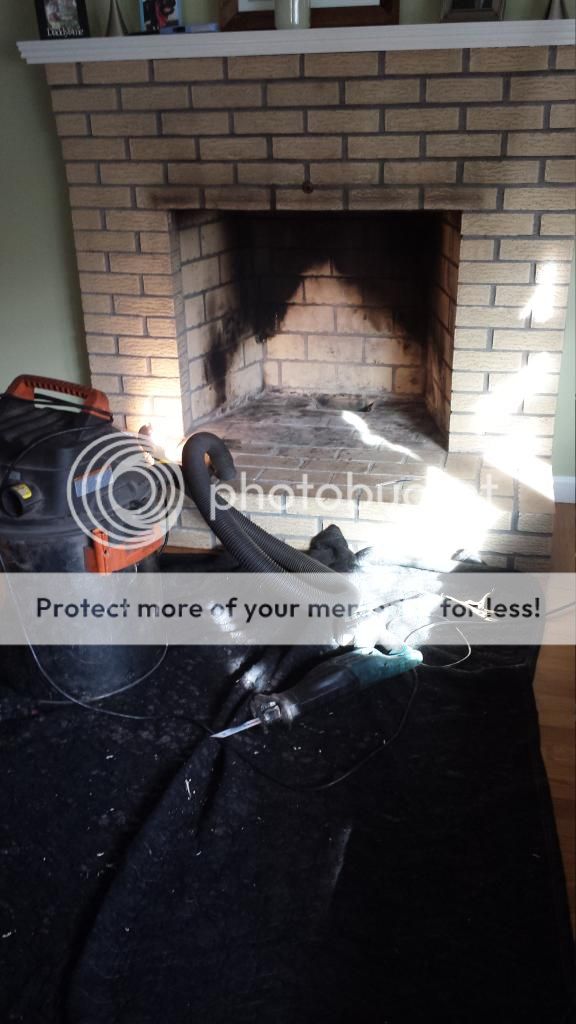
Empty fireplace
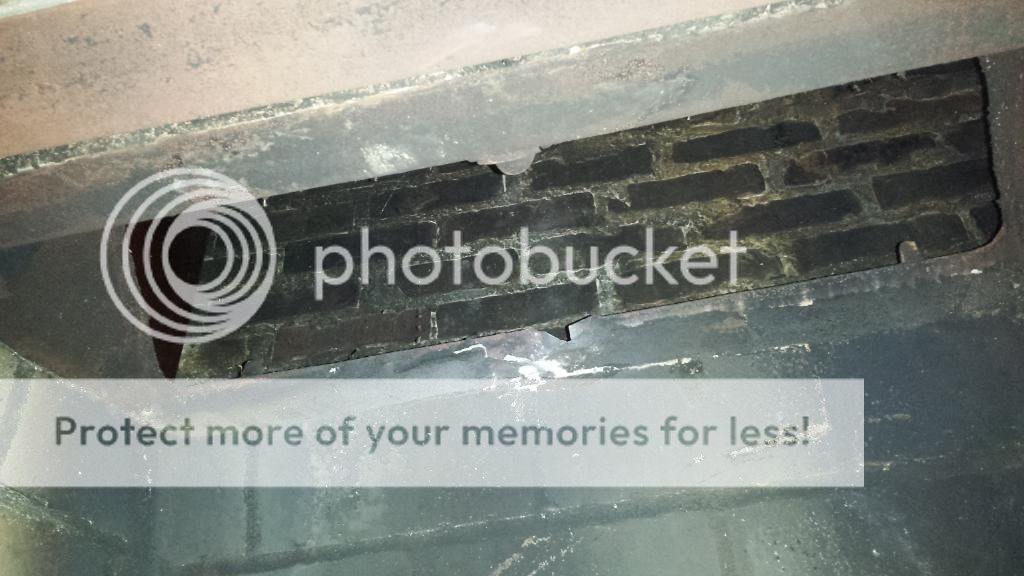
Flue removed
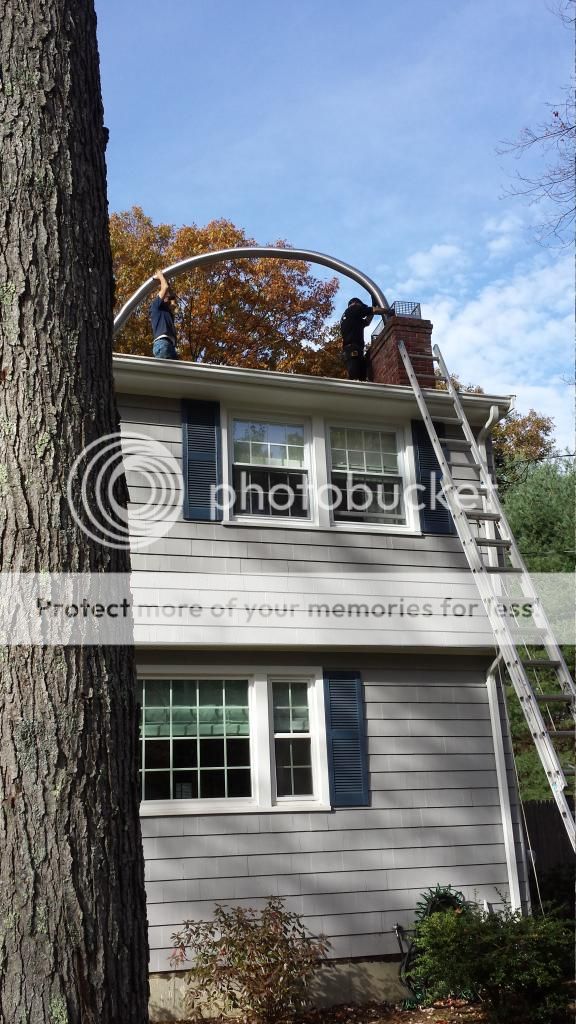
Dropping in the liner
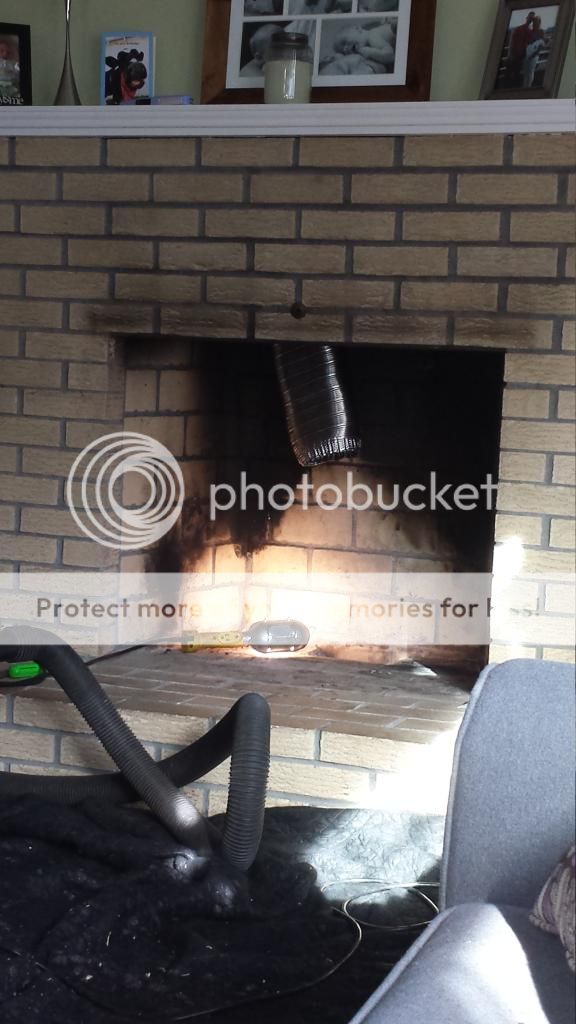
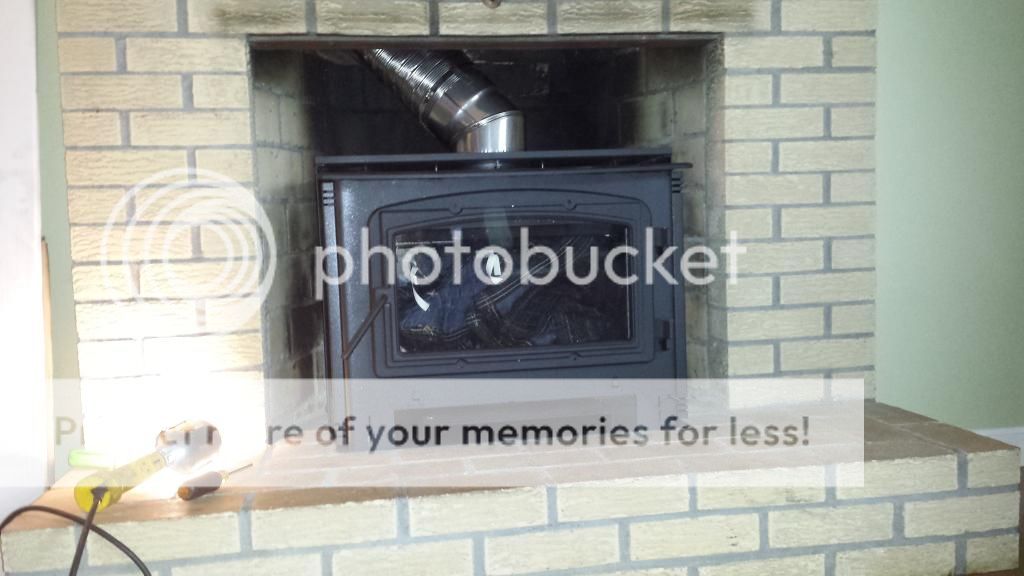
Liner in the fireplace
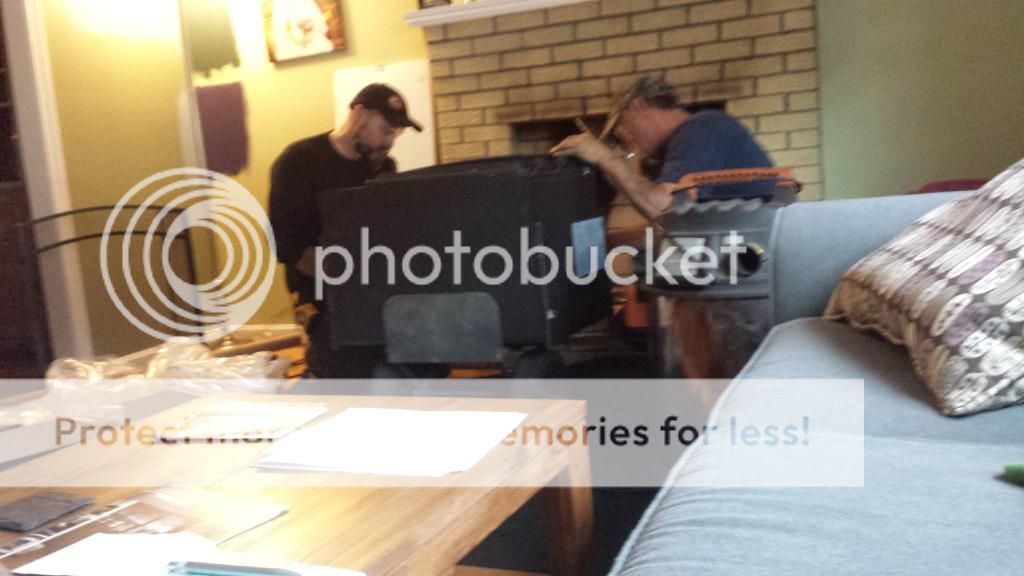
Stove ready to put in the fireplace
Stove in place
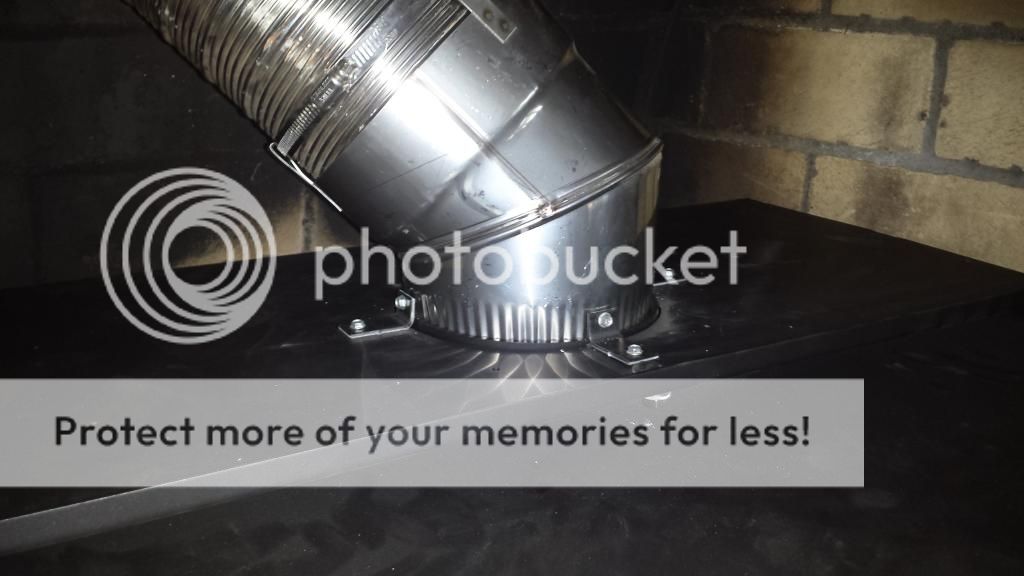
Liner attached to insert
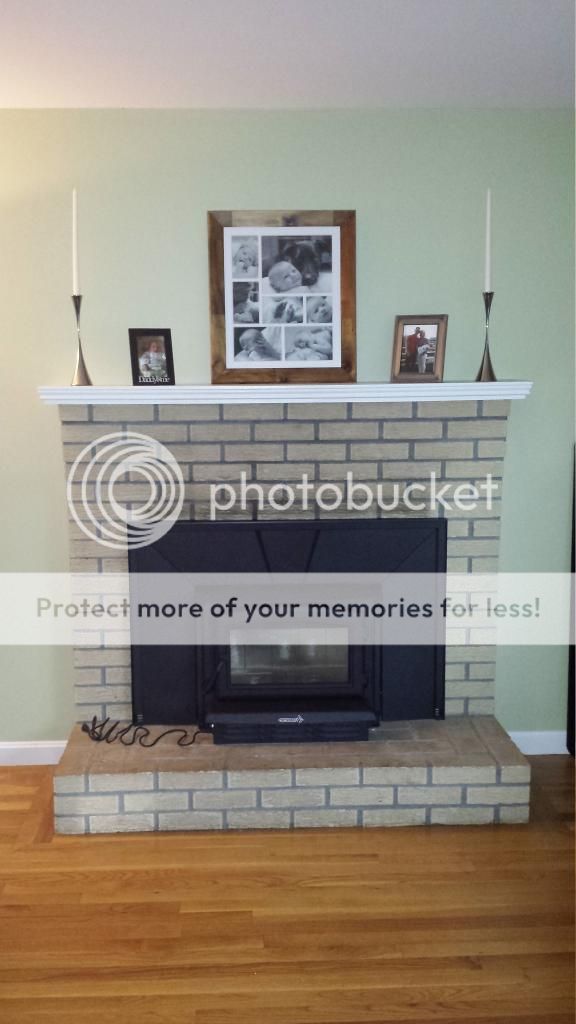
All done!
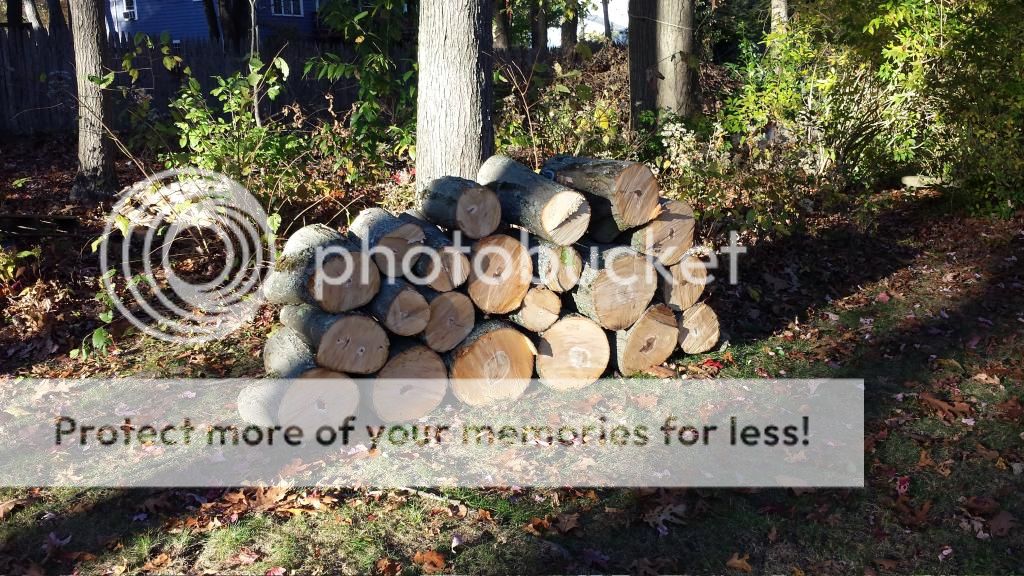
What I got from American Climbers:
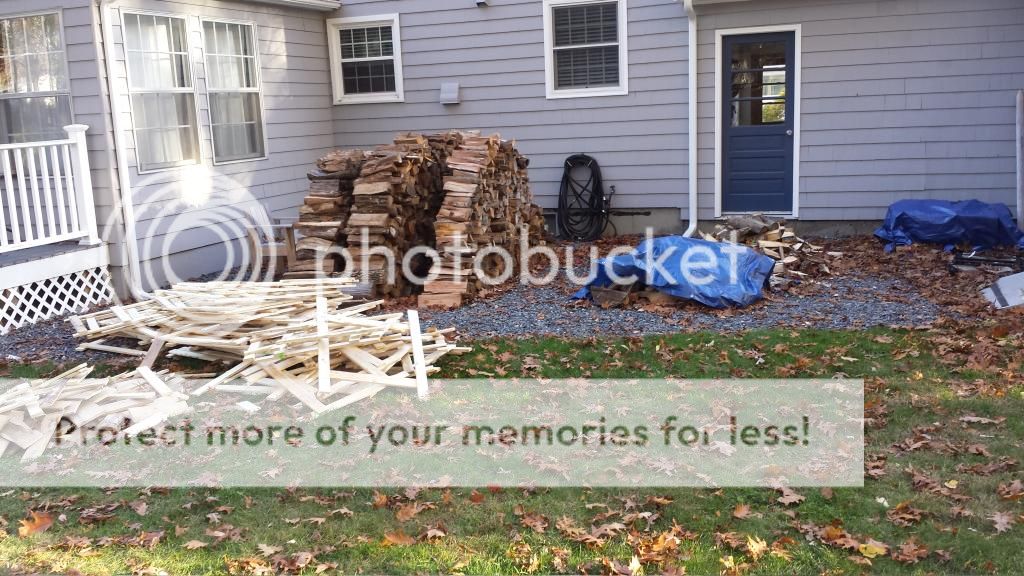
Pallets plus the seasoned wood for this year (it's covered usually - I don't have a wood shed this year so a tarp will have to do)
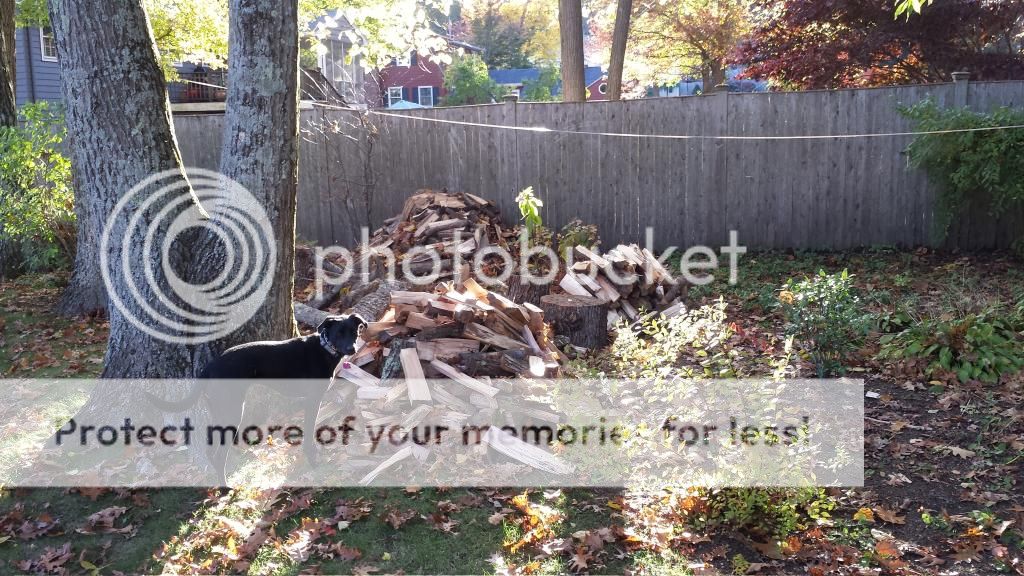
A lot of the wood I've split, mostly oak and maple. A small amount of pine, ash and apple.
I ended up buying an Enerzone 1.8 at at local store. I wanted a Jotul, but my wife didn't want to spend that much, so this was the compromise. I'm hoping she likes it enough that in a couple years we can add a freestanding wood stove. I had Barry John Chimney install it yesterday, and I was really happy with the results and the installers.
This weekend I'm going to do my break-in fires. We have a 5 month old son and I don't want to do them with him in the house, and my wife happens to be going to visit her parents for a couple days and I'm staying home.
Anyway, enough of that, here's the pictures of the install and some of my wood supply.
Empty fireplace
Flue removed
Dropping in the liner
Liner in the fireplace
Stove ready to put in the fireplace
Stove in place
Liner attached to insert
All done!
What I got from American Climbers:
Pallets plus the seasoned wood for this year (it's covered usually - I don't have a wood shed this year so a tarp will have to do)
A lot of the wood I've split, mostly oak and maple. A small amount of pine, ash and apple.

")