I kind of dreaded tackling this, as things I've never done before have a way of turning out to be much more difficult than I typically anticipate. This time, though, I was pleasantly surprised. The process was quite painless and only extended because I saw a crack in the tunnel I replaced two years ago, and this was the opportune time to run to a hardware store for some furnace cement and repair it in hopes of extending its life. I fired up my Tarm in January of '09, and, as you can see, there wasn't much left of my nozzle at this point. While it would still gasify, the flame was usually yellow and not the blue and white I remember. The new one is in and I'm giving the furnace cement a few hours to dry before I fire it up. The instructions that came with the nozzle actually said to give it 10 or 12 hours after installation before firing. I don't understand that, as there wasn't any adhesives involved or anything. Perhaps they are trying to cover guys that bring the refractory in from the cold to install it, I don't know. At any rate, if you are due for this, it's not a bad job, but you might consider having some furnace cement on hand in case you spot something that could use it while
you're in there.
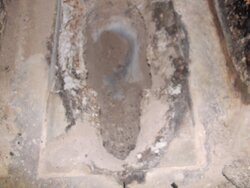
It was due
.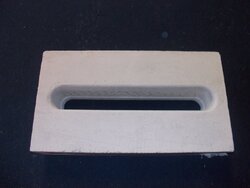
So nice and clean.
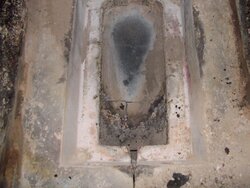
The prepped firebox.
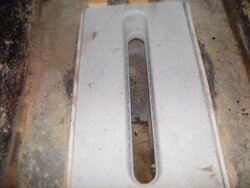
Hopefully, good for another 5 or 6 years.
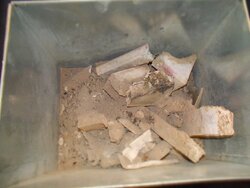
The remains.
you're in there.

It was due
.

So nice and clean.

The prepped firebox.

Hopefully, good for another 5 or 6 years.

The remains.

