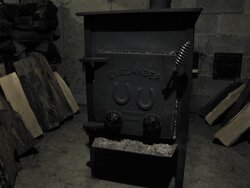
Hello all, new guy here. I'm also new to wood stoves...never had my own. I picked up this lil Englander at a yard sale. It's proved difficult to get much information on it. Unusual, Google images typically is my go-to for looking something up, no luck.
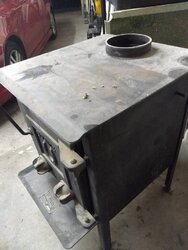
I cleaned it up and repainted it. An early progress pic.

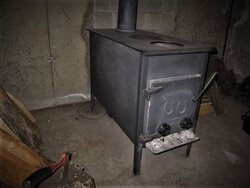
cleaned up

The paint I used.

New feet were needed.


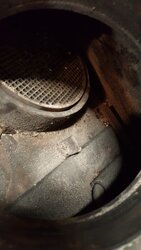
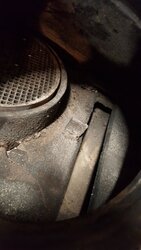
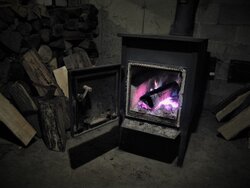
firebox needs some tabs to secure the fire brick

mock up.


ran out of fire brick for the bottom...back to the store I go.....

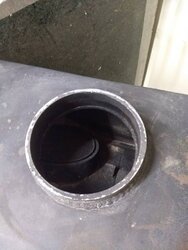
here's an old thimble I'm going to use. I will need to change the opening to accept 8in OD. It's cast but I've read you can jig saw it.

prepping the studs...more on this later

The door and hi-temp silver paint

Questions to follow soon.
I cleaned it up and repainted it. An early progress pic.
cleaned up
The paint I used.
New feet were needed.
firebox needs some tabs to secure the fire brick
mock up.
ran out of fire brick for the bottom...back to the store I go.....
here's an old thimble I'm going to use. I will need to change the opening to accept 8in OD. It's cast but I've read you can jig saw it.
prepping the studs...more on this later
The door and hi-temp silver paint
Questions to follow soon.


 .
.