CenterTree
Minister of Fire
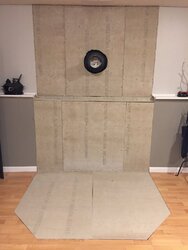
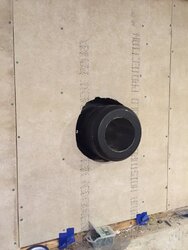
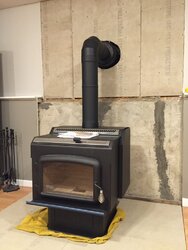
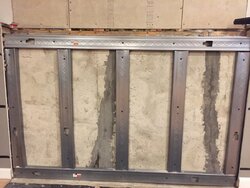
So, how did the install turn out?Got my 13.75" x 13.75" frame all put together last night. I left it removable as I want to have as much room as possible to get the thimble installed. The tracking info shows the thimble should arrive tomorrow so it looks like the weekend will be a busy one!
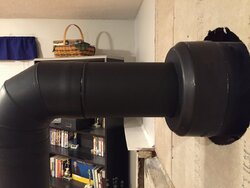
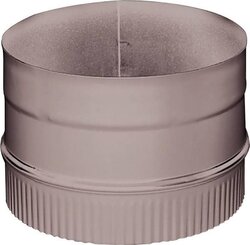
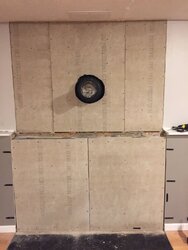
One question I had is.. I measured my snout last night and it sticks out about 5.25" from the chimney brick. Will this be enough for it to pass through the thimble? Or will the extension pipe that's included with the thimble make up for the distance? 5.25" makes it just behind my rock board it seems so i may need to extend the thimble out a bit as well.


")