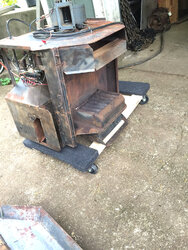
Recently got the bug to do some stove stuff to keep from going stir crazy.
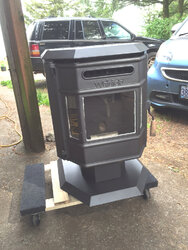
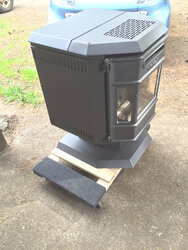
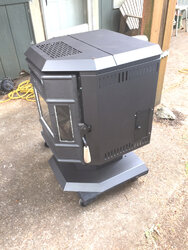
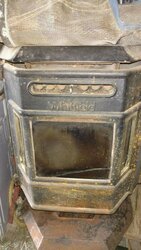
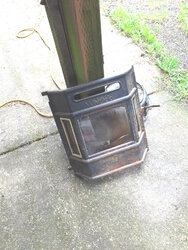
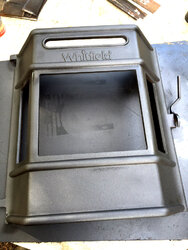
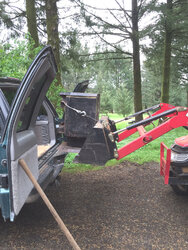
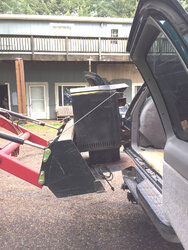
Bought a little Whit off Craigs list and dragged it home last week.
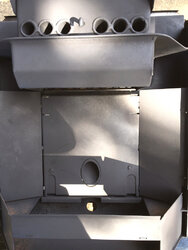
Tin was in good shape and not bent up, but the dirt, rust and other crud was just awful
Poor little fellow had been been stored in an outbuilding and was really nasty.
No rodents inside though")
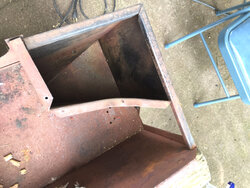
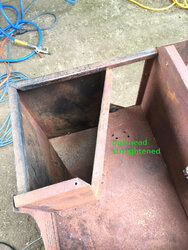
Tore the thing all the way down to the bare chassis and started there to bring it back up.
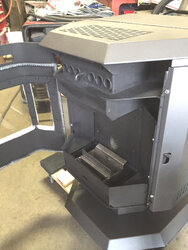
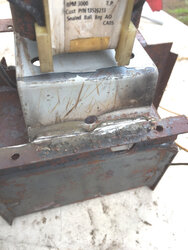
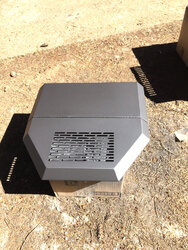
Blasted the base, sides and top with rust killer, then sanded, primed and repainted with stove bright.
The moron that had worked on it should be banished to a dark place.
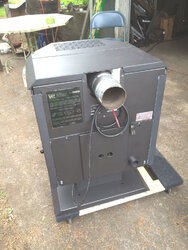
The draft/ booster fan had been wired into the auger feed circuit, so the draft fan ran in spurts with the feed cycle
The room air (also feeds fire pot through a shunt) blower did not run right and snooping revealed that the trim pot on the board had been screwed all the way to the nuts.
Board is fine.
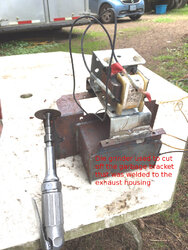
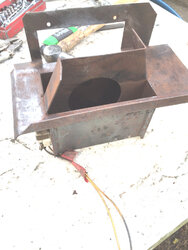
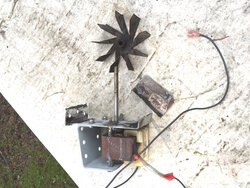
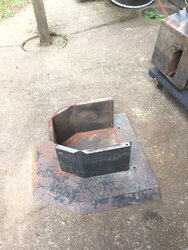
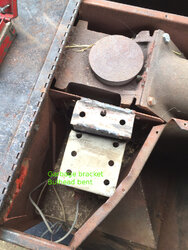
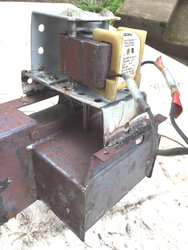
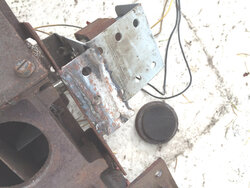
The draft booster fan had been replaced and a haphazard cobbled up bracket made to hold the motor.
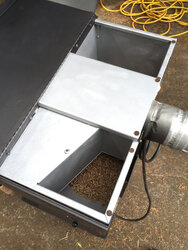
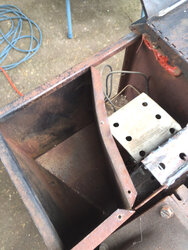
The cooling blade was missing as was the venturi ring.
The fan set up was miss located and the shaft was rubbing on the side of the hole in the fan box.
Vibrated so bad the entire stove shook.
To be very specific, this little stove was a 5 alarm train wreck
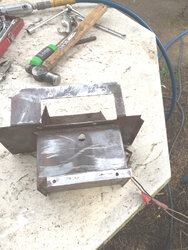
The past few days of good weather allowed time to clean a lot of the parts and get them painted.
The lower auger bushing was shot and nearly gone.
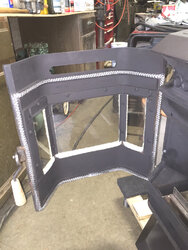
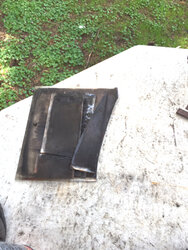
All three glass windows were broken (Hit by something)
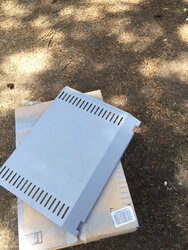
Here are some pix
Bought a little Whit off Craigs list and dragged it home last week.
Tin was in good shape and not bent up, but the dirt, rust and other crud was just awful
Poor little fellow had been been stored in an outbuilding and was really nasty.
No rodents inside though
Tore the thing all the way down to the bare chassis and started there to bring it back up.
Blasted the base, sides and top with rust killer, then sanded, primed and repainted with stove bright.
The moron that had worked on it should be banished to a dark place.
The draft/ booster fan had been wired into the auger feed circuit, so the draft fan ran in spurts with the feed cycle
The room air (also feeds fire pot through a shunt) blower did not run right and snooping revealed that the trim pot on the board had been screwed all the way to the nuts.
Board is fine.
The draft booster fan had been replaced and a haphazard cobbled up bracket made to hold the motor.
The cooling blade was missing as was the venturi ring.
The fan set up was miss located and the shaft was rubbing on the side of the hole in the fan box.
Vibrated so bad the entire stove shook.
To be very specific, this little stove was a 5 alarm train wreck
The past few days of good weather allowed time to clean a lot of the parts and get them painted.
The lower auger bushing was shot and nearly gone.
All three glass windows were broken (Hit by something)
Here are some pix

")