
Building my hearth pad before my pipe comes in and I get to install that. I figured I’d show some pictures of the process since I have no skill and I’m trying this on my own. These things are up to $300 a pop and nobody really has a bunch of extra cash hangin around so I just figured I might encourage a few people to give it a try.
I took my measurements, then asked the “boss”, my wife, what she liked. We came up with this size for the corner where the P38 is going to sit. Now up front I will say my local code enforcement is an anomaly, and they required that I have a layer of cement board under the tile. This provides the UL listing they so desperately require. I cost me $10 and I would loose the fight so, end of story. Here is my progress so far.
First I cutout the plywood, then when satisfied with it, used it for a template for the Hardyboard.

It was recommended I place a skim coat of Thinset mortar between the plywood and H-board to prevent air pockets. I also used stainless screws to fasten the two together. Although you can tell I didn’t do a great job by the pic with the skim coat near the edge. I don’t know if I’d do that again.

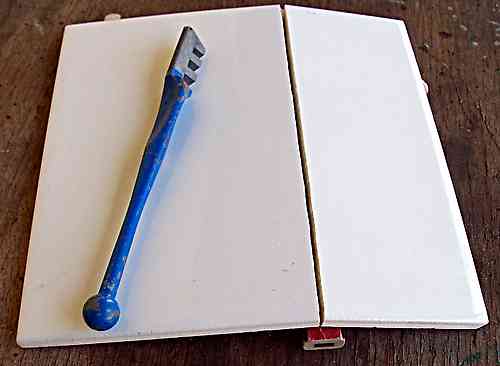
Next I’ve started laying the tile. The pieces missing are going to be marked and cut at a buddy’s house. He has a wet saw and can show me how to use it.

Well that’s it sofar…I’ll update it as I go.
I took my measurements, then asked the “boss”, my wife, what she liked. We came up with this size for the corner where the P38 is going to sit. Now up front I will say my local code enforcement is an anomaly, and they required that I have a layer of cement board under the tile. This provides the UL listing they so desperately require. I cost me $10 and I would loose the fight so, end of story. Here is my progress so far.
First I cutout the plywood, then when satisfied with it, used it for a template for the Hardyboard.
It was recommended I place a skim coat of Thinset mortar between the plywood and H-board to prevent air pockets. I also used stainless screws to fasten the two together. Although you can tell I didn’t do a great job by the pic with the skim coat near the edge. I don’t know if I’d do that again.
Next I’ve started laying the tile. The pieces missing are going to be marked and cut at a buddy’s house. He has a wet saw and can show me how to use it.
Well that’s it sofar…I’ll update it as I go.

")