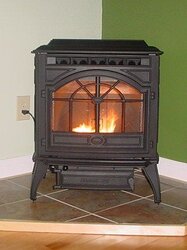
Hey guys, I'm a first time pellet stove owner and we are trying to install our Harman P61A and I had a few small questions, if anyone can help I'd greatly appreciate it, thanks.
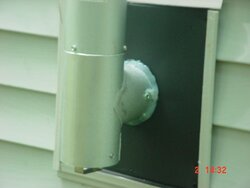
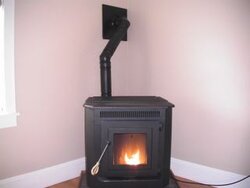
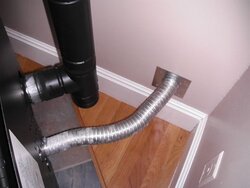
1. Is the vent pipe supposed to be practically up against the back of the stove? We did a mock-up of our vent pipe and you put the collar and then the T piece and the pipe runs up like right next to the stove, is this ok or are we supposed to add another peice to move it out farther?
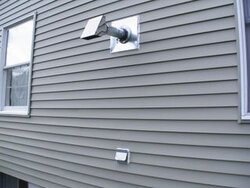
2. Anyone know about the pellet vent pipe being near our copper water pipes? Do they need to be a specific amount of space apart or are they ok in close proximity?
3. I know you are supposed to use a few elbows as possible but the guy who delivered our stove said if you use more than 2 90 degree elbows you void your warranty, I don't see anything like that in the manual, just to use as few as possible, I can't see us using less than 3 since he said that the T piece counts as well, would prefer to use 4 but could do it with 3 but I don't want to void the warranty.
4. We were given an 'adjustable' piece of vent pipe, I get that you just slide the pipe into the adjustable pice to your desired length but what about using the silicone with these pieces? Just put the silicone inside the adjustable piece? Or is there a better way to connect these two pices?
Any thoughts or suggestions would be greatly appreciated, we'd like to get this thing up and running ASAP. Thank you so much in advance, our oil bill thanks you too!
1. Is the vent pipe supposed to be practically up against the back of the stove? We did a mock-up of our vent pipe and you put the collar and then the T piece and the pipe runs up like right next to the stove, is this ok or are we supposed to add another peice to move it out farther?
2. Anyone know about the pellet vent pipe being near our copper water pipes? Do they need to be a specific amount of space apart or are they ok in close proximity?
3. I know you are supposed to use a few elbows as possible but the guy who delivered our stove said if you use more than 2 90 degree elbows you void your warranty, I don't see anything like that in the manual, just to use as few as possible, I can't see us using less than 3 since he said that the T piece counts as well, would prefer to use 4 but could do it with 3 but I don't want to void the warranty.
4. We were given an 'adjustable' piece of vent pipe, I get that you just slide the pipe into the adjustable pice to your desired length but what about using the silicone with these pieces? Just put the silicone inside the adjustable piece? Or is there a better way to connect these two pices?
Any thoughts or suggestions would be greatly appreciated, we'd like to get this thing up and running ASAP. Thank you so much in advance, our oil bill thanks you too!

")