
So, a massive amount of planning and work has finally come to fruition, thanks totally to the heaps of advice given to me here. A massive thank you to the owner of hearth.com, moderators, and all you lot who helped me out.
Background: one season burning in rental property, four days with just the insert during the ice storm outage, moved to new house (to us), 2000 sq feet, open plan-ish, knew I wanted to heat with wood for cost and environmental reasons.
We went back and forwards with inserts and stoves - finally decided on a stove because our firebox is on the smaller side and I really wanted the flames to be raised and off the floor. Along with that I wanted the stove as far back as possible, and to rear vent for a cleaner look (the stove is on the longer wall so it tends to dominate the room). The lack of required blower was a bonus as well.
Independently my wife and I picked out the Oslo in ivory enamel. For looks we wanted to close off the fireplace - we've lived in six houses in three years - this one is it now for at least 15 years, so no worries about resale issues.
This in itself complicated the install - how to clean the tee and remove swept creosote (sweep top down, use the cook top to brush the stove pipe and vacuum up the tee). That was followed by the discovery of a small flue - 6" on the smaller dimension. Knowing I wanted it insulated (from here), you led me to the Simpson rigid oval which was installed, but not without mishaps (dropping three sections down the chimney because of popped rivets).
The final journey involved the limestone mosaic tiles behind the stove. The tiny mosaics are held together on 12x12" sheets with glue and mesh. A quick test told me two things - the glue was flammable, but the tiles could be mounted back to front with the mesh exposed, then the mesh pulled off when the thinset was dry. A quick sand on my test piece and you couldn't tell the difference.
Didn't work in practice - some meshes were glued MUCH better. Hours of picking with pincers, followed by hours of sanding, followed with horror upon realizing the mesh was fiber glass and we were incredibly itchy and there was fiber glass everywhere. We must have put 30 hours into cleaning that up. Anyway, final install went fine. First burn tonight. Proof:
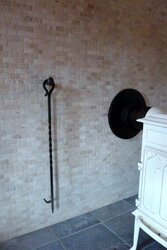
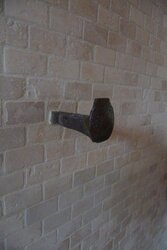
") I think I even have the spikes.
I think I even have the spikes.