OK so as we get deeper and deeper into the 24/7 season the situation with a large coal bed and the want/need for heat, and the battle for firebox space and what to do will continue. I have a waste not want not attitude when it comes to my BTUs. I work way to hard processing my wood to not get the maximum use out of it. With that in mind I have tried many ways to address the large coal bed (I burn mostly Oak). So with some experimenting with the drag it forward, lay a split across the pile method, with some but not great success, I was experimenting with another method, which I call the zipper method, which works, at least for me, much better.
I am sure somewhere on this forum, someone has presented this, so I apologize in advance to whoever that is for stealing your idea.
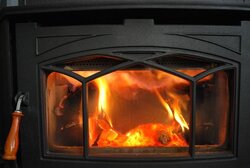
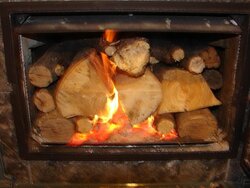
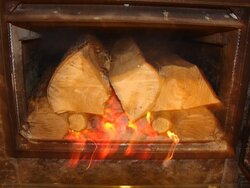
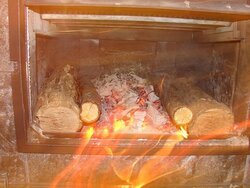
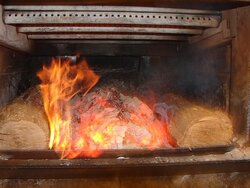
Instead of dragging the coals all forward towards the air I make a pile, front to back, directly in front of the "dog house". I then refill my stove, starting on either side of my centered pile. I then place wood, all of the pieces n/s and fully load the stove.
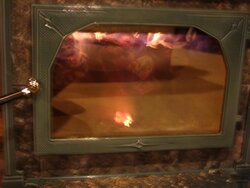
I then operate the stove exactly like I usually would, Within a short time-frame, primary air is or is nearly completely closed, secondaries flaming away.
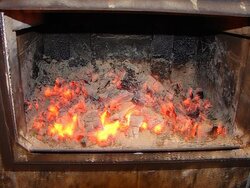
Because the airflow from the doghouse is so direct and intense, the dog house works like a forge, creating a huge amount of heat and burning down the coals, while using the BTUs effectively. Add to this that I am able to essentially run the stove full, the coals act like a big split in the middle of the stove, there is not an issue with the house cooling down, as it would sometimes do when trying to burn down the coals.
This is just another way, for me, a better and more efficient way, to burn down the coals. Is it a "better mouse-trap"? Maybe, maybe not, but it is for me. I would encourage anyone with the "I have to many coals" issue to try this method.
I am sure somewhere on this forum, someone has presented this, so I apologize in advance to whoever that is for stealing your idea.
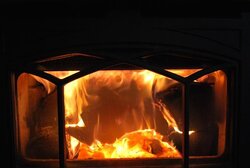
Instead of dragging the coals all forward towards the air I make a pile, front to back, directly in front of the "dog house". I then refill my stove, starting on either side of my centered pile. I then place wood, all of the pieces n/s and fully load the stove.
I then operate the stove exactly like I usually would, Within a short time-frame, primary air is or is nearly completely closed, secondaries flaming away.
Because the airflow from the doghouse is so direct and intense, the dog house works like a forge, creating a huge amount of heat and burning down the coals, while using the BTUs effectively. Add to this that I am able to essentially run the stove full, the coals act like a big split in the middle of the stove, there is not an issue with the house cooling down, as it would sometimes do when trying to burn down the coals.
This is just another way, for me, a better and more efficient way, to burn down the coals. Is it a "better mouse-trap"? Maybe, maybe not, but it is for me. I would encourage anyone with the "I have to many coals" issue to try this method.

 ! Damn.... I am still trying to figure out how to post a pic then text under it, then another pic, and so on.
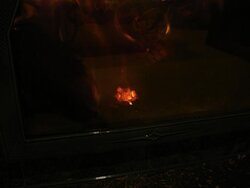
") I have to agree, I would have burned down longer if I were loading the regular way (pulling all coals forward).
I have to agree, I would have burned down longer if I were loading the regular way (pulling all coals forward).