Jim K in PA said:
Piker - great write up and perfectly useable videos.
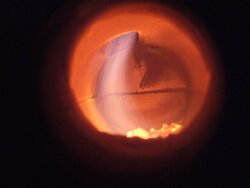
I am not as familiar with the DD gassers, but perhaps that tangential nozzle flame will help prolong the life of the refractory materials. Direct impingement will certainly cause a higher scouring rate than angular impingement. Good engineering.
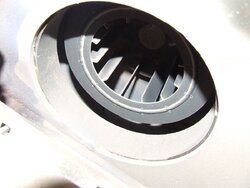
How many nozzles are there in the FHG? With my GARN there is only a single gassification flame, but it's as big as my thigh!
For a single district system, an FHG with 1k or 1.5 gals of storage looks ideal.
Best of luck with your system.
I am glad that folks are enjoying the thread. The whole process of installing this boiler, cataloging the install, and learning how to operate it has been tons of fun for me. I feel like a kid with a new toy, and I'm just thrilled with the results so far. This was a good move for us, no doubt about it. It has certainly made life easier on us with regards to operation of the heating system.
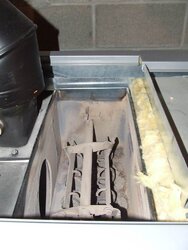
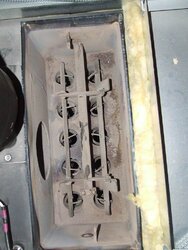
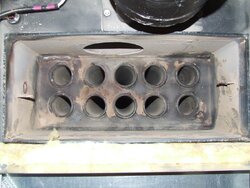
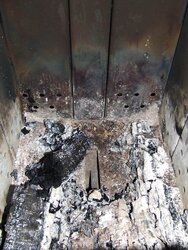
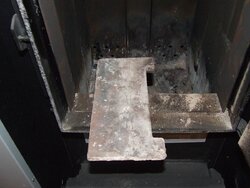
I hadn't given it much thought, but maybe you are right about the tangential nozzle extending the life of the refractory. I can't say that it will or will not - cause I simply don't know... but it makes sense. I believe Froling states a 10 year lifespan on the refractory. Cool thing about it is, the entire refractory mass can be replaced by simply sliding a new one in. No poured refractory mass to chisel apart and repour inside the vessel like our last unit. When it's time to replace the refractory, you break the circular refractory along the sides where it's thinnest, and work the pieces out as the entire unit is sort of mortised and tenoned to the vessel with metal tabs... then the new refractory just slides in. Once in place, you slide new metal tabs through some slots in the refractory into the vessel to hold it in place. I have never done it, but it sounds simple... maybe a 30 minute job? An hour tops? Who knows... I don't think I'll have to worry about it for a while.
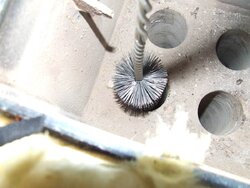
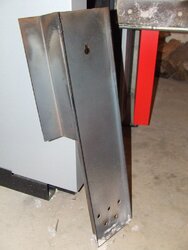
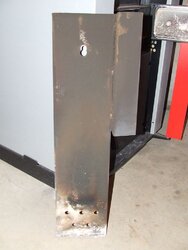
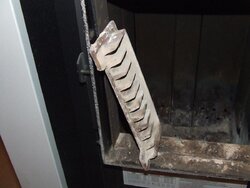
The other thing i like about the refractory in this boiler is the top of the nozzle... it's not refractory... it's cast iron. Just a square piece of cast plate with a slot down through the center of it that sits over the nozzle atop the circular refractory mass. Instead of chiseling out a refractory nozzle brick every two or three years for replacement, you can just slip this piece of cast out and put a new one in if necessary. Not sure what the life expectancy of this cast nozzle-top is. I would think more than 3 years if you're not banging it around all the time. I'll take some pics of that next time i'm down there photographing and making terrible videos.
")
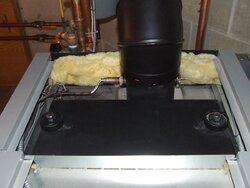
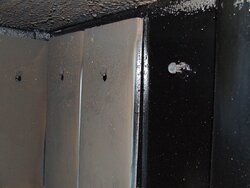
The Froling does what it does with one nozzle... I don't have measurements in front of me, but it looks to be a little bigger than the one our other boiler had. Not that a bigger nozzle implies anything... just noting the difference.
Thats all for now... have a pleasant evening.
cheers