
Thanks to Smokey I have finally been able to post some photos of the prep for the install and the final product. I did not start taking pics till I was several days into the project - that's when I joined the forum - but here goes.
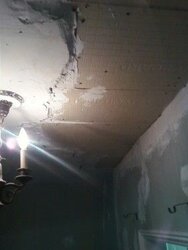
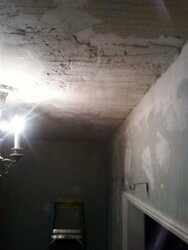
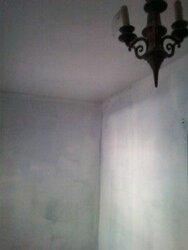
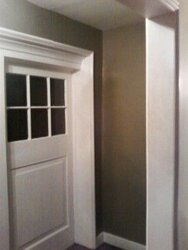
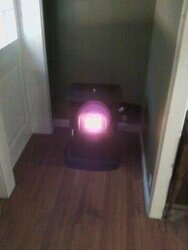
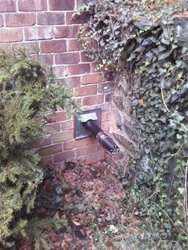
You can see the ceiling Madame Defarge insisted be rebuilt with plaster I cheated a bit with cement backer board to fill the void, but the final surface averages 1/2" plaster), the wall behind the stove which had a deep crater in the plaster down to the lathe when I started, as it was behind the old radiator and hadn't been touched in 85 years or so, and the final install, along with the exterior view of the venting, as posted elsewhere. I am not sure what order the pics will be in, but here goes. The area around the vent has since been cleaned up.
Now that I have pics, I guess it really happened.
Attachments
-
 Ceiling 1 281x375.jpg12 KB · Views: 349
 -
 Ceiling 2 281x375.jpg12.7 KB · Views: 344
 -
 Ceiling 4 281x375.jpg8.8 KB · Views: 339
 -
 Back Wall 1 281x375.jpg12.3 KB · Views: 331
 -
 Backwall Final 281x375.jpg9.8 KB · Views: 341
 -
 Final 1 281x375.jpg12.6 KB · Views: 342
 -
 Final Install 281x375.jpg11.6 KB · Views: 353
 -
 1024111518 281x375.jpg38.1 KB · Views: 337