
This is an excerpt from my personal blog. I thought I would post it here in case anyone has any advice or constructive criticism to offer. This is my first time ever building a hearth, so I am really trying to cross all my t's and dot all my i's!
Thanks!
----------------
The first order of business was using a tape measure, pen, and straight edge to figure out clearances and where the legs would stand for the wood stove. Once we had that all marked out, we measured out a wooden frame made of 2×6′s.

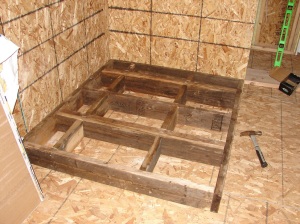
We doubled up the supports underneath where the legs will stand on the hearth, then added cross bracing for a bit more stability. Where the cross bracing and doubled 2×6′s meet are where the legs will be. It was pouring outside, so the wood was a bit wet to work with, but I think we did a good job. That thing is SOLID.
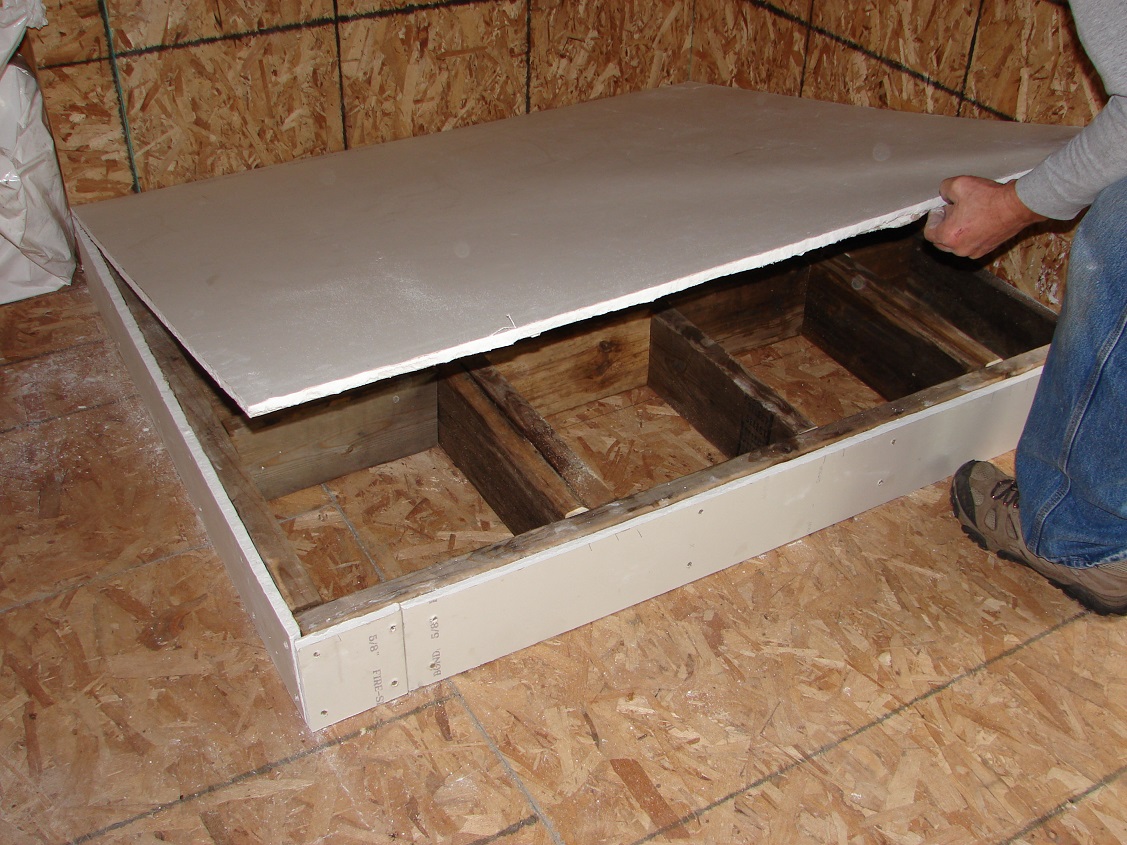
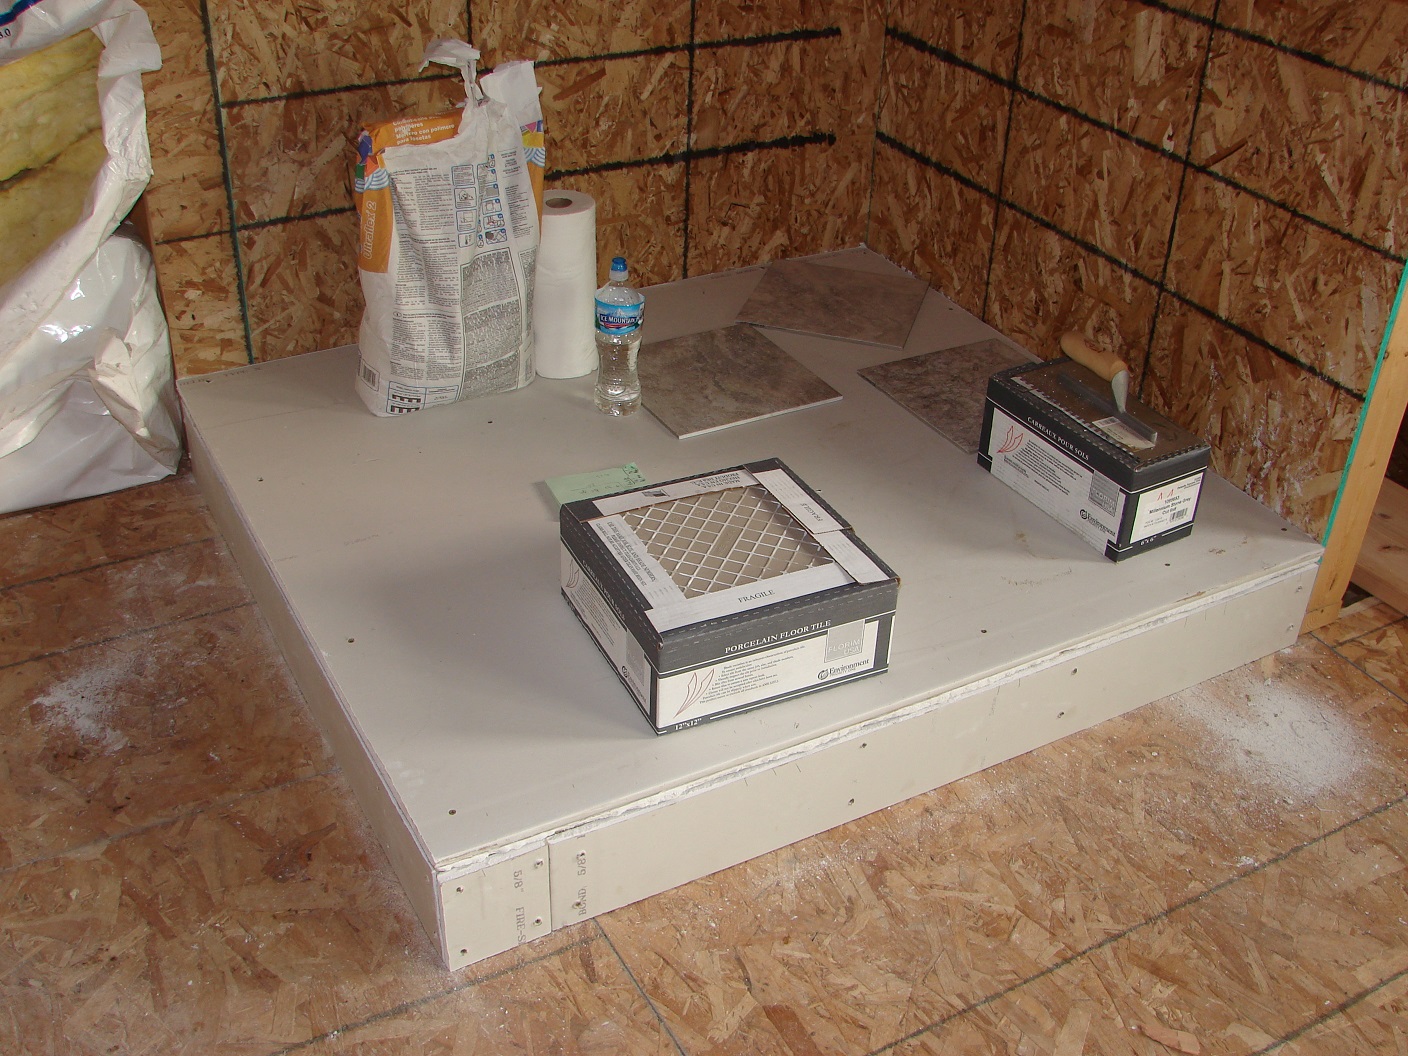
Once the frame was built, we got to cutting 5/8″ thick fire-resistant drywall to go around it. At an R rating of 0.49, we needed two layers to get the 0.8 R rating needed beneath the stove. The layer of tile will just be gravy now, since we’ve already exceeded the minimum R value.


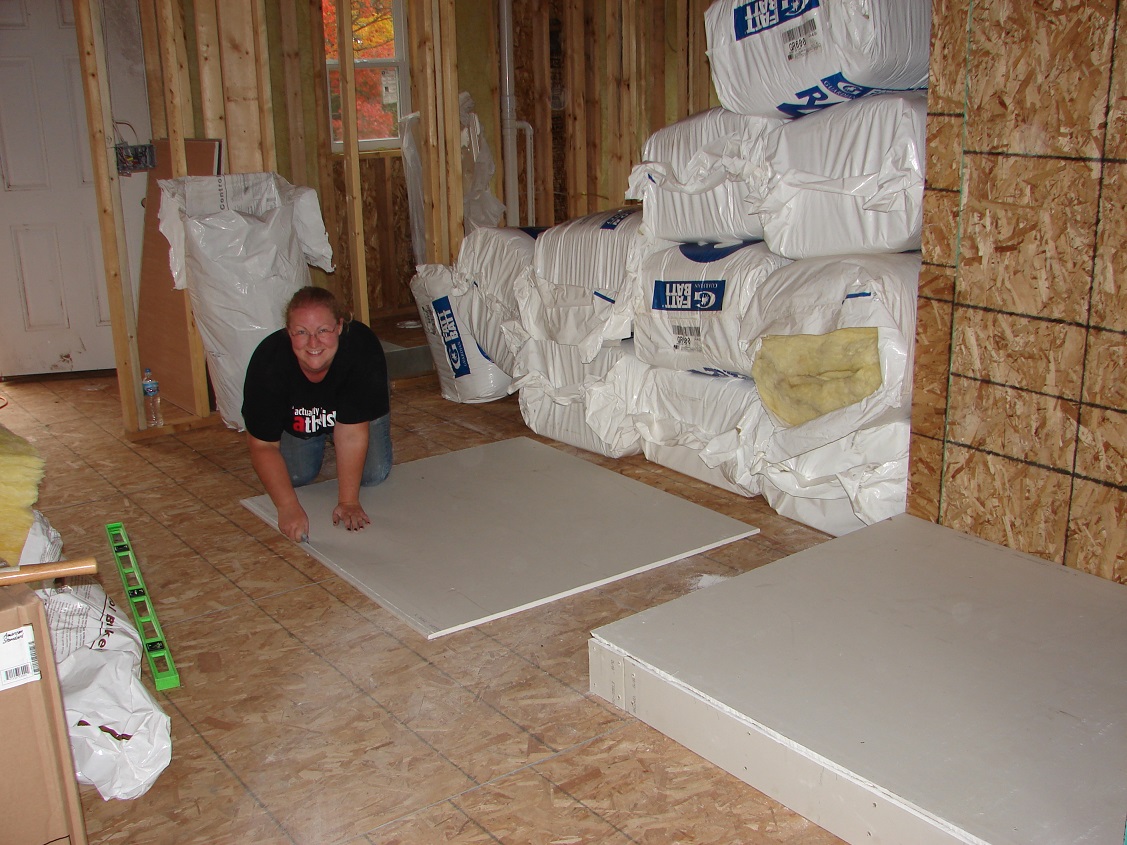
I think that is the very first time I have put a close-up of my face on this blog without blocking it out. It feels strange. My dad was getting a bit carried away with taking pictures today, so I’d feel bad if I didn’t use some of them. Fun fact, I was actually talking to him when he snapped this one. That’s not a smile. That’s me saying “cow chit” because that’s what the air smelled like today. Good old rain, stirring up the fields all around us. Hehe.
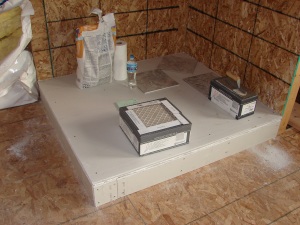
So that’s the hearth pad built and ready for the next stage: tiling. You can see three sample tiles in the top corner there. I got 12×12′s and 6×6′s. Not really sure what pattern to use, or if I should do straight or diagonal. Guess that’s what the conversation will be about tonight when I Skype with my hubby. He always has great ideas. Pretty sure he’ll come up with something, crack his whip, and tell me what to do. I don’t mind because his ideas are usually better than mine anyway.
I should have this thing all tiled before next weekend since the installers are coming on Monday the 21st to get the wood stove into place. I’d like to have everything set at least 48 hours before they arrive so it has time to harden up. Wish me luck and lots of elbow grease!
----------------
Any suggestions on how I should tile the base? I'm thinking I need to make sure the legs are coming down in the centers of the tiles instead of on the edges where the 1/8" grout will be. Or does that even matter?
I have 6x6 tiles and 12x12 tiles. The top of the hearth is 53x47, so I'll be doing some cuts no matter how I lay it out.
What about the walls? When I asked someone about it, they said the minimum clearance is only measured from the nearest combustible surface, and that it didn't matter if there was significant R rating material between the stove and the combustible surface as long as that distance was satisfied. I would like to run the tile all the way up behind and to the right of the stove. Is it okay to tile right on the OSB, or should I be tiling over fire-resistant dry wall on the walls as well?
Thanks!
Thanks!
----------------
The first order of business was using a tape measure, pen, and straight edge to figure out clearances and where the legs would stand for the wood stove. Once we had that all marked out, we measured out a wooden frame made of 2×6′s.


We doubled up the supports underneath where the legs will stand on the hearth, then added cross bracing for a bit more stability. Where the cross bracing and doubled 2×6′s meet are where the legs will be. It was pouring outside, so the wood was a bit wet to work with, but I think we did a good job. That thing is SOLID.
Once the frame was built, we got to cutting 5/8″ thick fire-resistant drywall to go around it. At an R rating of 0.49, we needed two layers to get the 0.8 R rating needed beneath the stove. The layer of tile will just be gravy now, since we’ve already exceeded the minimum R value.
I think that is the very first time I have put a close-up of my face on this blog without blocking it out. It feels strange. My dad was getting a bit carried away with taking pictures today, so I’d feel bad if I didn’t use some of them. Fun fact, I was actually talking to him when he snapped this one. That’s not a smile. That’s me saying “cow chit” because that’s what the air smelled like today. Good old rain, stirring up the fields all around us. Hehe.
So that’s the hearth pad built and ready for the next stage: tiling. You can see three sample tiles in the top corner there. I got 12×12′s and 6×6′s. Not really sure what pattern to use, or if I should do straight or diagonal. Guess that’s what the conversation will be about tonight when I Skype with my hubby. He always has great ideas. Pretty sure he’ll come up with something, crack his whip, and tell me what to do. I don’t mind because his ideas are usually better than mine anyway.
I should have this thing all tiled before next weekend since the installers are coming on Monday the 21st to get the wood stove into place. I’d like to have everything set at least 48 hours before they arrive so it has time to harden up. Wish me luck and lots of elbow grease!
----------------
Any suggestions on how I should tile the base? I'm thinking I need to make sure the legs are coming down in the centers of the tiles instead of on the edges where the 1/8" grout will be. Or does that even matter?
I have 6x6 tiles and 12x12 tiles. The top of the hearth is 53x47, so I'll be doing some cuts no matter how I lay it out.
What about the walls? When I asked someone about it, they said the minimum clearance is only measured from the nearest combustible surface, and that it didn't matter if there was significant R rating material between the stove and the combustible surface as long as that distance was satisfied. I would like to run the tile all the way up behind and to the right of the stove. Is it okay to tile right on the OSB, or should I be tiling over fire-resistant dry wall on the walls as well?
Thanks!
