
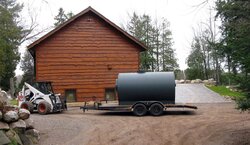
After a year and some delaying health issues/summer landscaping projects, I am finally able to install my Garn.
I have placed the Garn under the overhang and am ready to start enclosing the outside walls to make working on the Garn enclosure more comfortable.
I posted my photos at http://mygarnadventure.blogspot.com/ .
More to come once the installation is underway.
I have placed the Garn under the overhang and am ready to start enclosing the outside walls to make working on the Garn enclosure more comfortable.
I posted my photos at http://mygarnadventure.blogspot.com/ .
More to come once the installation is underway.
")