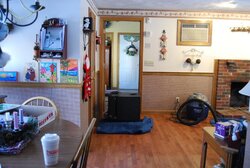
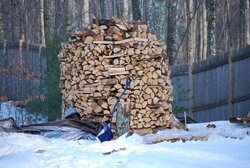
Finally got around to getting this together. The install was in two phases as there were missing parts to put the surround peices together. Installed on Dec 26th and the surround was finally installed Feb 16th. Loving every bit of the wood burning experience so far except not having enough wood (first year mistake).
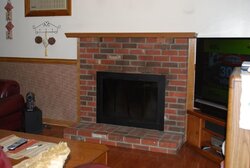
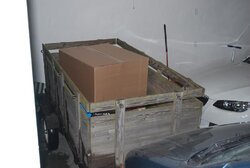
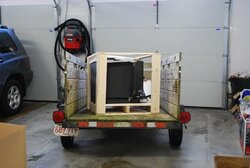
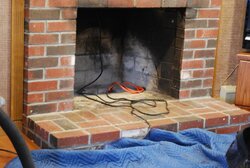
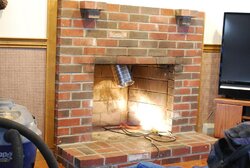
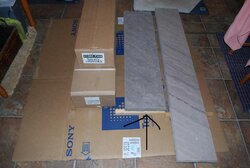
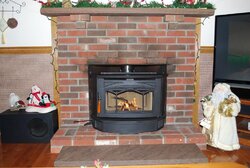
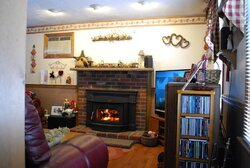
The first pic is the fireplace before the stove went in. I chose to purchase "cash and carry" to save three hundred bucks and it wasn't that bad to pick up and drive home. All you need is a utility trailer and you're on your way.
The first pic is the fireplace before the stove went in. I chose to purchase "cash and carry" to save three hundred bucks and it wasn't that bad to pick up and drive home. All you need is a utility trailer and you're on your way.

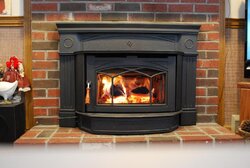
 ! Enjoy, once you get the hang of it you will like it even more. And the little lady will be pealing off clothing cause its soooooo hot
")