bunfoolio
Member
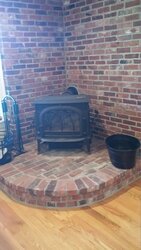
I have the Oslo In a corner install and only use the front door. Work fine with no problems
I do not use the side load due to the clearance issue. Get the stove it looks and a works great.
I do not use the side load due to the clearance issue. Get the stove it looks and a works great.