
Hi all,
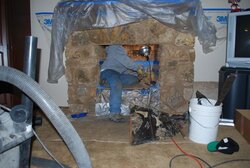
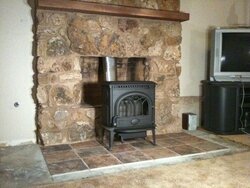
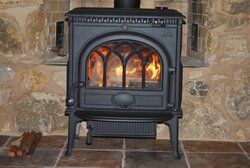
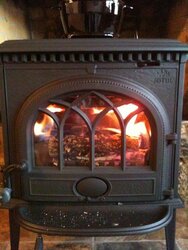
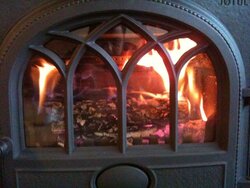
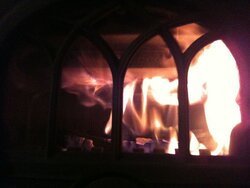
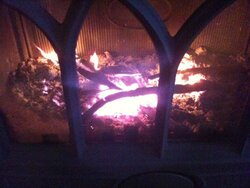
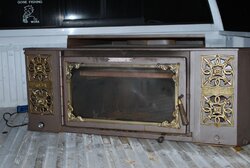
I want to thank the boards for a lot of information. Just by reading posts, I learned a lot. This install has been a nasty job. A lot of research, tons of time chasing parts, and a lot of labor. But I'm very happy with the stove. Having run a resolute for years, I was worried about these new EPA stoves. I love it ! Very clean burning, and we really enjoy watching the fire. Secondary burn is really cool to watch. After my first three small break in fires, I ran the stove most of the day and loaded her up around 11:30 pm. I shut it down around midnight, and at 8 AM I had enough coals left to just add a few pieces of kindling for an easy restart. Very, very happy. It was worth all the work getting the stove in. Our house was toasty warm when we went to bed, and still 70 degrees in the back hallway when we got up. Heater never turned on. Here are a lot of pictures of my install. Thank you for all the information !
Attachments
-
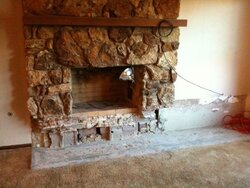
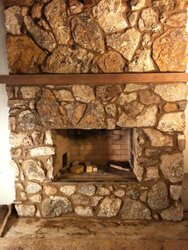
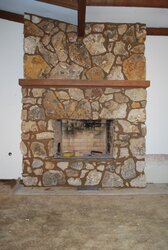
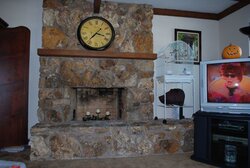 Fire Place.jpg57.6 KB · Views: 1,923
 -
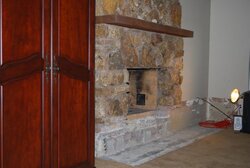
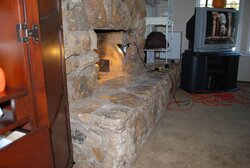 Fire Place 5.jpg53.5 KB · Views: 1,989
 -
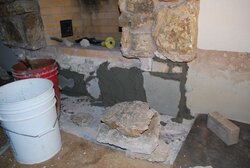
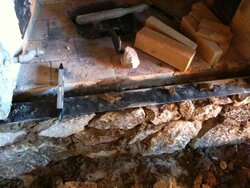
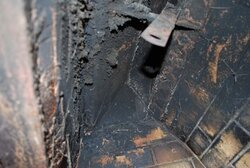
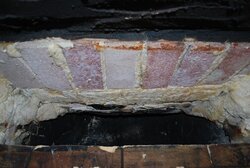
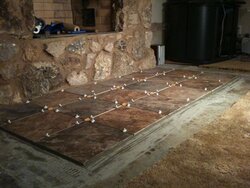
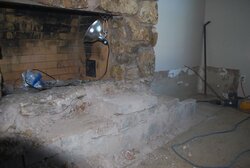 hearth removal.jpg46.2 KB · Views: 1,877
 -
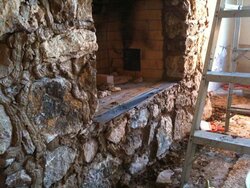
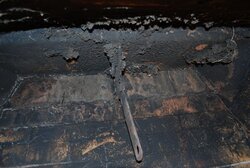
 hearth removal 2.jpg44.8 KB · Views: 1,870
 -
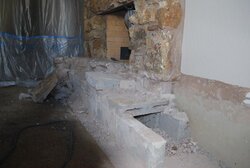
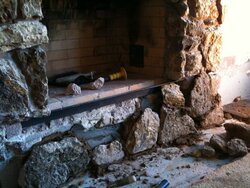
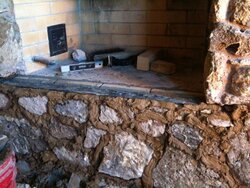
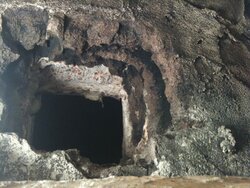
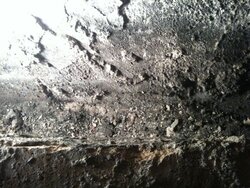
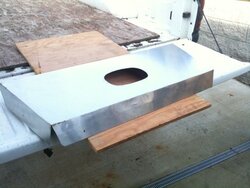
 removed hearth 2.jpg66.8 KB · Views: 1,849
 -
 removed hearth.jpg44.8 KB · Views: 1,797
 -
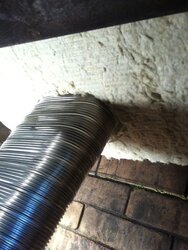
 chimney draft.jpg57.5 KB · Views: 1,809
 -
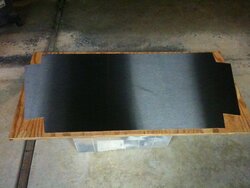
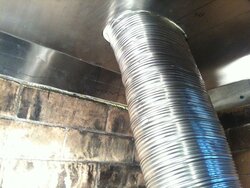
 rebuilding fireplace2.jpg54.1 KB · Views: 1,806


")