
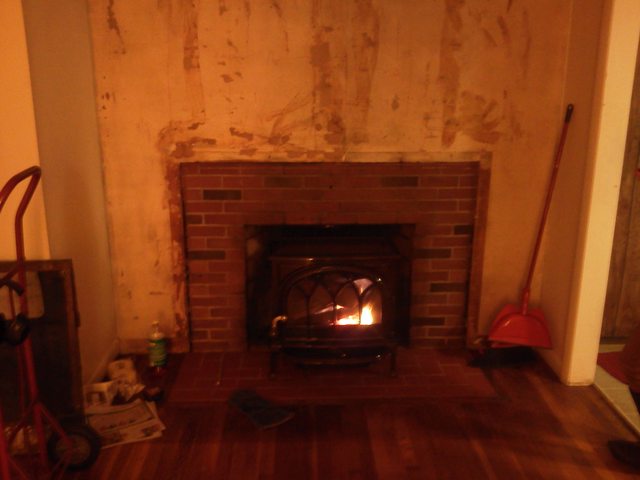
First post, been burning for one year now. Last year I heated my 1000 square foot (24x40) ranch exclusively with wood. Purchased a Jotul F400 Castine.Installed a chimney liner and short legs. Also put a plate above the stove with insulation with hopes to not loose heat up the chimney. Was a great stove, but was looking for something with bit more burn time and more girth so when there are only coals it still is putting out heat. This year I decided to go with the larger F500 stove, and completely block off my fireplace so there would be no heat loss up the chimney.
Below was my setup last year. Oh yea, My house was a major fixer upper.

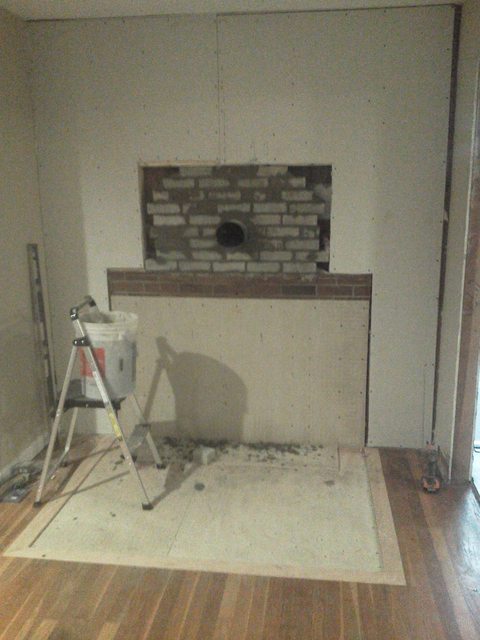
First I needed to extend my hearth. Cut my existing wood floors, and trimmed it off with oak boards. Bisquet and finish nails hold the trim in place. I reinforced underneath, and bridged the gap from the old heath to the floor joists with 1/4" hardy board. Tap cons for the cement and deck screws for the wood. I wanted my stove to have a top exit so blasted a hole through my brick chimney and blocked in a thimble. More hardy board to tie everything together.
Went with Ceramic Tile, and epoxy grout. Super tough and resistant to staining.
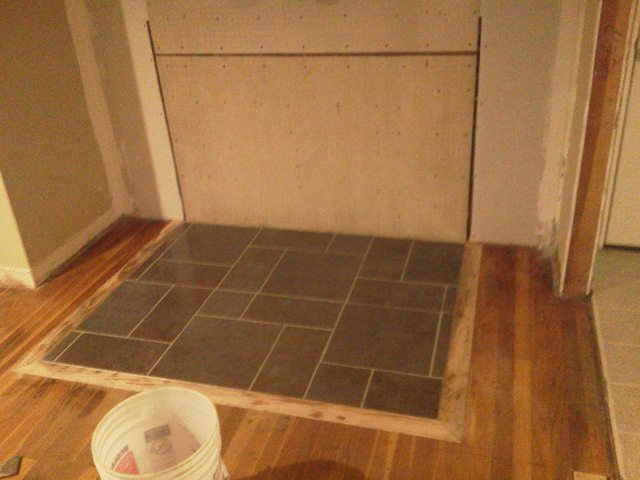
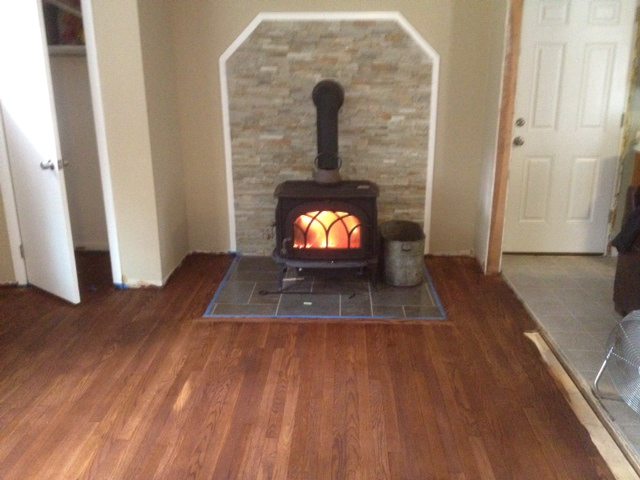
I opted for slate stone/tile. Went up nice. Cut about 2 feet off my liner, and stuffed it though the new hole.

Just need to sand the new rock and paint. Then the new beauty Can go in.
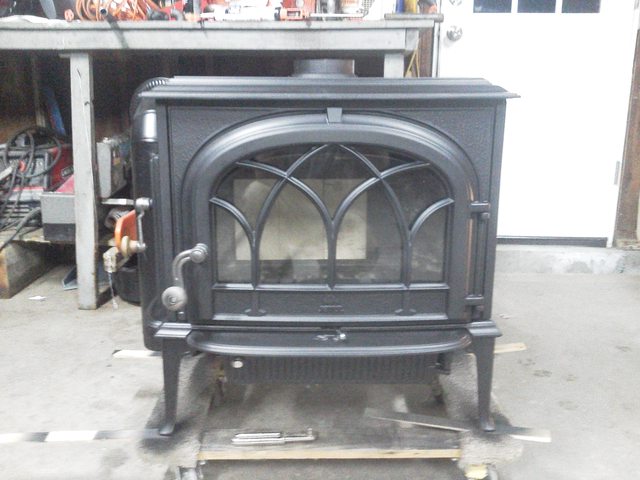
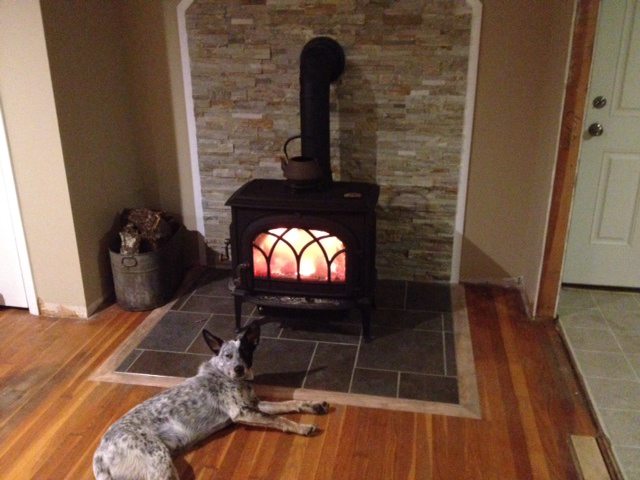
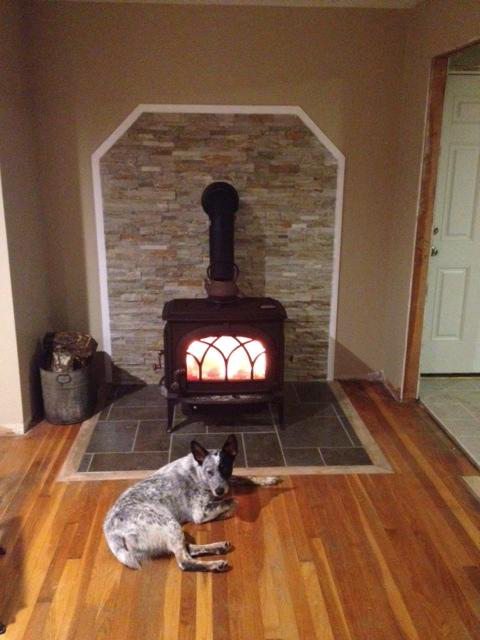
Jotul F500. Satin Stovebright, New bricks, and new glass.
Below was my setup last year. Oh yea, My house was a major fixer upper.
First I needed to extend my hearth. Cut my existing wood floors, and trimmed it off with oak boards. Bisquet and finish nails hold the trim in place. I reinforced underneath, and bridged the gap from the old heath to the floor joists with 1/4" hardy board. Tap cons for the cement and deck screws for the wood. I wanted my stove to have a top exit so blasted a hole through my brick chimney and blocked in a thimble. More hardy board to tie everything together.
Went with Ceramic Tile, and epoxy grout. Super tough and resistant to staining.
I opted for slate stone/tile. Went up nice. Cut about 2 feet off my liner, and stuffed it though the new hole.
Just need to sand the new rock and paint. Then the new beauty Can go in.
Jotul F500. Satin Stovebright, New bricks, and new glass.


")