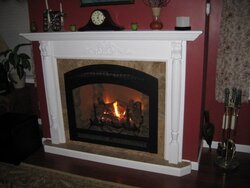
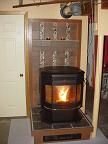
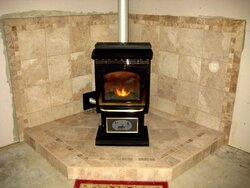
My wife and I finally finished the Hearth. Glowing embers did the stove install.
We even picked up a ton of barefoots in the Tundra, we drove about 30 miles
with them and the truck was fine. So I guess I am on my way.
Right now I am just trying to get used to the stove, its been burning for a week
all is well so far.
So what do ya think?
Thanks matt
We even picked up a ton of barefoots in the Tundra, we drove about 30 miles
with them and the truck was fine. So I guess I am on my way.
Right now I am just trying to get used to the stove, its been burning for a week
all is well so far.
So what do ya think?
Thanks matt
 Enjoy the heat and best of luck.