
Guys,
I know I promised pics. They're not great, but I have a few. We did our first test burn last night in the T6, and it went well at first. We stoked it, went to bed (had the blower on automatic, to see how it would do).
The next morning, we had what appears to be creosote splattered on the floor beneath/behind the stove, and a large splotch or two on top of the stove where it joins to the pipe. It looks like it dripped out of the pipe, either at that joint or above it. My question is: What is it, and how do I stop it? Do I need another damper?
It wasn't green wood, but it was a slow burn (the next morning we still had red coals and a hot stove).
Any help will be appreciated!
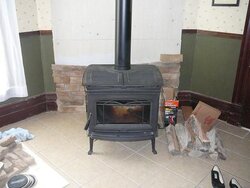
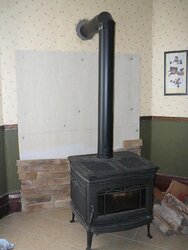
I know I promised pics. They're not great, but I have a few. We did our first test burn last night in the T6, and it went well at first. We stoked it, went to bed (had the blower on automatic, to see how it would do).
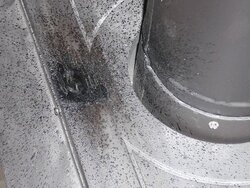
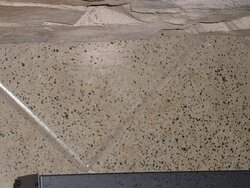
The next morning, we had what appears to be creosote splattered on the floor beneath/behind the stove, and a large splotch or two on top of the stove where it joins to the pipe. It looks like it dripped out of the pipe, either at that joint or above it. My question is: What is it, and how do I stop it? Do I need another damper?
It wasn't green wood, but it was a slow burn (the next morning we still had red coals and a hot stove).
Any help will be appreciated!

 how can you see rtv? holy cow....