
As an offshoot of this thread https://www.hearth.com/talk/threads...rmometer-alarm-yet.101851/page-3#post-1365214 I figured I'd make a build thread on building my own version of a digital stove thremo. I do not have all my parts yet so this is just a list of what's on order so far.
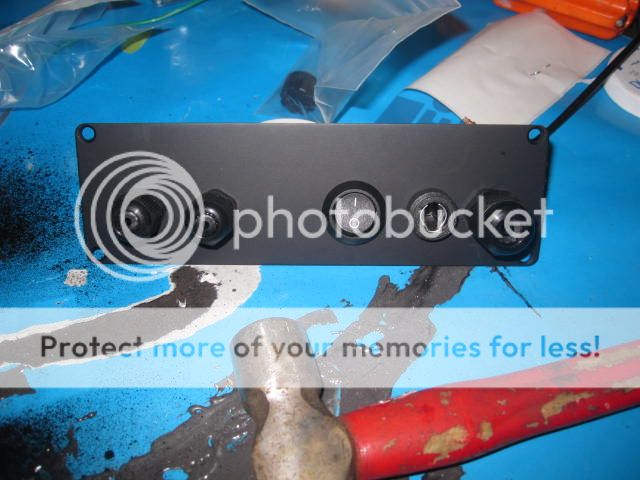
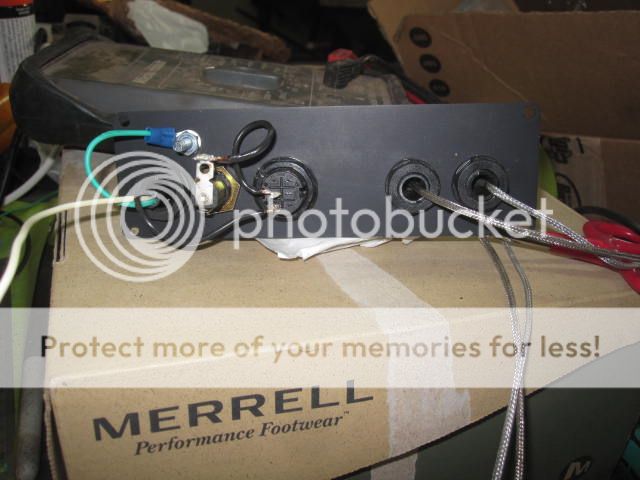
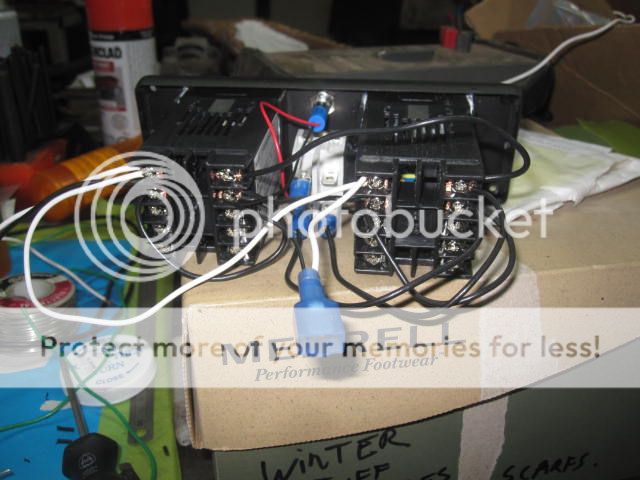
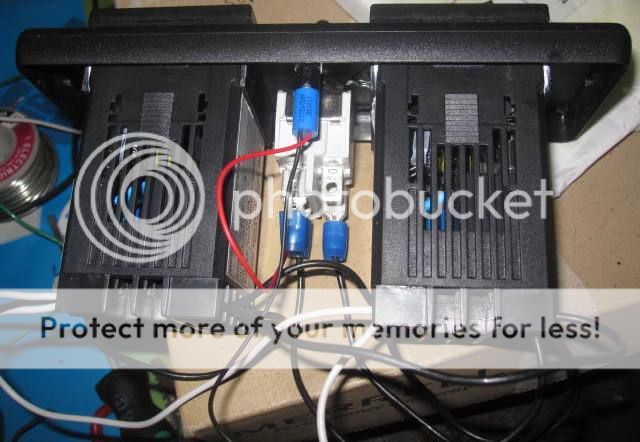
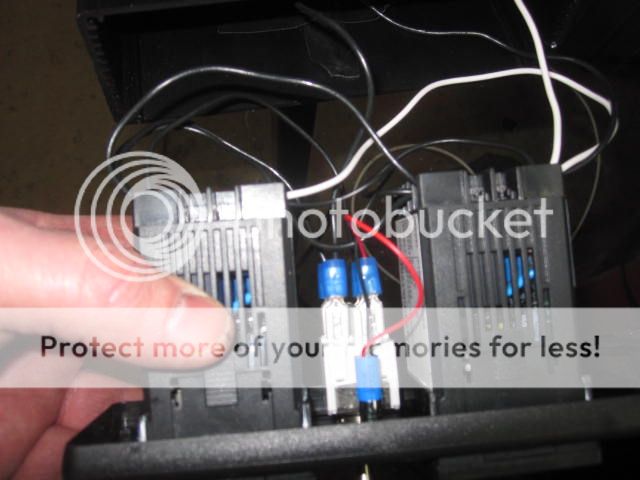
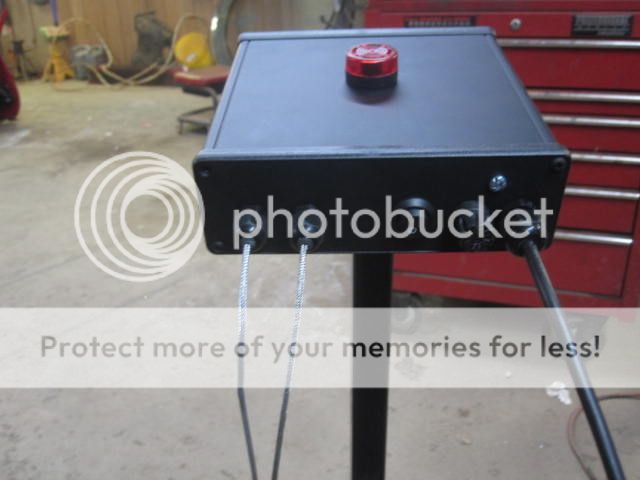
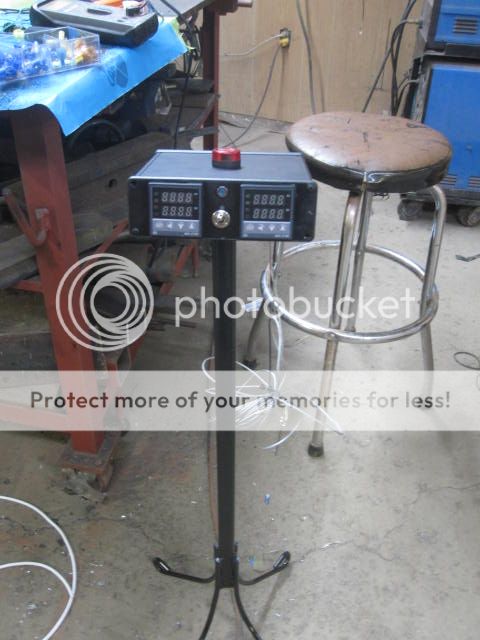
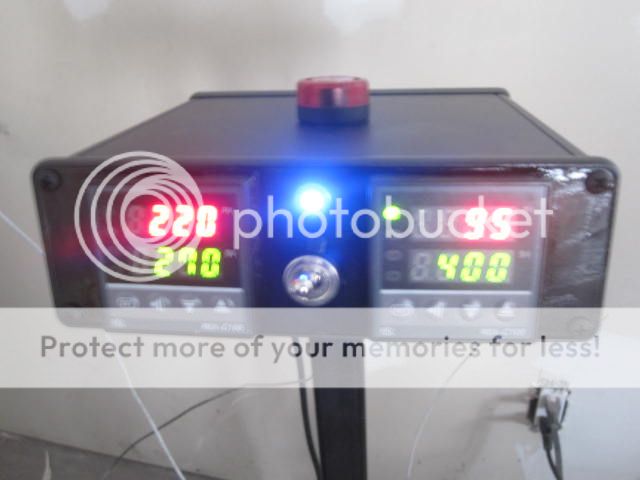
The unit will have 2 Pids. One for stove top and one for stove pipe.
There will be a switch to arm/disarm the alarm.
So time for a parts list.
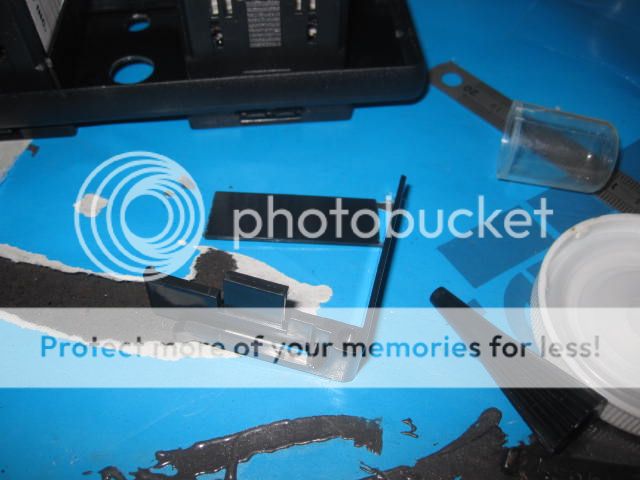
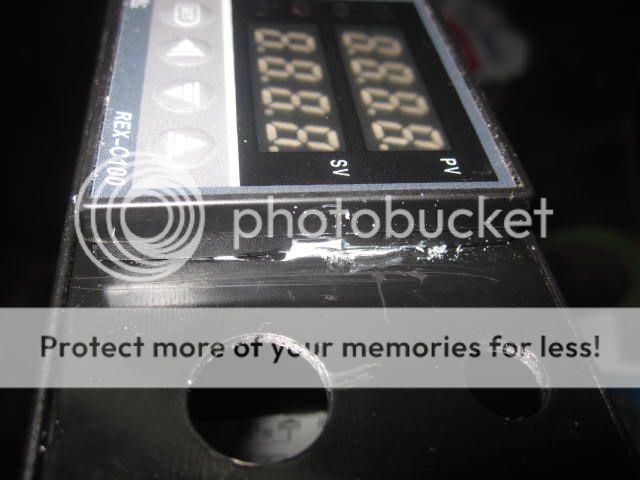
PIDS, the common Rex C100's. http://www.ebay.ca/itm/221101970614?ssPageName=STRK:MEWNX:IT&_trksid=p3984.m1497.l2649
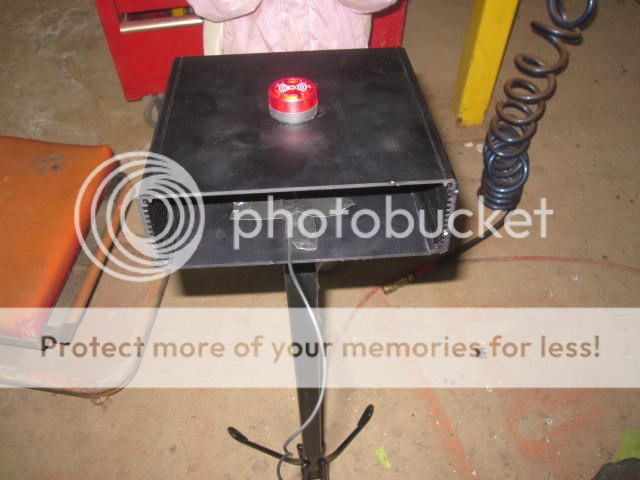
LED/Alarm , same as what Auber offers http://www.ebay.ca/itm/250983481063?ssPageName=STRK:MEWNX:IT&_trksid=p3984.m1497.l2649
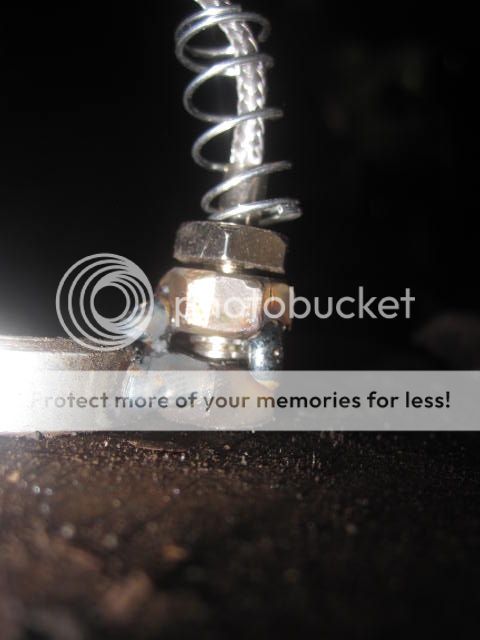
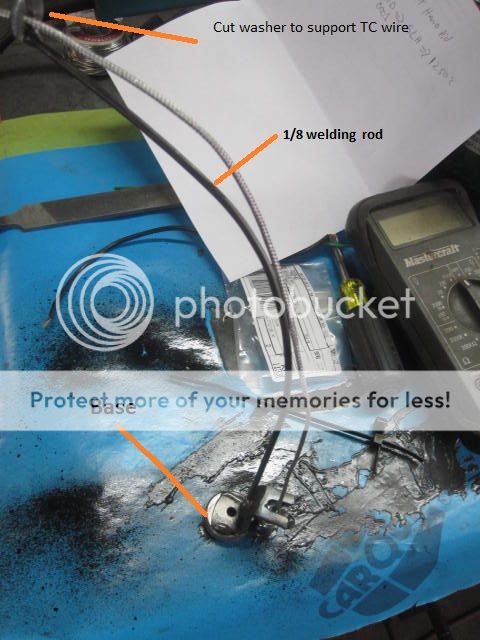
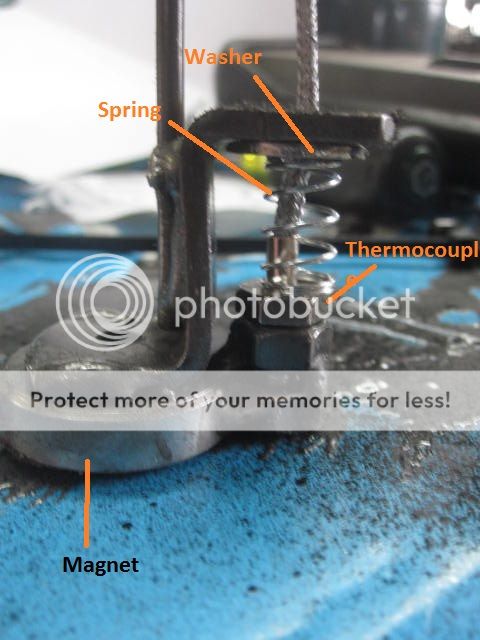
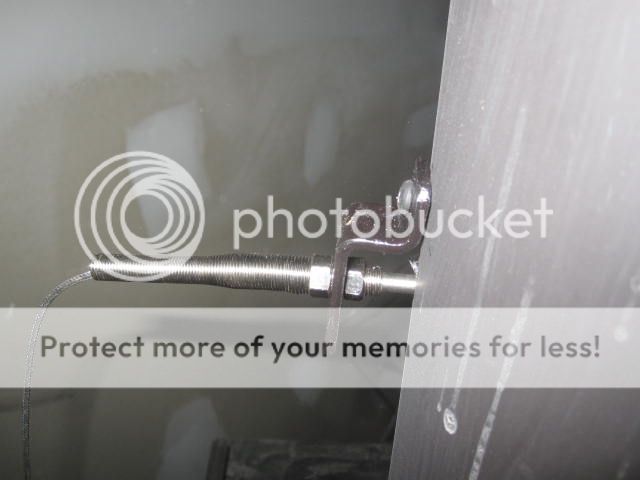
Stack Thermocouple, 1250*C rated, 100mm long. http://www.ebay.ca/itm/251209855097?ssPageName=STRK:MEWNX:IT&_trksid=p3984.m1497.l2649
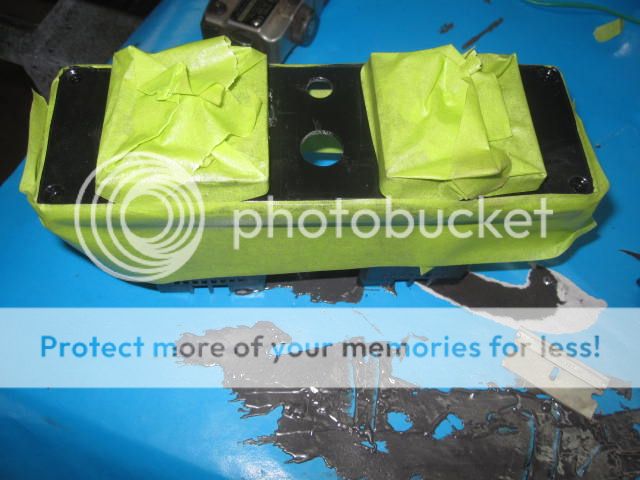
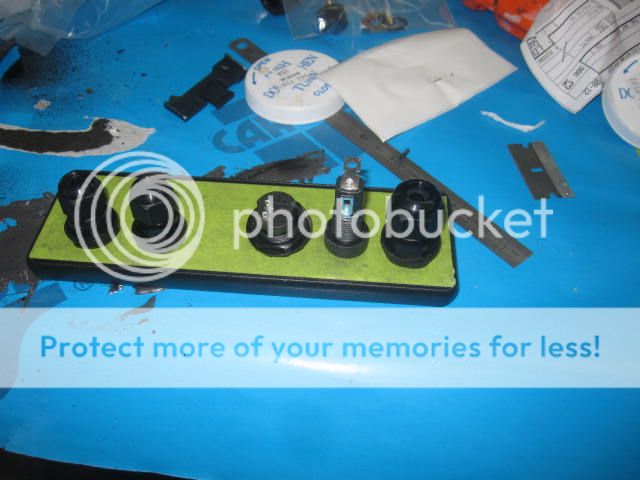
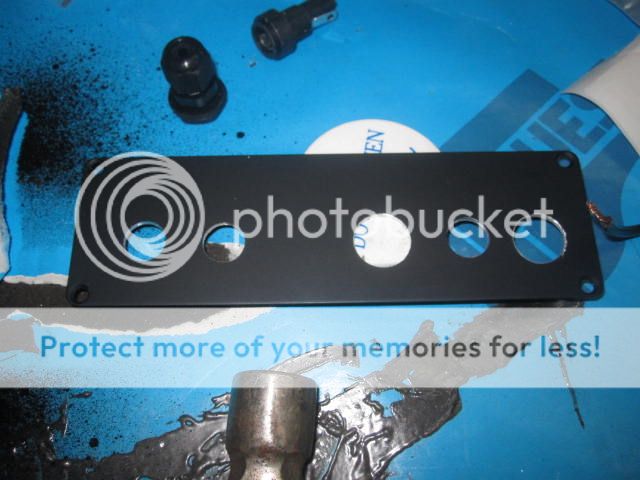
All going to be mounted in an Aluminum Hammond enclosure. Darn enclosure and misc electrical bits cost more than the pids and other parts above! But I think it was worth it to spend money on a nice enclosure, because it is what's going to be seen. ALl electrical bits are from Digikey.ca. They offer the best Canadian shipping BY FAR!
Enclosure, http://www.digikey.ca/product-search/en?x=5&y=21&lang=en&site=ca&KeyWords=1455T1601BK-ND

Box is on back order till the middle of the month so its going to be a while before I get to finish it. I cant wait to get it built. Do to operator error, the stove has gotten away from us a few times (people throwing wood on, but not watching) , the alarm will help.
The unit will have 2 Pids. One for stove top and one for stove pipe.
There will be a switch to arm/disarm the alarm.
So time for a parts list.
PIDS, the common Rex C100's. http://www.ebay.ca/itm/221101970614?ssPageName=STRK:MEWNX:IT&_trksid=p3984.m1497.l2649
LED/Alarm , same as what Auber offers http://www.ebay.ca/itm/250983481063?ssPageName=STRK:MEWNX:IT&_trksid=p3984.m1497.l2649
Stack Thermocouple, 1250*C rated, 100mm long. http://www.ebay.ca/itm/251209855097?ssPageName=STRK:MEWNX:IT&_trksid=p3984.m1497.l2649
All going to be mounted in an Aluminum Hammond enclosure. Darn enclosure and misc electrical bits cost more than the pids and other parts above!
But I think it was worth it to spend money on a nice enclosure, because it is what's going to be seen. ALl electrical bits are from Digikey.ca. They offer the best Canadian shipping BY FAR!Enclosure, http://www.digikey.ca/product-search/en?x=5&y=21&lang=en&site=ca&KeyWords=1455T1601BK-ND
Box is on back order till the middle of the month
so its going to be a while before I get to finish it. I cant wait to get it built. Do to operator error, the stove has gotten away from us a few times (people throwing wood on, but not watching) , the alarm will help.
") Now, just playing the waiting game for stuff to arrive on a slow boat. Sucks.
Now, just playing the waiting game for stuff to arrive on a slow boat. Sucks. for the flue.
 and swinging in the breeze. For you guys in the US, I dont think you have our style of rural "super" mailboxes where several people share one common box, that has individual boxes within it. Pic below. When the mailman comes, he uses his key that opens the entire front door so he can fill the boxes without it taking too long.
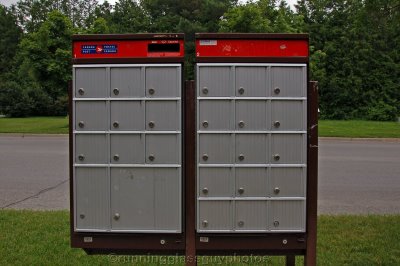
")

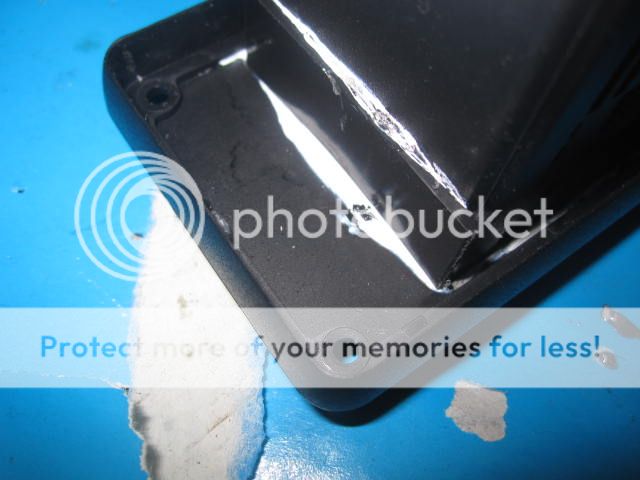
 ...First time JB Weld let me down


 . Can thy read in
