Hello
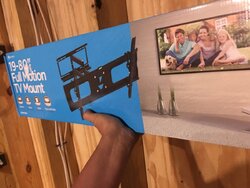
I picked this up from Sears today for the workshop. Has anyone installed one?
This is a full motion bracket. Should I build a frame around it?
Exterior Wall is open 2x6 framing until this job is done, then we will close it up with Roxul R23 and sheet rock.
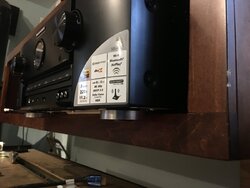
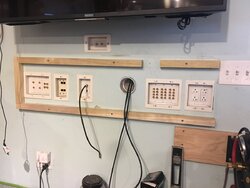
What do you think of a component wall mount below it and 3 inch PVC in the wall to funnel the wires between them?
Does anyone have a pic of something like this that you did?
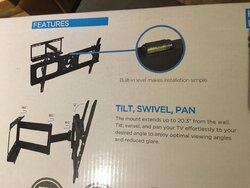
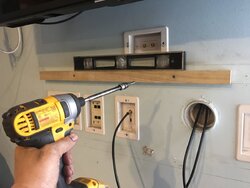
Built-in level.
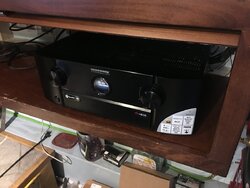
I picked this up from Sears today for the workshop. Has anyone installed one?
This is a full motion bracket. Should I build a frame around it?
Exterior Wall is open 2x6 framing until this job is done, then we will close it up with Roxul R23 and sheet rock.
What do you think of a component wall mount below it and 3 inch PVC in the wall to funnel the wires between them?
Does anyone have a pic of something like this that you did?
Built-in level.
Attachments
Last edited:


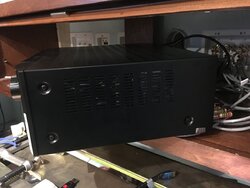
") That is about right! I get 19-1/4” deep in my case! So to be safe, I would recommend 20” deep.
That is about right! I get 19-1/4” deep in my case! So to be safe, I would recommend 20” deep.