My second homemade OWB build.

  • Active since 1995, Hearth.com is THE place on the internet for free information and advice about wood stoves, pellet stoves and other energy saving equipment.

    We strive to provide opinions, articles, discussions and history related to Hearth Products and in a more general sense, energy issues.

    We promote the EFFICIENT, RESPONSIBLE, CLEAN and SAFE use of all fuels, whether renewable or fossil.

jwise87

Member
Dec 21, 2017
60
Southern Illinois
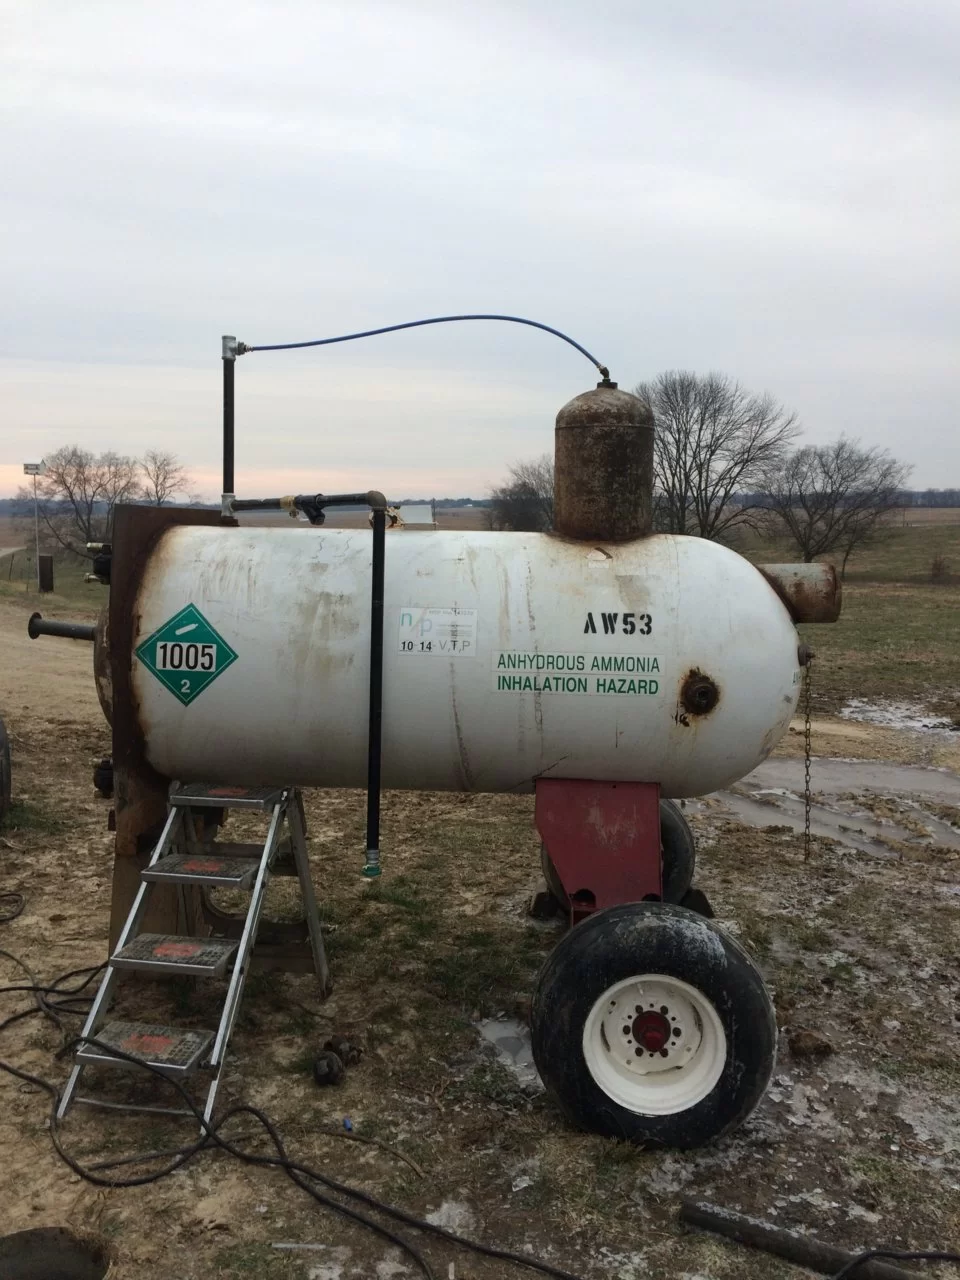
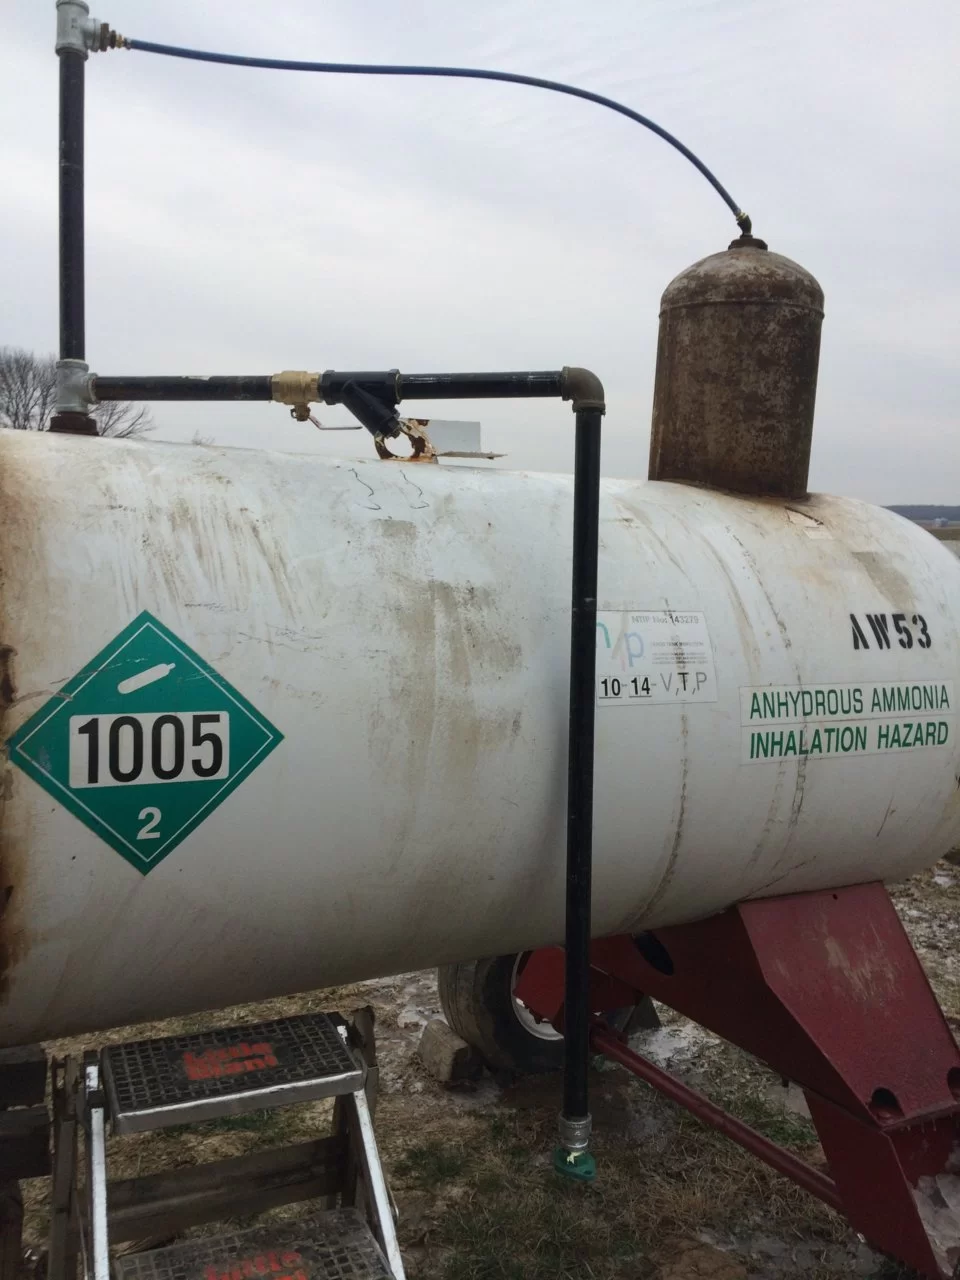
I started by tracking down the tanks I would need to put the boiler together. I had a 250 gallon anhydrous tank that would be the fire box but I needed a larger tank to be the water jacket. I determined that the cheapest route would be to buy a 500 or 1000 gallon anhydrous tanks, so I watched the agricultural auction sites until I found one two and a half hours away for $200.

IMG_1472.jpg


IMG_1489.jpg


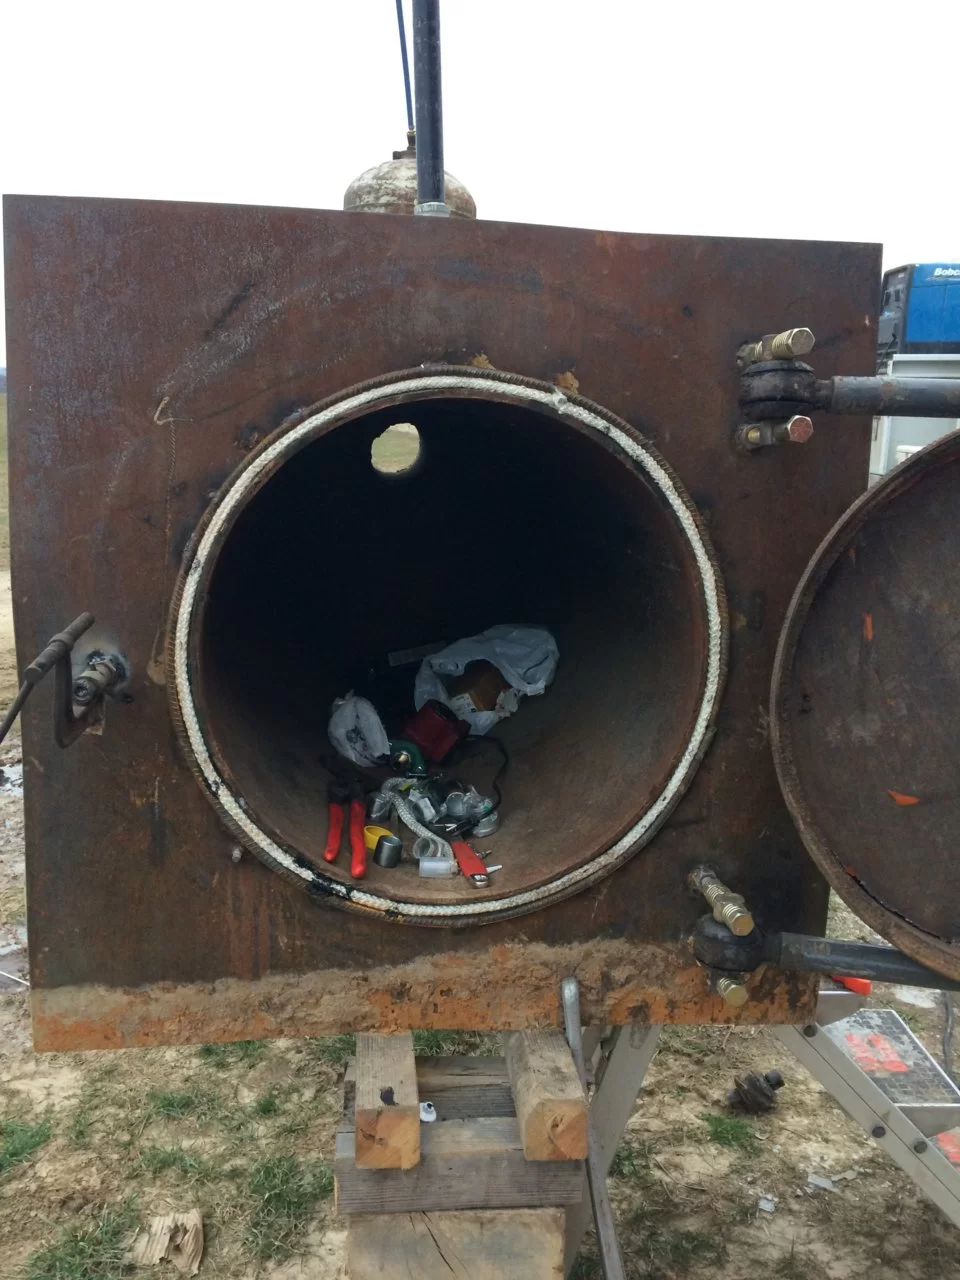
I had built another one of these for our old house a few years back so I pretty well knew how I wanted to do it. I first considered using the entire 1000 gallon tank, but I decided that so much water wouldn't be practical, so I started by cutting the big tank in half. I then cut the end off the little one and took measurements for the end plate. I went to a local fab shop and had one cut out.

IMG_1604.jpg


IMG_1611.jpg


IMG_1616.jpg


IMG_1619.jpg


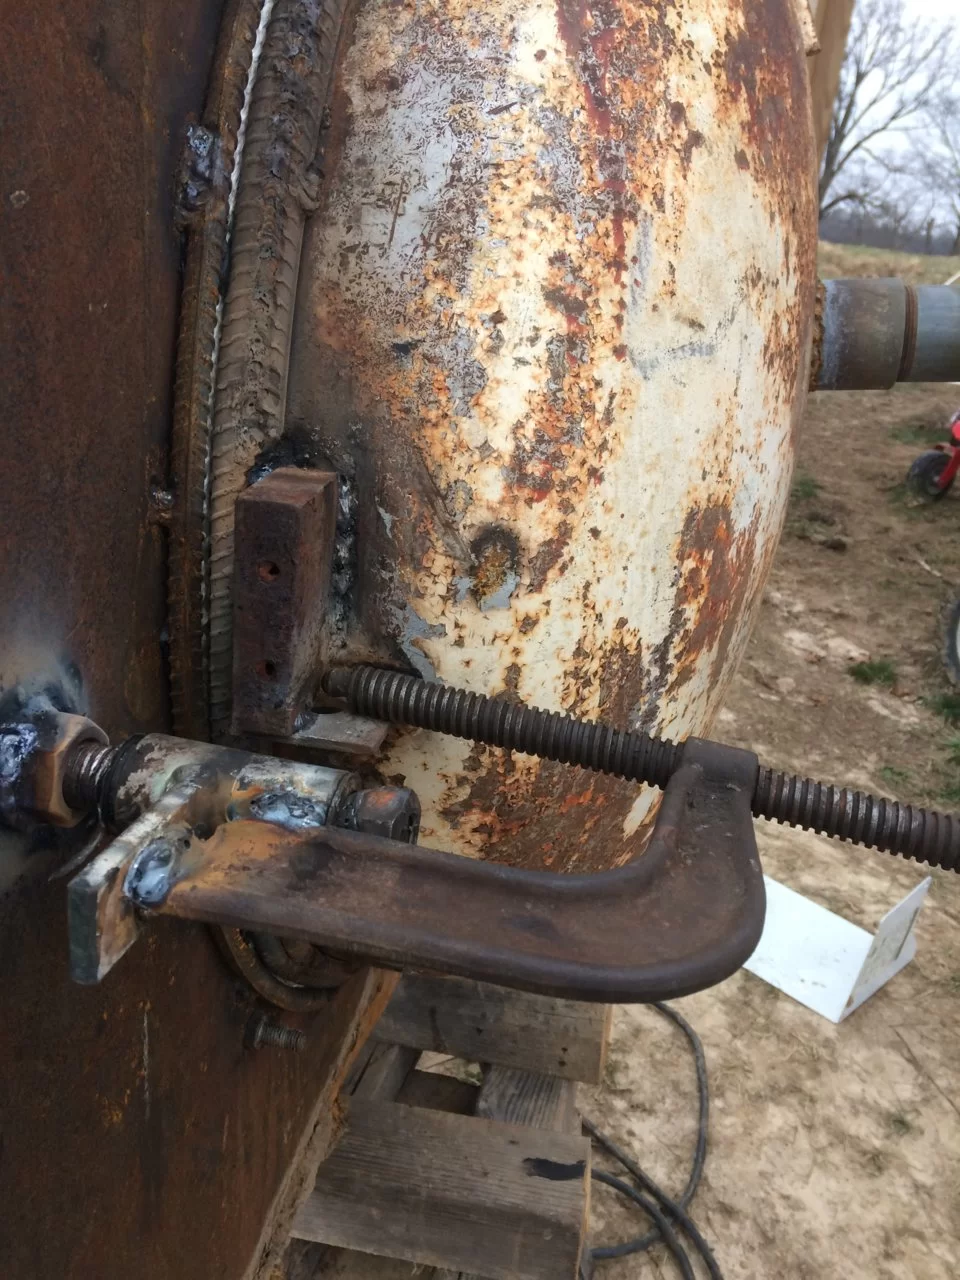
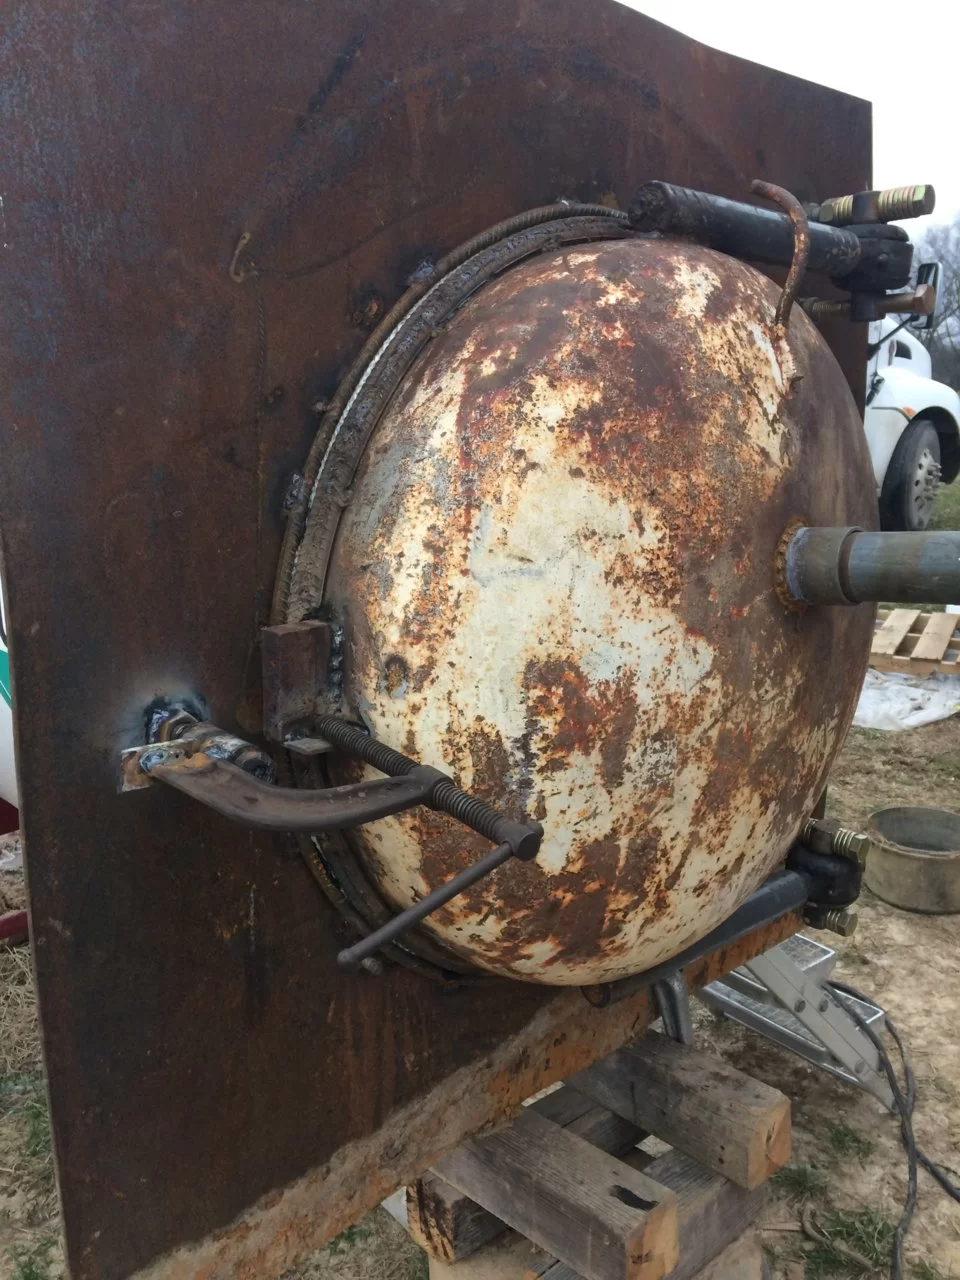
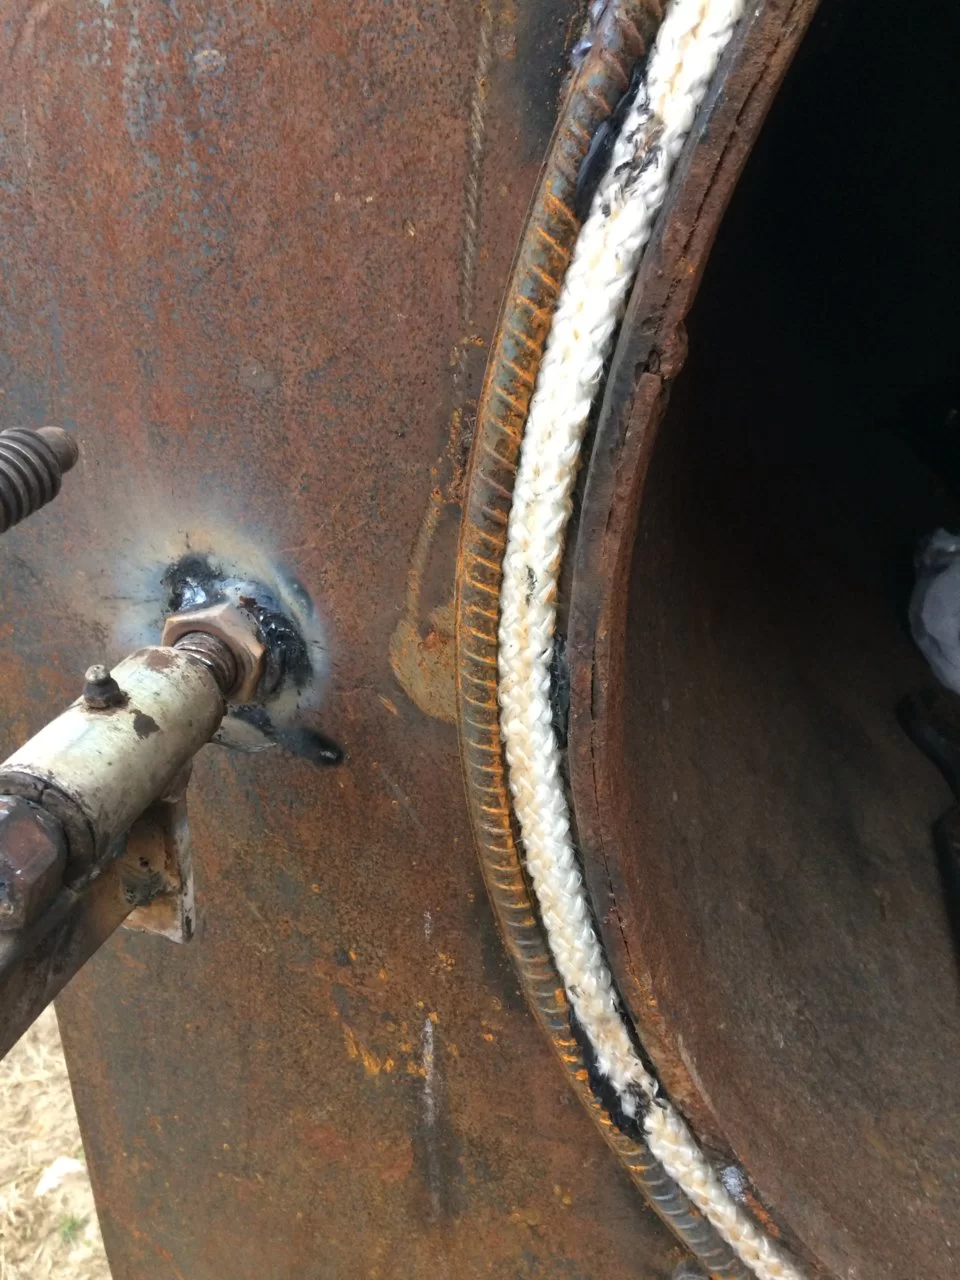
Getting the plate on was harder than I expected it to be because it turned out that the smaller tank was not exactly round. I got it tacked on and then flipped it over and welded it solid. The next step is welding the chimney pipe into the fire box before inserting it into the jacket.

I have more done than this and I will get it posted tonight hopefully.
 
IMG_1661.jpg


IMG_1670.jpg


IMG_1680.jpg


IMG_1684.jpg


IMG_1667.jpg


On my last stove the flue went straight out the top and was only in the water jacket 3", on this one I wanted to run it out the back so it would be in the water jacket over three feet. I knew that I needed something that wouldn't be prone to failure so I used an old oxygen bottle that I cut the ends off of. One of the hardest parts was figuring out how to cut the hole the right size and in the right place. I needed to cut a circular hole in the rounded end of the tank and it took some trial and error. I put the burn chamber inside the jacket and centered it. I then inserted the flue through both and tacked it to the inner chamber. I then removed the inner chamber and welded it fully before setting the water jacket over the top of inner chamber and the flue. Me not being a fabricator by trade, and this being the real world, my end plate and my outer chamber were gaped open on one side. I used my crane to hold the tank where it would put pressure on the plate and close the gap. Luckily I'm a function over form guy.
 
Pretty basic tank in tank design. Nothing wrong with that. You must have liked your original one enough to build another. If i ever build a another one it's going to be a gasser.

How much wood per season did you go through and how many SQ/FT were you heating with the other one?
 
I was heating a newer 2400 sq/ft house with the old one and this one will be doing a house maybe half that size. I used the other one three years and it burned what I would consider an acceptable amount. I was bad about not getting my wood cut very far in advance so I never actually figured out how many cords per year I was using. In 30 to 45 degree temps, which is average around here, I would put in around 4 to 5 splits 36" long twice a day. I loaded before I went to work and when I got home. I think I can make this one more efficient than my last one. Simple was what I was going for.
 
  • Like
Reactions: warno
Pretty basic tank in tank design. Nothing wrong with that. You must have liked your original one enough to build another. If i ever build a another one it's going to be a gasser.

How much wood per season did you go through and how many SQ/FT were you heating with the other one?

Warno, I read your first few threads on here and your build thread, guys were pretty rough on you in the beginning. Did you get yours working as good as you wanted to?
 
Warno, I read your first few threads on here and your build thread, guys were pretty rough on you in the beginning. Did you get yours working as good as you wanted to?

Yes, yes they were. But my boiler build went well. I have a build thread of mine on here. Mine is still a work in progress. I'm working on getting secondary burn now. I have plans of adding more fire brick and going to induced draft for better control of my burn.

Both my boiler build and storage thread are on here.
 
  • Like
Reactions: jwise87
It has been awhile since I updated this, but to tell the truth I got busy at work and haven't worked on it since last December. But, with cold weather here and a bill from the propane company I am back at it.

Another reason that I stopped was because I didn't have a good idea for the door. I wanted a full size door, but wasn't sure how to seal it. On my last build the door worked pretty well but it leaked and kept me from being able to successfully idle the stove. My problem was my shaky hands. When I cut the cap off of my inner tank I didn't get the cut anywhere near uniform. I decided to overcome this by using a piece of filler metal wrapped around the lid and welded. I ended up using 1/2" rebar because it was cheap and available, though it welded like crap. I wrapped two wraps around the door and one wrap around the metal where the door seats. My plan is to high-temp silicone a piece of 1" fire rope there to seal the door. Next thing to do is build a latch. My hinges are front lower torque rods from a Rogator sprayer that I got from work. They swing like a dream.

M428q4wY2RdtpOSQ2vLrxAy1093vKxb9JU9fuPvP1MJptsDBry55G-7A7p4mKNpq-SrZ-AG_Ecs4DjXBM7B=w467-h622-no.jpg


-ROTmQPfNsxVt43fvOUCS_sJ61Myqrfl_eYR6_mA5yL5CswfRMH2pEbodR5kG0g7-doDNT1OZTXwROWHGJc=w467-h622-no.jpg


ooz12w-KZF8bwYb-Tj7r7qThPRFWx3g5q87--hBiI37dpD_zl6qJt74jAj73WYH5-62cyVekb8u8wEM8oig=w467-h622-no.jpg
 
  • Like
Reactions: Wagnerwerks
@jwise87 looks to me like you got a good build going, but got way to many of them damn 70 AC's around, think you must have all that are left functional lol. Just poking man, I'm a Case fan but they all had their good and bad
 
  • Like
Reactions: sloeffle
lol, maybe a little, They wernt too bad of tractor really, they had good visibility, just had to tease a little.
 
What is the section of tank you have coming out of the top? And the piece of hose going over to the pipe up high? And I'm assuming the pipe that turns down 90 degrees is your supply line? Where's your return go back in?
 
What is the section of tank you have coming out of the top? And the piece of hose going over to the pipe up high? And I'm assuming the pipe that turns down 90 degrees is your supply line? Where's your return go back in?

The piece of propane tank sticking out of the back is basically just to get more water above where the pump inlet is. When I located my ports originally I was going to pull water from the middle, but then I changed my mind and decided to pull from the top. I was worried if I lost any water the pump would go dry so I added that in for cushion. The little pex line is just an air bleed so that section will fill up. It returns half way up the tank at the back.

When I do projects like this I usually don't have plans written out or set in stone in advance. It is more seat of the pants engineering, which is why I end up with things like the propane tank sticking out of the top.
 
Are you going to run this as a open system? If so is that the vent line that stands up above the supply port?
 
It may not but I would be concerned about the circ sucking air back down that pipe. Also with your vent up on top I think you'll lose alot of water via vapor escaping the vent line. Think about a tea kettle on a stove top. It heats up and steam starts coming from the vent. Steam is your water escaping.

The way I vented my boiler I get zero water loss unless it boils over. And you could integrate the idea into yours very easily.
 
I thought about that, and I may end up putting in a vent like yours before everything in done. I remember you describing it to me in another thread. My previous boiler was built like this and I lost a lot of water like you say.
 
Nice job,too bad about your underground lines.
But i guess if you don't have a real winter losing heat to the ground is just a cost of living where it is warm
 
I thought about that, and I may end up putting in a vent like yours before everything in done. I remember you describing it to me in another thread. My previous boiler was built like this and I lost a lot of water like you say.

Let me know if you need any more information about it or pictures. It's really quite simply and would be nothing more to you than a hole saw hole and a piece of 1"pipe.

I was also concerned about your underground lines. It doesn't look like, from the pics anyway, you have any insulation around the lines themselves.
 
Nice job,too bad about your underground lines.
But i guess if you don't have a real winter losing heat to the ground is just a cost of living where it is warm

I have read everything written about pipes on this and several other forums. I have made and informed choice based not just on research but on past experience with using this type of set up. There is more than one way to skin a cat. I know that the preferred method on this forum is massive overkill when it comes to insulation and that is fine. I used this set up on a my last build and in 50 feet I was only losing a couple of degrees. That is PVC pipe sealed with glue and the pex is in pipe insulation. I am not gong to spend $1500 to buy thermopex, just not going to do it.
 
I think the general idea on over killing the underground lines is simply so you don't have to worry about or redo them ever again.
 
I agree with both of you @warno and @jwise87 , I will say and Warno knows this, mine are not much different that @jwise87 is using, except that mine are one black polyethylene, your standard buried water line, they are wrapped in fiber glass insulation with a layer between them then placed inside 4 inch sch 40 PVC that is all glue jointed and seal to the buildings at both ends, I have just over 100 feet each way, they are at minimum four feet deep and loose a whoping 1 degree between the boiler and the house. will it ever get water in it, no will the lines ever get smashed or a hole poked in them no. Them being in the PVC jacket makes them very protected and adds a small amount of insulation.
 
I agree with both of you @warno and @jwise87 , I will say and Warno knows this, mine are not much different that @jwise87 is using, except that mine are one black polyethylene, your standard buried water line, they are wrapped in fiber glass insulation with a layer between them then placed inside 4 inch sch 40 PVC that is all glue jointed and seal to the buildings at both ends, I have just over 100 feet each way, they are at minimum four feet deep and loose a whoping 1 degree between the boiler and the house. will it ever get water in it, no will the lines ever get smashed or a hole poked in them no. Them being in the PVC jacket makes them very protected and adds a small amount of insulation.

Thanks for the reassurance. It is good to hear success stories. I understand why people stress using the expensive methods, it makes sense, especially for people that dropped the money for a high efficiency stove.