tbear853
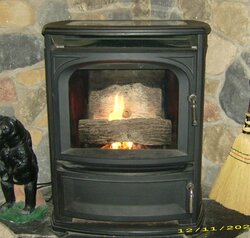
Feeling the Heat
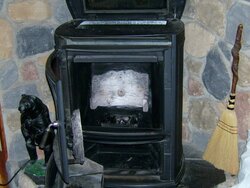
Hey Bill, I know it's been awhile since you replaced that combustion motor, I like the idea of ball bearings that are sealed, and your easy removal mod too. By chance, is this (below link) the one you used?So after living with the stove for a few weeks I had come to the conclusion that the exhaust blower was the source of most of the noise.
I took it out and ran it on the bench and noticed that besides the slightly unbalanced impeller, that the motor bearings were shot. It would hit a resonance point and really start a racket.
Looking around I saw that a replacement blower was north of $200, almost as much as I paid for the stove.
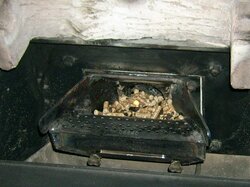
I also didn't like all the hardware that needed to be removed in order to clean the blower and the plenum beneath it.
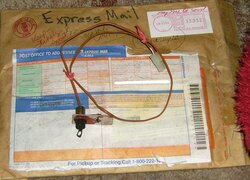
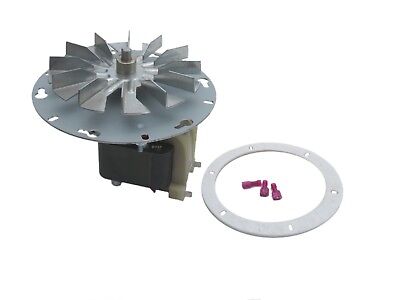
Looking around I found a general replacement blower sold by Pellethead on Ebay that seemed to fit the bill, best of all it was only $99.
It had the same 4.75" impeller, a 3000 rpm motor, and it drew about the same current. It was also ball bearing and made by Fasco so that was the deal clincher.
I ordered the unit and installed it last Friday, much quieter.
I had to drill out the set screw on the old impeller, it was long since rusted tight.
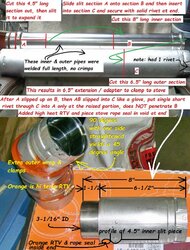
After removing the old motor I used the supplied gasket to cut a 5" hole on the top of the blower housing to mount the new assembly. I made sure to paint the bottom of the mounting plate and impeller with high temperature stove paint and coat the motor shaft and set screw with never seize so future repairs would be easier.
Now when I want to remove the blower, it is only 6 small screws and the whole unit will lift off making cleaning much easier.
Its a lot quieter too when it runs.
https://www.ebay.com/itm/ENGLANDER-...e=STRK:MEBIDX:IT&_trksid=p2060353.m1438.l2649
Mine still has OEM big grey one with two hidden oil ports and occasionally I'll get a loud squeal on start up that fades away. I got some oil in it today ... I think ... but have decided I want to replace the old thing. I have a new auger motor, but as you know, they are easy to R&R as they almost "float" but this combustion motor is a bear that doesn't have to be.
Thank You Sir.

")