
crewchief264
New Member
Ok so if you 3-4 hours and want to insulate you tundra here's the how to:
DEI high temp spray adhesive
Aluminum tape
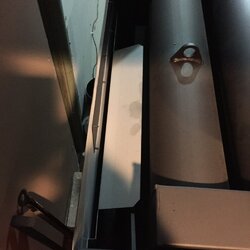
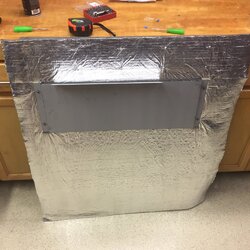
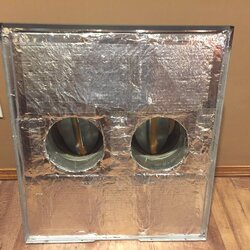
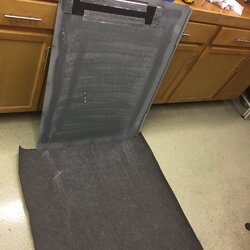
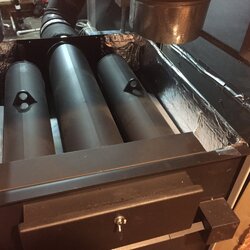
Cool it 72x48 Thermal blanket can be had on Amazon. It's enough to insulate both sides and top. Cut it in half 36inches and then cut it to 38 inches. Save your left overs for the top. Don't forget to trim away from the damper control rod. I also removed the screws and heat shield before spraying and installing the blanket. I then reinstalled the heat shield and all the screws. I will post my temp differences once I start a fire.
Fire started: here's the data...
Fans kicked on in 8 minutes. I set the timer to 20 minutes. The top of the furnace was warm to the touch just prior to the fans kicking on. I grabbed my IR gun and took these measurements. The outside insulated case is measuring 84-86 degrees fan running on 2. The front face is at 450 degrees damper closed. The uninsulated section in the rear of the furnace is measuring about 114-118 degrees. So the insulation blanket is making a pretty big difference. It heated up pretty darn fast! Oh and draft was about .07. Duct outlet temp is about 120-125.
DEI high temp spray adhesive
Aluminum tape
Cool it 72x48 Thermal blanket can be had on Amazon. It's enough to insulate both sides and top. Cut it in half 36inches and then cut it to 38 inches. Save your left overs for the top. Don't forget to trim away from the damper control rod. I also removed the screws and heat shield before spraying and installing the blanket. I then reinstalled the heat shield and all the screws. I will post my temp differences once I start a fire.
Fire started: here's the data...
Fans kicked on in 8 minutes. I set the timer to 20 minutes. The top of the furnace was warm to the touch just prior to the fans kicking on. I grabbed my IR gun and took these measurements. The outside insulated case is measuring 84-86 degrees fan running on 2. The front face is at 450 degrees damper closed. The uninsulated section in the rear of the furnace is measuring about 114-118 degrees. So the insulation blanket is making a pretty big difference. It heated up pretty darn fast! Oh and draft was about .07. Duct outlet temp is about 120-125.
Attachments


Last edited:

