First off, I just want to thank everyone who contributes to this site. I would never have been able to do this without all the info here.
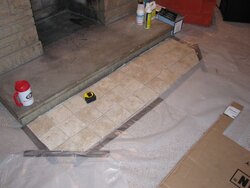
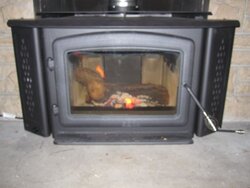
Now to the pics. First off, this is a basement install in our family/tv room into a 21 ft. interior masonry chimney with clay tile liner. My basement is finished, but the half the insert sits in is poorly insulated.
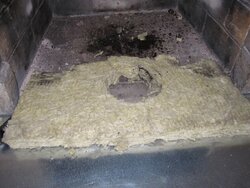
This summer I had my chimney swept and inspected and was told by the sweep that I'd have no problem installing an insert. My firebox dimensions left me with the ability to install a medium sized insert. I talked to several shops/installers. I narrowed my choice down to the Pacific Energy Super, Regency I2400, and the Lopi 1750i. I had a Lopi installer at the house who tried to talk me out of a wood burner and into a ventless gas log setup. My I.D. of my flue is 6.5x10.5. He said I would have ovalize to get it down and that it might not work. I honestly think he was afraid to go up on my clay tile roof. Every installer said a block off plate was unnecessary, although a couple said they would do it.
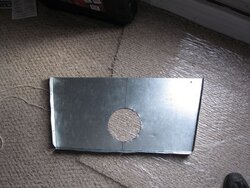
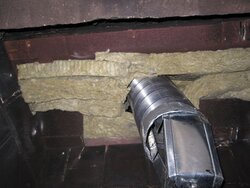
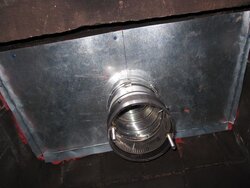
I decided after reading some of BrotherBart's (THANKS) posts on a 5.5 liner. I decided that this is would be the route that I would choose and decided to do a self install. I decided to go with the Super insert and began calling around for prices. I called a shop that told me they weren't stocking PE anymore and had switched to Enviro. They were still able to sell and service PE products though. I decided to take a look at the Enviro and liked the low height and the E-Z flue connector that made the flue connection very simple from inside the stove.
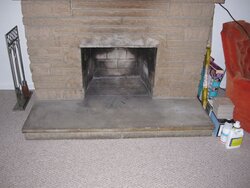
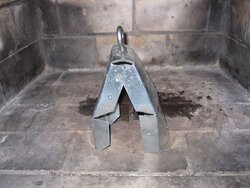
First, the before pic. I'll break this up into several posts.
Now to the pics. First off, this is a basement install in our family/tv room into a 21 ft. interior masonry chimney with clay tile liner. My basement is finished, but the half the insert sits in is poorly insulated.
This summer I had my chimney swept and inspected and was told by the sweep that I'd have no problem installing an insert. My firebox dimensions left me with the ability to install a medium sized insert. I talked to several shops/installers. I narrowed my choice down to the Pacific Energy Super, Regency I2400, and the Lopi 1750i. I had a Lopi installer at the house who tried to talk me out of a wood burner and into a ventless gas log setup. My I.D. of my flue is 6.5x10.5. He said I would have ovalize to get it down and that it might not work. I honestly think he was afraid to go up on my clay tile roof. Every installer said a block off plate was unnecessary, although a couple said they would do it.
I decided after reading some of BrotherBart's (THANKS) posts on a 5.5 liner. I decided that this is would be the route that I would choose and decided to do a self install. I decided to go with the Super insert and began calling around for prices. I called a shop that told me they weren't stocking PE anymore and had switched to Enviro. They were still able to sell and service PE products though. I decided to take a look at the Enviro and liked the low height and the E-Z flue connector that made the flue connection very simple from inside the stove.
First, the before pic. I'll break this up into several posts.