
First off, I'd like to start off with a huge "thank you" for such a wonderful forum. The wealth of information here is tremendous. My project benefited greatly from all the lessons learned posted here, and gave me the confidence to tackle this myself (while saving several hundred dollars in installation costs).
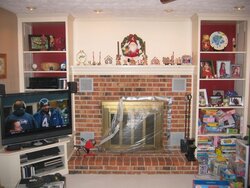
After years of suffering from cold smelly drafts from our wood burning fireplace, we decided to convert to a pellet insert. Here's a quick summary of my project, along with some pics. In all, it took me about 2 nights of prep work, and a long day for the install.
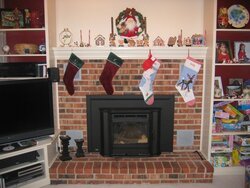
We got the Enviro Milan through a reputable local dealer. Liked the simple looks, big glass, and seemed to be well build.
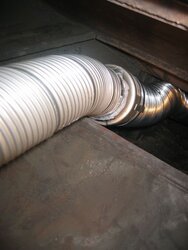
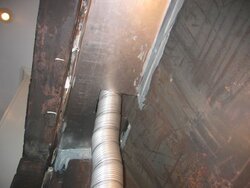
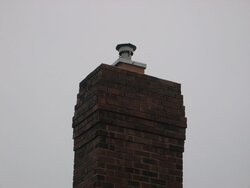
We saved a couple hundred dollars getting the chimney liner through Chimney Liner Depot. Very fast shipping, and free.
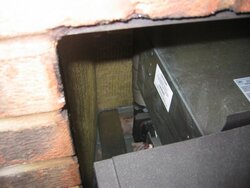
The article on making a block-off plate was very helpful. Invested in a pneumatic nibbler, made for quick work.
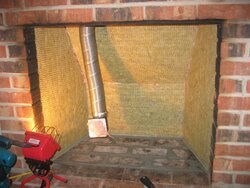
Lined the firebox with Roxul Rockboard 60, Mineral Wool Board. Easy to work with, and non-combustible.
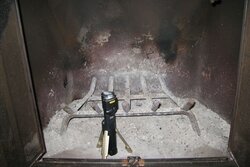
Used a length of 3" pipe to accommodate the stove and damper opening, then transitioned to 4".
Siliconed some strips of scrap sheetmetal to the fireplace floor as sliders under the insert feet, made sliding it over the brick floor much easier.
Installing the block-off plate and insulating the firebox was a big effort, but in the end, well worth the investment of time and materials. We have zero draft and zero smell.
We are very much enjoying the warmth and ease of use of a pellet insert.
Thanks for looking, and thanks again for all the great info on this site.
Ned
After years of suffering from cold smelly drafts from our wood burning fireplace, we decided to convert to a pellet insert. Here's a quick summary of my project, along with some pics. In all, it took me about 2 nights of prep work, and a long day for the install.
We got the Enviro Milan through a reputable local dealer. Liked the simple looks, big glass, and seemed to be well build.
We saved a couple hundred dollars getting the chimney liner through Chimney Liner Depot. Very fast shipping, and free.
The article on making a block-off plate was very helpful. Invested in a pneumatic nibbler, made for quick work.
Lined the firebox with Roxul Rockboard 60, Mineral Wool Board. Easy to work with, and non-combustible.
Used a length of 3" pipe to accommodate the stove and damper opening, then transitioned to 4".
Siliconed some strips of scrap sheetmetal to the fireplace floor as sliders under the insert feet, made sliding it over the brick floor much easier.
Installing the block-off plate and insulating the firebox was a big effort, but in the end, well worth the investment of time and materials. We have zero draft and zero smell.
We are very much enjoying the warmth and ease of use of a pellet insert.
Thanks for looking, and thanks again for all the great info on this site.
Ned
 !
!