Modern woodstoves use, among other things, complicated air systems in order to meet the strict EPA emissions requirements. Every modern stove I've seen has two or three separate air systems; primary, secondary, and sometimes another variously-named one. But most stoves only give the user control of the primary air, which makes it easier for the typical user to operate. This most common arrangement has the secondary air system operating full-open all the time; such is the case with the Morso 2110.
Why would one want control of the secondary air, you might ask? Two main reasons come to mind. First, the optimum amount of secondary air for complete combustion varies with load size, piece size, wood species, wood dryness, and also changes through the burn cycle of each load. What is the right amount of air now, in 45 minutes becomes nothing more than dilution air in the exhaust stream. Second, after the last fire of the day, the primary air can be closed to help preserve a bed of coals, but the secondary air keeps going, cooling down the stove sooner than necessary. With a secondary air control, the user can adjust it for all of these conditions. I put such a control on my Jotul F602 stove last year and really liked having it.
The following documents the process of adding a secondary air control to the Morso 2110. But you can generalize the process shown to locate and install one on most any other stove. As is typical for little projects like this, I had three objectives:
1) make it "minimally invasive," i.e. it can be easily removed so that a possible future owner will never know that it was ever there;
2) make it using stuff that's laying around; and
3) make it work properly!
The first task is to locate the secondary air inlet. The Morso 2110 has three completely separate air systems. The shape of the internal parts in the exploded parts drawing in the stove's manual gave me a clue that the air openings were probably behind the heat shield on the back plate. (My hunch is that most
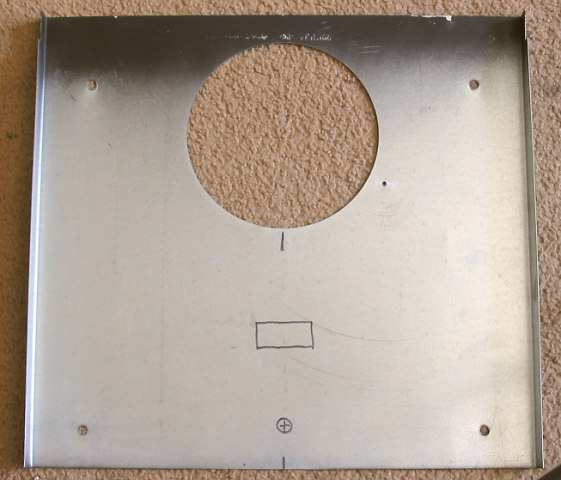
Manufacturers will hide them behind a heat shield.) Removing the rear heat shield revealed two holes.
The rectangular hole is the secondary air inlet. (The small circular one below it provides a direct air stream directly to the front of the fire.) With the inlet at this location, it will be easy to make a sliding cover that can be controlled from the top rear of the stove, which is a very user-friendly place to have it. Also, note the four holes where the heat shield mounting screws and standoffs go. It would make sense to use the nearest one as an end stop when the control we're adding is fully closed.
So the object is to fashion a metal cover that can be slid over the hole, from fully closed to fully open,
with the heat shield in place. It turns out the easiest way to do this is to attach the entire mechanism onto the heat shield. The shield stands 1-3/16" off the back of the stove, so that is how deep the hole cover piece needs to be, sandwiched in between the heat shield and stove back. And the lever arm should be flat-ish so it doesn't bump into the ridges in the casting on the back.
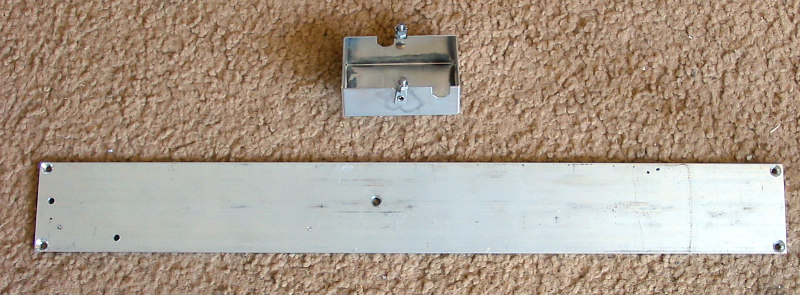
Scanning through the salvage piles, I came up with two pieces that looked like they would do the trick.
What will be the lever arm was a 19" rack blank panel in it's last life. And the cover piece was an electrical circuit shield from a piece of test equipment. Very conveniently, it has two threaded standoffs and, combined with the panel, is 1-3/8" thick. A few seconds on the grinder and it will be perfect. Both pieces are aluminum so they'll be easy to work with.
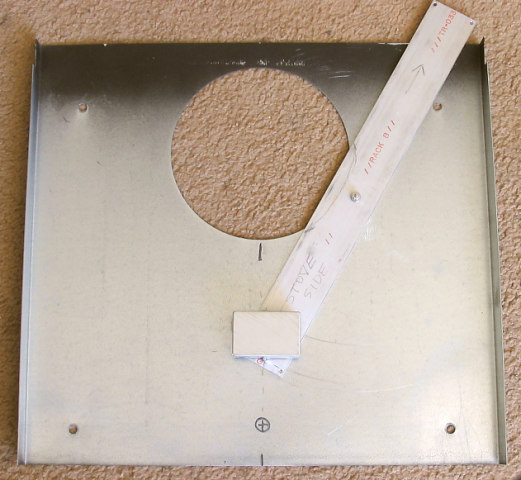
Now we measure the location of the hole and map it onto the inside of the heat shield.
A little experimentation showed where the fulcrum point on the lever should be so that it is straight up when open, and against the standoff screw when closed. With everything marked and labeled, the holes are drilled, the screws on the cover ground down to give 1-3/16" depth when mounted on the lever, and then it is attached to the heat shield.
To make the lever arm move without binding on the mounting screw, use a sleeve around the screw (only on the lever arm, not on the heat shield), and enough washers around it so that the nut tightens on the washers but not the sleeve.
The area on the lever is marked that would need to be grinded away if the rear vent of the stove was being used. But it will be top vented in the new installation so I didn't have to mess with it.
Now it's time to install it on the stove and see how it works.
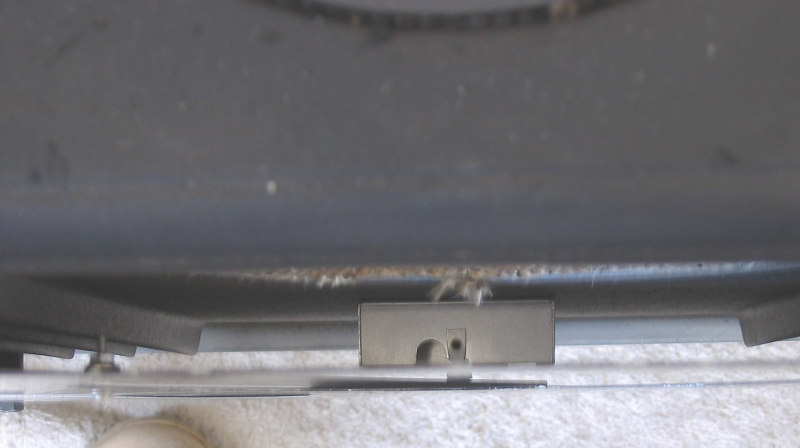
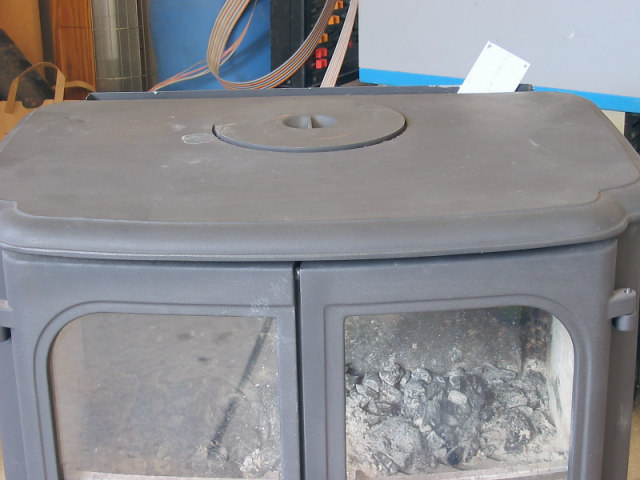
It may be difficult to tell, but this is the shot looking down past the rear vent. The cover is over the inlet, and the lever is against the standoff. Moving the arm from the stop to the vertical gives the desired results. It's so nice when things work as planned...
And here is the view of the lever from the front of the stove. The primary air control lever is at the bottom-front of the stove, so there will be no confusing the two.
Not a thing of beauty right now... but a few minutes on the grinding wheel will give it any shape desired. Some black high-temperature paint will blend it in. And a wooden handle will be a nice touch. It will point away from the stove so it stays cooler.
Time from start to finish was a little over three hours, which included mini-breaks to catch important moments of the tennis match on TV.
I hope that you've enjoyed this little project, and that it will inspire you to add a secondary air control to your stove. You'll wonder how you ever lived without it!
Cheers,
John aka "precaud"