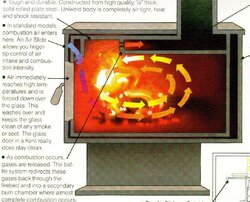
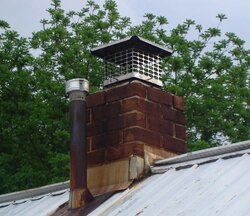
I have a 26' tall masonry chimney. It's in centre of house & was built 25 years ago. I have a kent tile fire manufactured July 86. Has no secondary burn. Am thinking about a new stove. My question is "What will produce the least creosote buildup (if any) on the chimney - cat or non-cat ?" With the Kent I usually clean out about two thirds of a grocery sack of crud at the end of the season.
Thanks for your unbiased opinions !
Steve
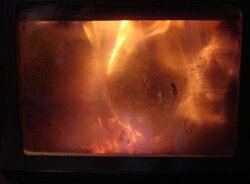
PS If my picture comes thru .... (taken jan 7) try rotating a quarter turn clockwise
Thanks for your unbiased opinions !
Steve
PS If my picture comes thru .... (taken jan 7) try rotating a quarter turn clockwise
")