Hello,
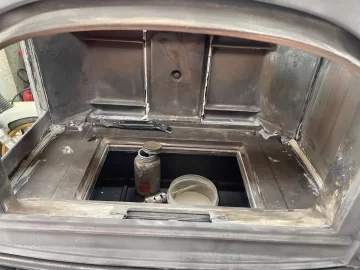
I picked up a Jotul F500. It was in tough shape and the lady said it had stopped heating as well as it used to.
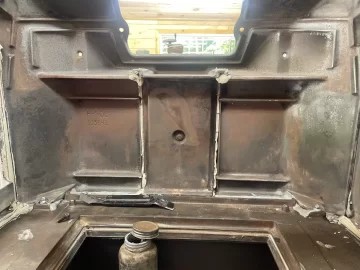
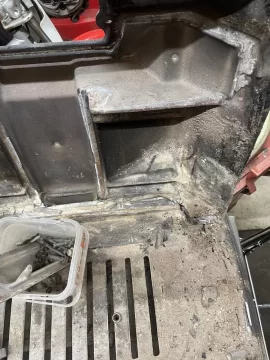
I looked it over, went back over with a flash light to see if there were any cracks in the inner bottom or the top plate.
Luckily there were none but it looked like it never had any maintenance since the 2012 burning season.
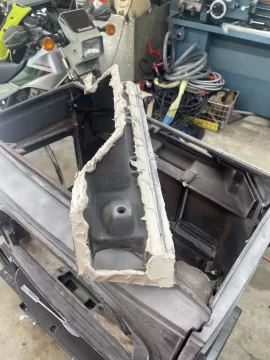
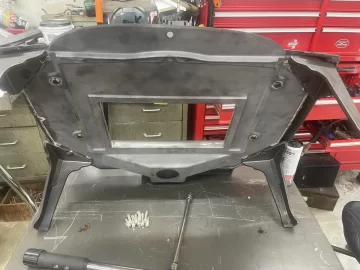
I opted for a full rebuild.
As I am putting it back together, I am not finding any torque specs for these and I am wary of the heating cycle to put anything other than a recommended chart spec of 164 in-lbs for M8 8.8 grade bolts.
By the way, other than cracked and failing mortar most of the bolt holding it together were hand tight. No wonder she was not running efficient.
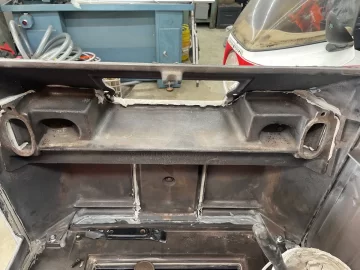
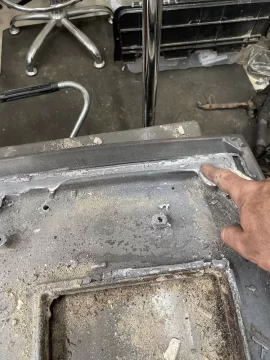
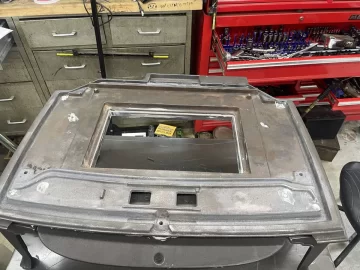
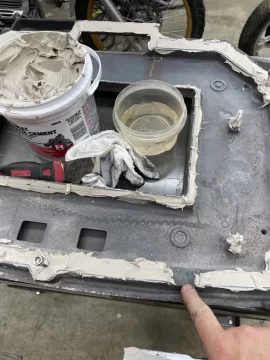
On the last picture there is a gap in the ridge.
My finger is pointing to it. I am wondering what this is for. This is the air chamber pre air intake lever slide. So not too worried about it being sealed or wide open. There is plenty of air coming from the intake at the back end of the stove. This gap is on the front left.


