I was planning to install the Baby Bear this year and the Mama Bear next year but we decided to go ahead and ditch our pellet stove and install the Mama Bear instead. The Baby Bear will get installed next year.
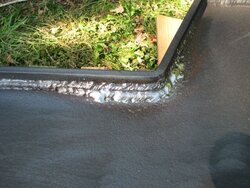
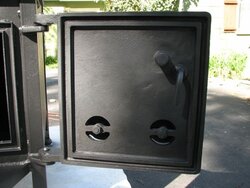
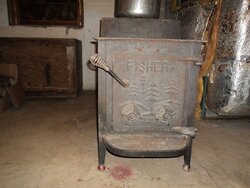
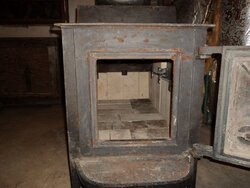
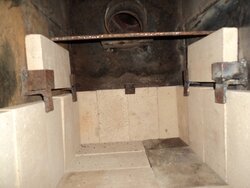
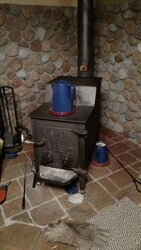
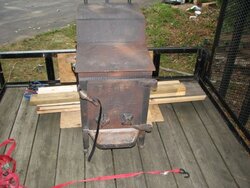
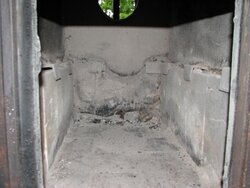
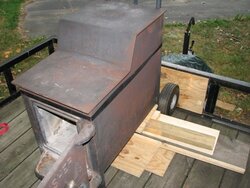
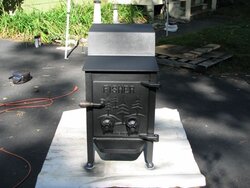
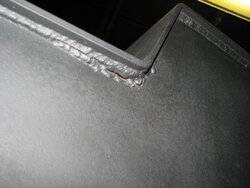
The Mama wasn't in bad shape but we removed all rust and replaced all firebricks. We painted it with Rutland flat black spray paint and fired it up in the driveway on a flat dolly. That's when we noticed some smoke leaking from the top of the right side, where there was a previous repair weld from someone at some point. I re-welded it and repainted it, re-fired it and the leak was fixed.
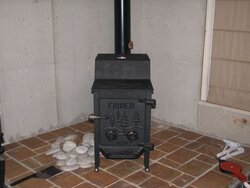
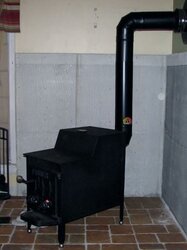
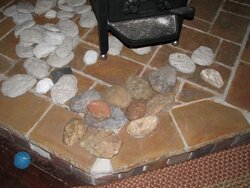
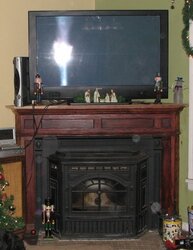
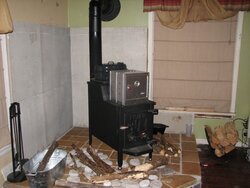
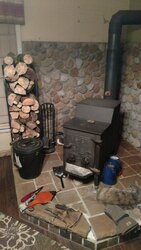
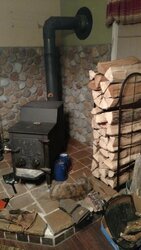
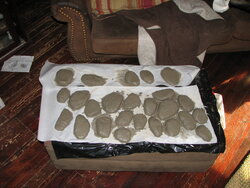
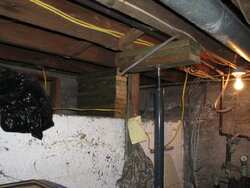
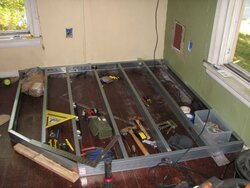
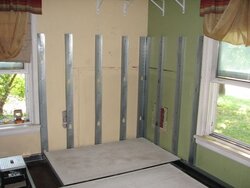
We removed the pellet stove, built a hearth, used 2 layers of 1/2" Durock cement board, cut 4" long vent holes in the bottom metal studs so that any warm air under the hearth can escape out the back 2 walls, which were also left open at the top. My wife is making the stones from a cement/vermiculite mixture, and then hand painting them, so the back walls of the hearth won't be finished for quite some time. The mesh on the back walls are what she will attach the rocks to when she finishes making them. I also installed a floor jack in the basement before I built the hearth so that the floor was supported before I put any additional weight on it.
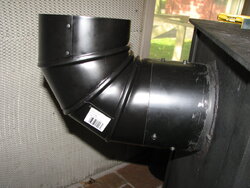
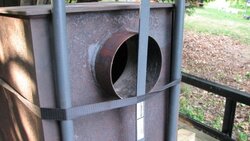
I ruined two 90 degree elbows trying to crimp the male end small enough to fit into the flue pipe on the back of the stove. I bought the good crimper tool from Lowe's and had no luck at all. The non-crimped end of the 90 fit perfectly over the flue, so I decided to cut a straight pipe just long enough to slip over the flue and attached it with 3 screws and furnace cement so the the elbow would fit properly inside the homemade flue extension. It's not what I wanted but I was running out of time and patience. I'll monitor the back of the stove for leaks but I don't expect any. We use a Rutland thermometer on the stove pipe and the stove top so that we can monitor the temps. I used 21' for Duravent chimney pipe, with 9' above my roof due to the 8/12 pitch and the 2 foot/10 foot rule. I went without a damper on the stove pipe. I bought one but decided to use the stove this year without the damper just to see how well it would work. The stove and chimney work like a champ!
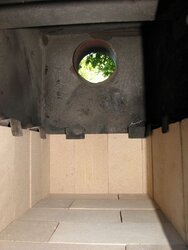
I installed a 12"x15" baffle plate (5/16" thick) on three firebricks inside the stove. The rear brick support is laying on its side and the 2 side bricks are standing upright. This puts the baffle plate on a roughly 45 degree angle, about 3 inches from the top/angle of the stove top.
The stove burns the wood so completely that there's almost never anything but soft ash left in the stove. There's also little to no smoke coming out of the chimney. This is my first wood stove restoration and installation, and had no help other than my wife and 14 year old son. We're extremely happy with the way it turned out, and most importantly, with how well it works. Enjoy the pics...


Last edited:


