Rose Install: Part 3

  • Active since 1995, Hearth.com is THE place on the internet for free information and advice about wood stoves, pellet stoves and other energy saving equipment.

    We strive to provide opinions, articles, discussions and history related to Hearth Products and in a more general sense, energy issues.

    We promote the EFFICIENT, RESPONSIBLE, CLEAN and SAFE use of all fuels, whether renewable or fossil.
Status
Not open for further replies.

Stax

Minister of Fire
Dec 22, 2010
941
Southeastern PA
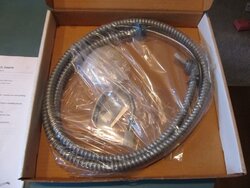
Pic 1 is hard wire kit for blower.

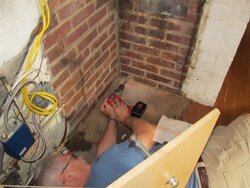
Pic 2 is father drilling hole for romex line to junction box.

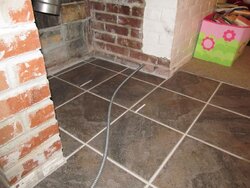
Pic 3 is romex line into fireplace.

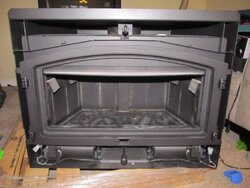
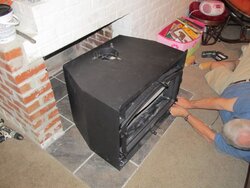
Pic 4, had to remove firebrick from unit to lighten load to get into place. Then insert argument with father regarding the need for a dolly. He finally listened after trying to move it once.

Pic 5, connecting wires. Pops is a licensed electrician.

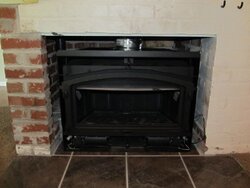
Pic 6. Unit pushed in but not connected. Family had to break for Sunday football. More install coming tonight.

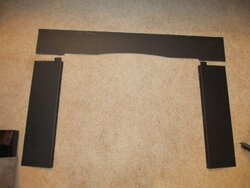
Pic 7, trimmed 8" pannel set down to desired size. Need to touch up with stove paint after circular saw did some scraping on it.

Massively excited to get this thing finished tonight.
 

Attachments

  • IMG_1318.jpg
    IMG_1318.jpg
    79 KB · Views: 489
  • IMG_1320.jpg
    IMG_1320.jpg
    82.9 KB · Views: 473
  • IMG_1324.jpg
    IMG_1324.jpg
    102.8 KB · Views: 468
  • IMG_1321.jpg
    IMG_1321.jpg
    79.9 KB · Views: 472
  • IMG_1335.jpg
    IMG_1335.jpg
    84.1 KB · Views: 481
  • IMG_1347.jpg
    IMG_1347.jpg
    60.1 KB · Views: 485
  • IMG_1317.jpg
    IMG_1317.jpg
    75.3 KB · Views: 481
It's nice that this has been a family project. Looks like it is finally all starting to come together and you're doing a great job. Will you be painting the new brick?

PS: Why is this "Rose" install?
 
BG, thanks for your comments. Not sure if I'll paint the brick. I may just for this season. After that, I plan to stone veneer the whole thing. Rose is the name of the stove. It was the title of a post here when I first got her.

P.S. What are your thoughts about mhrischuk's comments regarding the uninsulated 1.5' flue extension?
 
Stax said:
P.S. What are your thoughts about mhrischuk's comments regarding the uninsulated 1.5' flue extension?

Burning dry ash it may be a non-issue. Try it for a season and see.
 
Man that's one good looking insert! Your floor tile looks similar to mine but with larger tiles.. Lopi has a great reputation I think you're gonna love it..

Ray
 
Thanks Ray, I hope so. No install tonight as me and the fam were running around like crazy. Tomorrow night is the night.
 
I like that dedicated electrical kit. Looks bulletproof.
 
Professional looking job and nice looking insert. Couldn't tell from pics, main floor or basement install?

Good luck finishing up.
 
Nice job Stax you are gona love the heat from that baby.
 
Stax,Did you ever get it done?
 
Bud, we finished squeezing the beauty into place, making the connection and sealing her. I have to level her, put firebrick back in, doors back on, customize my panels a little and then I should be good to go. I just asked a question regarding a break in fire to cure the seal between stove connector and unit. Not sure when I'm supposed to do that.
 
Stax said:
Bud, we finished squeezing the beauty into place, making the connection and sealing her. I have to level her, put firebrick back in, doors back on, customize my panels a little and then I should be good to go. I just asked a question regarding a break in fire to cure the seal between stove connector and unit. Not sure when I'm supposed to do that.
You can do that anytime after it is ready to go.
 
Leveled her, firebrick is in, panels and doors are on. I cut my trim a little too large. Will trim that down tomorrow and post part 4.
 
Status
Not open for further replies.