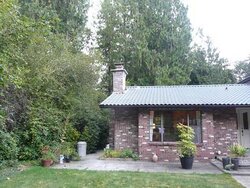
We bought a house year back and I immediately started using our wood stove. What a blast! Thanks to some advice hear, I was able tp put new brick in our woodstove.
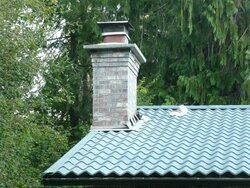
Our next project was to rebuild the Crown on the chimney. We decided we could try it ourselves, worst case it leaks and we pay someone next year to do it right. We started to chip away the old crown only to find out that it didn't have to be chipped away as much as shoved off as it was more like a pile of sand. This would explain the impressive amount of water coming through our chimney last year.
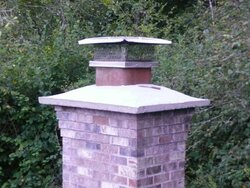
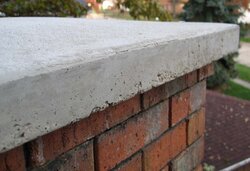
I then built a 2x4 structure with a 2.5 inch overhang placed it over the chimney. I attached a cable to the structure to make a drip ledge about an inch form the edge. Instead of making our own cement we purchased some premixed portland cement with gravel and fibers. Poured it in, covered it and let it cure.
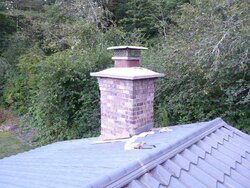
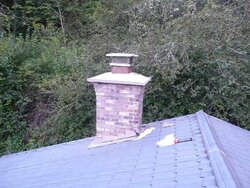
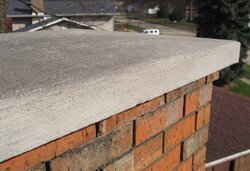
We are quite proud of the results and I wanted to share it with someone! The only mistake I would suggest we made was that the premixed cement was to gravely. It can't be seen from a distance, but the edges are quite bumpy and have some large holes/bumps.
Next step is to coat the crown with some sort of paint. We were thinking pool paint would be sufficient.
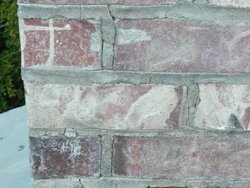
Then we are going to try our hand at fixing the mortar in the brick and sealing the brick with some sort of siloxane.
If anyone has some thoughts on what to use for the crown paint and brick sealer I would appreciate it. The "chimneysaver" products are awfully expensive.
Thanks for looking and reading my long post!
Bob
Our next project was to rebuild the Crown on the chimney. We decided we could try it ourselves, worst case it leaks and we pay someone next year to do it right. We started to chip away the old crown only to find out that it didn't have to be chipped away as much as shoved off as it was more like a pile of sand. This would explain the impressive amount of water coming through our chimney last year.
I then built a 2x4 structure with a 2.5 inch overhang placed it over the chimney. I attached a cable to the structure to make a drip ledge about an inch form the edge. Instead of making our own cement we purchased some premixed portland cement with gravel and fibers. Poured it in, covered it and let it cure.
We are quite proud of the results and I wanted to share it with someone! The only mistake I would suggest we made was that the premixed cement was to gravely. It can't be seen from a distance, but the edges are quite bumpy and have some large holes/bumps.
Next step is to coat the crown with some sort of paint. We were thinking pool paint would be sufficient.
Then we are going to try our hand at fixing the mortar in the brick and sealing the brick with some sort of siloxane.
If anyone has some thoughts on what to use for the crown paint and brick sealer I would appreciate it. The "chimneysaver" products are awfully expensive.
Thanks for looking and reading my long post!
Bob