If you didn't already have 20 years on this stove, I'd assume wet wood, as I have the same symptoms with poorly-seasoned oak. However, I'm sure you're already aware of that.
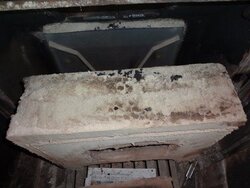
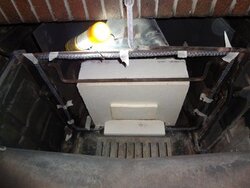
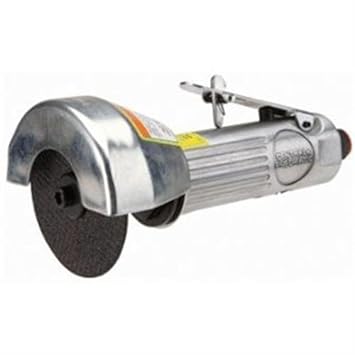
Jotul added an access panel to the plenum below the front doors, inside the stove, sometime in the mid-1990's. If your stove has this access panel, just get yourself some 3/16" braided rope gasket (about 2' worth) and some cement, and remove this access panel to service / vacuum the sliding air control. If your stove is older (one of mine was), then the easiest option is to cut the required hole to install an access panel in your stove. I purchased a spare panel for my 1993 vintage F12, and did just this. I used a pneumatic cutoff tool (photo below) to cut the required square hole, and drilled and tapped the two required screw holes. I even went metric to match factory screw size, rather than having an odd imperial size substitute.
That said, I wonder how that mechanism would get clogged, as there's really no path from the firebox into the air intake. All air comes thru the top front of the firebox, down across the doors. Have you checked the position of the little sliding air damn that is bolted in above the doors? I've never really understood how this should be adjusted, so I always just set mine in the middle of the range (slotted bolt holes), and tighten the screws. There is no mention of this adjustment in the manual.
Thanks for the suggestions. I'm not happy with the wood I got this year. My usual supplier was out. I think I'll have to bite the bullet and agree with wet wood. Just have to wait for a few freeze-thaw cycles to help it dry and get my supply in earlier next year. Happy Holidays.