Well some progress! That is good. Couple of thoughts:
As you know from your Oslo, Jotul says to put your stove top therm on any of the 4 corners. I assume it's the same for the Castine. The corners can vary as much as 150 degrees F on my Oslo. If you have your therm on one of the "cooler" corners, you might be getting a better fire than you think.
And as I mentioned in one of my previous posts - I had to keep a window open, just a crack, or the fire would go out. Not just struggle - it would go out. Seems that your stove burned pretty well in that first hour or so and then you closed the window. Thinking that maybe this weekend when you are home, you can start the fire in the morning, leave the window open, and watch it through a full burn cycle. It might provide some clues.
If having the window open a crack is not the solution to this - then could there be something wrong with the connection to the chimney or the chimney itself? I just find it strange that your brand new stove won't burn correctly. I don't have the Castine, but it seems like it should breath much like the Oslo did.
I should add that you don't to be considering the OAK if you can't solve this by having a window open. There is nothing magical about the OAK - it simply brings in outside air in a different way. If an open window won't solve your issue, an OAK will not solve it either.
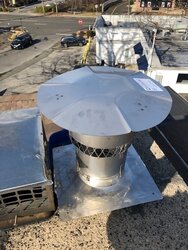
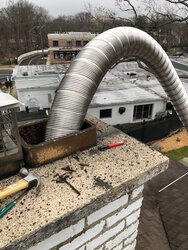
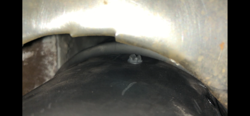
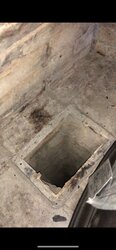
Thanks. I was going to play around with it all weekend when I'm home. I'm going to try two different methods on saturday and sunday. I'll close the window right when I get a nice hot coal bed and then on the second day I'll leave the window opened at all times. In terms of the install it's installed the same way that my Oslo was installed. The only difference here is that the clay flue is bigger than my Oslo clay flue. Check out the pics to see how big the clay flue is when I'm putting the liner inside. Would the bigger flue matter? The top plate where the chimney attaches to is 13 inches by 13 inches. I did not cut it and left it larger but I did seal with silicone so it's on pretty solid. Maybe I get an even bigger chimney cap to create more draft? I'm already at 22 feet of liner.