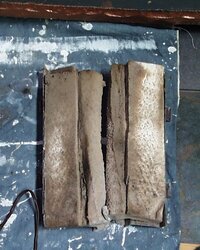
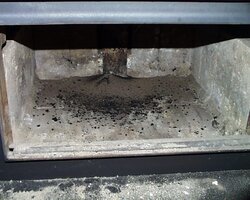
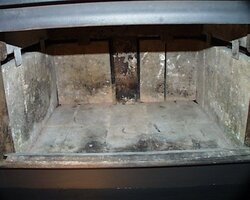
I originally wanted to shoot a load of photos, and do a step by step with photos for the Wiki, but my impatience got the better of me, lots to do around here, and just wanted to get it done. The baffle is not super heavy, its just awkward reaching in, lifting it and trying to wrestle it over , down & out with just your arms extended into the box.
I did rest my arms on the bottom of the opening lip to get leverage, and dirty arms
")
.
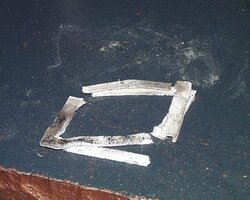
Had to make sure the side insulation was seated down as it should be after reinstalling the side brackets with insulation at same time. (This was before top baffle re-install). She should be ready and able to burn when the time comes.
One last note. when I opened the door and looked up and the baffle, there was a wasp hanging on bottom of the baffle, killed it and figured there would be more.
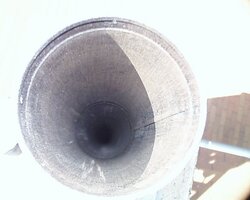
Tapped on the baffle with my ash shovel, nothing , so proceeded. Whe up on roof, tapped on pipe & cap.....BUZZ BUZZ BUZZ. OK knew there was a nest somewhere.
Just was not sure if in pipe of under storm collar. Looked up under storm collar and AHAH, grabbed can of bee spray that I had brought with me, sprayed the underside. A few yellow jackets came flying out, and in a few seconds dropped to the roof one by one. Tapped again, nothing, all clear. Still proceeded with caution & removed cap for cleaning. All clear. I'll be sure to check for bees ever year now. Maybe also make cap off top of chimney with a plate after each season to avoid bees down in chimney or to stove insides.


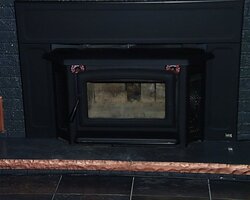
 thats gonna look slammin when you get that under the stove! chompin at the bit for pictures of the black marble pad with the unit on it