Hello
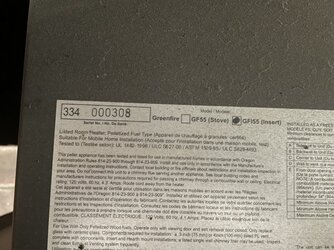
I have not done this in a while but same igniter in the EF2, EF3, EF4, Milan, Solus, VF100, Hudson River Chatham, Davenport, Kinderhook pellet stoves where the igniter element comes inside the igniter tube with a flange that screws to the inside back wall of the fire box.
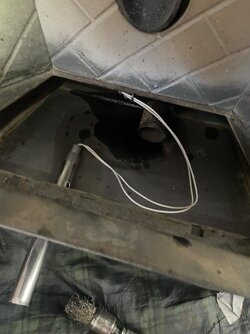
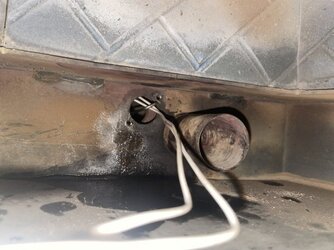
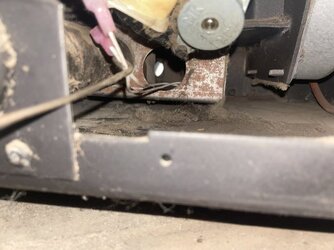
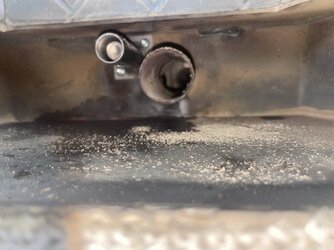
Luckily after wire wheeling the T-20 torx screws and spraying them with PB Blaster they came out quite easily. Then after spray the new screws with dry moly to keep them from getting stuck, installing the new igniter was a bit tricky. That is because the wires not only go into the hole in the back wall of the firebox but they end up inside the air inlet box to the burnpot! There is a large hole in the air inlet box in back of this stove but is offset to the left. Therefore I had a short piece of coat hanger where I could feed it into the small hole in the front and out the big hole in the back and then clip the wires in. Bingo! See pics below.
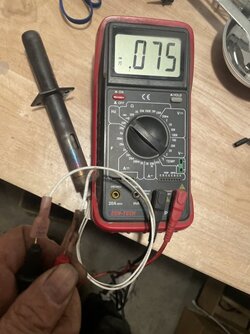
A good igniter reads 50 ohms.
Looks like the igniter shorted out.
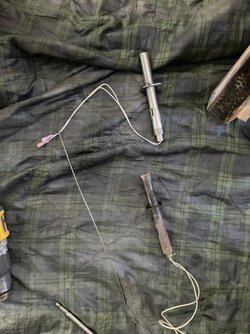
Pic 1 - New 300 Watt OEM igniter top and old 300 Watt OEM igniter bottom
Pic 2 - Pushed coat hanger thru back air hole and thru front igniter hole an bent around new igniter wires to pull thru to back
Pic 3 - Pulling igniter wires thru igniter hole
Pic 4 - Pulling igniter wires thru air box hole in back of stove
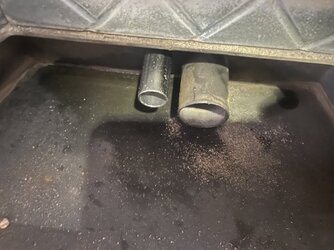
Puc 5 - New igniter installed with new bolts
Pic 6 - New igniter installed view from top
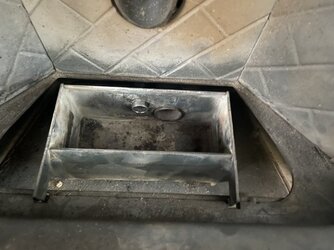
Pic 7 - Burn Pot cradle installed (Had to loosen and align igniter bolts to install it)
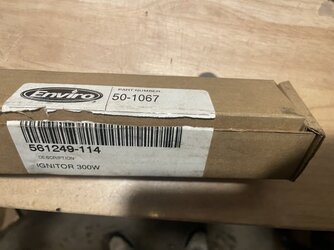
Pic 8 - New OEM 300 watt igniter in box
Pic 9 - Bench testing old igniter shows short circuit


Last edited:


