Drolet Myriad: Installation and Review

  • Active since 1995, Hearth.com is THE place on the internet for free information and advice about wood stoves, pellet stoves and other energy saving equipment.

    We strive to provide opinions, articles, discussions and history related to Hearth Products and in a more general sense, energy issues.

    We promote the EFFICIENT, RESPONSIBLE, CLEAN and SAFE use of all fuels, whether renewable or fossil.
Status
Not open for further replies.

tekguy

Feeling the Heat
Nov 12, 2009
368
west mass
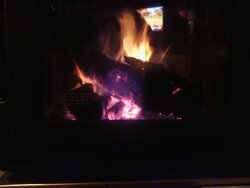
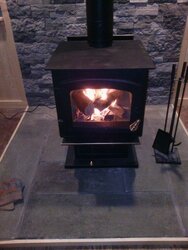
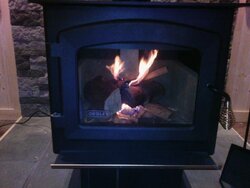
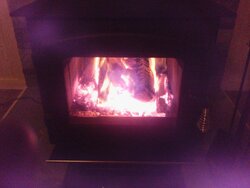
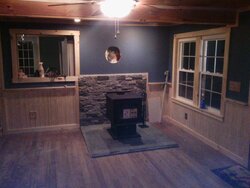
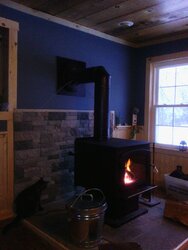
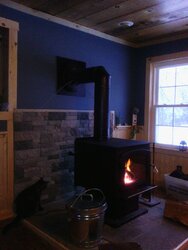
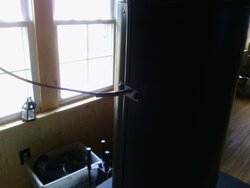
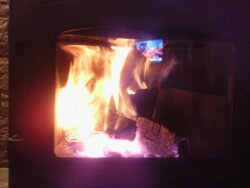
Passed inspection today ;lol and called insurance company, kicking back now watching the stoves first fire. What started as a stove install turned into a 4 month process of remodeling a few rooms and installing the stove. A lot longer then expected but hey the stove is burning. I took pictures of the install/build, POST #14 starts a overview that might help others with with installation and some of the stuff I had to figure out. The myriad is cruising now kicking off some good heat, think I am in love already_g

I will also post what I think of the stove and how it performs since reviews are hard to find

Other drolet owners feel free to chime in
IMG_20140117_184431.jpg
IMG_20140117_181548.jpg
IMG_20140117_173413.jpg
IMG_20140117_173352.jpg
IMG_20140117_173958.jpg
 
Last edited:
  • Like
Reactions: Huntindog1
I just got a Baltic installed a few week ago. It's the same stove as you have but a little more dressed up with side heat shields. I'm still learning the stoves ways. It will run me out of the room if I'm not careful. How big is the room you have it set up in?
 
The room is roughly 20x13 with big openings to other rooms, 78 in here now and 30 outside, burning small loads

IMG_20140117_205517.jpg
 
Last edited:
Looks good Mike!
Hope to ride with you this season..it's been awhile!
If you like that meter/alarm I'm for sure going to order one. I keep saying I'm going to ..lol.
 
interested to see a review after you put it thru the paces. This is one of the stoves im considering purchasing for my den, just not to keen on the big boxy shape of it.
 
Looks good Mike!
Hope to ride with you this season..it's been awhile!
If you like that meter/alarm I'm for sure going to order one. I keep saying I'm going to ..lol.
I am so busy at work and with the decision to move to a new facility that has to be up and running 3/1.. I don't know, can't get time off
 
Last edited:
interested to see a review after you put it thru the paces. This is one of the stoves im considering purchasing for my den, just not to keen on the big boxy shape of it.
I am biased of course but I like the look, just a little brass and a big window for viewing, might look better in person but my house is very rustic/country so it fits fine


First refire this am, just a few coals but firebox still warm, very easy to relight with the bypass
 
I am so busy at work and with the decision to move to a new facility that it to be up and running 3/1.. I don't know, can't get time off
Well there is always next season. Cheers!

So I know you must be running in and out to check the flue to see how much smoke is coming out,how's it doing?
 
If you like that meter/alarm I'm for sure going to order one. I keep saying I'm going to ..lol.

Just buy it, I set it and went to bed last night, was a little nervous but so far stove seems very controllable

Gonna build my way up to pushing bigger loads/fires

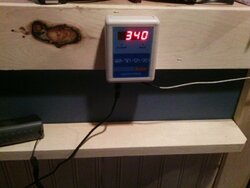
On that note, anyone with a pyrometer, what do you see for flue gas temp? With stove top about 500 I see 800 for flue.. Got high alarm set to 900, should that be higher?
 
Well there is always next season. Cheers!

So I know you must be running in and out to check the flue to see how much smoke is coming out,how's it doing?
Once its going, no visible smoke

I think i would have to tow 5-6 hours to find snow.. Trails haven't even opened yet here
 
Last edited:
Just buy it, I set it and went to bed last night, was a little nervous but so far stove seems very controllable

Gonna build my way up to pushing bigger loads/fires

On that note, anyone with a pyrometer, what do you see for flue gas temp? With stove top about 500 I see 800 for flue.. Got high alarm set to 900, should that be higher?

***note: all temps quoted are confirmed with IR gun

My pipe temps, single wall magnetic thermometer have never exceeded 650::F. With the Austral stove top at 650::F.and dropping I typically see 350-450::F pipe temps with the magnetic thermometer. As seen described here, that should translate to apppox. 700-900::F internal temps.
How big of a load of wood do you use to get temps up to 650 stove top? I have an ir gun also so temps are as accurate as gun

My wood has been split/stacked in shed 3 years now

The smell is gone from the paint curing process on day 2 -wasnt bad at all
 
How big of a load of wood do you use to get temps up to 650 stove top? I have an ir gun also so temps are as accurate as gun

My wood has been split/stacked in shed 3 years now

The smell is gone from the paint curing process on day 2 -wasnt bad at all

I can get the Austral to 600-650 with 3 splits or 7 splits, it depends on my primary air settings how long that load will last. Typically I start a fire from cold with 3-4 splits on the bottom, smaller splits on the next row and then kiln dried hardwood kindling on top.
With a good bed of coals I load 3-4 (depending upon size) splits and then 2-4 on top of those (all n-s). I've brought the fire back up from coals 12 hours later using this method.

I've found the Austral likes to hit 600+ stove top before I start shutting down and I rarely can shut it down all the way. I leave my primary air open just a smidgen and can always get 6-7 hrs. of useful heat (300::F stove top).

Hope this helps.
 
Last edited by a moderator:
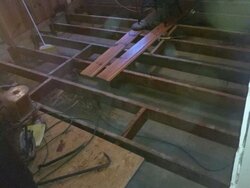
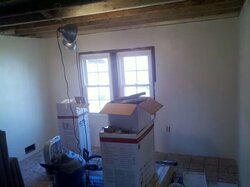
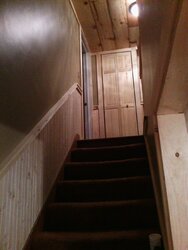
Well here goes some pic's of the install, knowing the inspector would be in the house I used that as incentive to finish up a lot of work:
IMG_62009704680344.jpeg IMG_62078252637345.jpeg
IMG_20131027_181650.jpg IMG_20131102_133002.jpg
IMG_20131103_183127.jpg IMG_20131116_175158.jpg
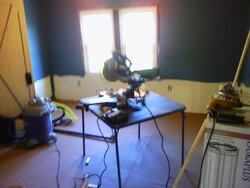
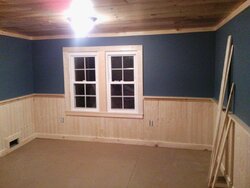
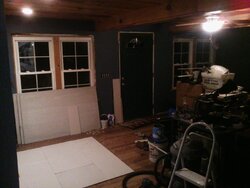
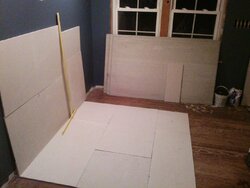
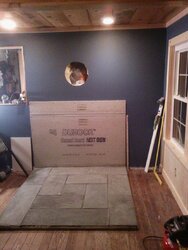
Three rooms down to studs, new drywall and wide pine ceilings plus patch the wall in stairway and new trim, wainscot, rail.. New floors and a little trim work to go

After that it was study the stove manual and plan out clearances and hearth requirements
 
Last edited:
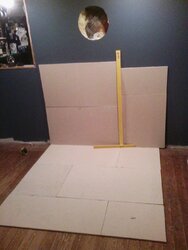
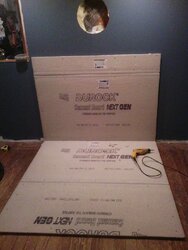
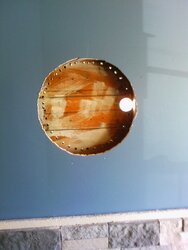
Than it was a matter of figuring where thimble will go and roughly layout the micore
IMG_20131116_175211.jpg
Stud finder is use full to mark studs and use the thimble itself for template to cut
IMG_20131116_175225.jpg
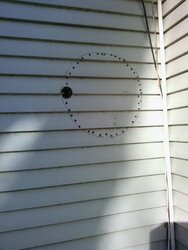
Make sure to check outside for clearance issues
 
Last edited:
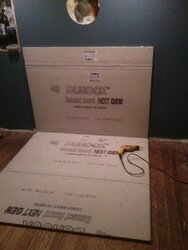
Now its time to screw down the durock
IMG_20131116_193727.jpg
IMG_20131116_193714.jpg
 
Last edited:
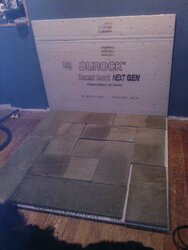
A trip to the stone yard to buy enough stone for a 5x5 hearth..
I choose bluestone as it readily available and affordable, this is the unfired variety which is less uniform, natural color and more rustic looking. Took awhile to figure out a pattern from what they had in stock, I laid out the pattern in there yard first as what I had in mind didn't work with sizes available. Note the myriad only require ember protection so this hearth is overkill for the unit.
IMG_20131116_210309.jpg
I made sure center area where stove would sit was as level as possible. Used correct large tile/stone thin set and a sanded grout to finish the job
IMG_20131118_230009.jpg
 
Last edited:
Now to place the stove.. I used air stone on the back, I won't go into that as lots of info out there on installing it
IMG_20131126_224515.jpg
 
Last edited:
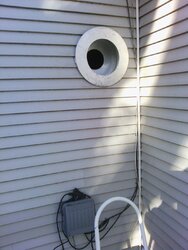
Point of no return, let's cut through the exterior wall.. Sure everyone has there ways but this worked for me. Following the cutout drywall I carefully used a 2ft long drill bit to drill holes making sure to stay level and square with drill:

IMG_20131130_133047.jpg IMG_20131130_133104.jpg IMG_20131130_135203.jpg

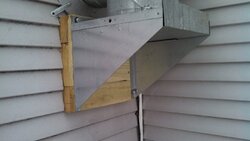
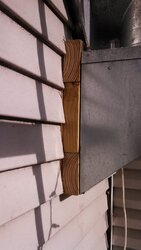
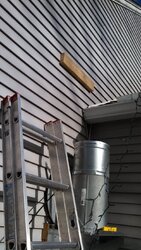
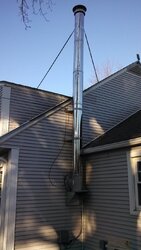
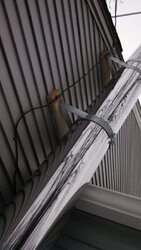
Had to figure out some stuff, became very clear that I would have to figure out best way to mount chimney support as directly to vinyl didn't seem like a good idea.. so I measured twice and cut out all the layers of siding and insulation down to the sheathing. (3 layers: vinyl, foam, and cedar shake, down to original clapboard sheathing) I than lag bolted 2x4 pieces to the studs.

IMG_20140118_160739_535.jpg IMG_20131228_113411_709.jpg IMG_20131228_113407_109.jpg

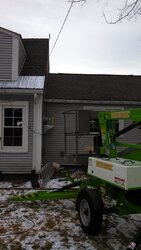
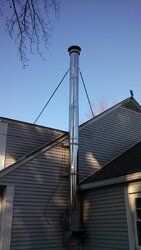
Than it was boom lift time to errect the chimney.. there are two layers of 2x4 lag bolted, the bottom and middle also have 1x4 and top has 1/2 spacers (to true up chimney run) lift was $160 for 4 hours, enough time if you plan and prepare first

IMG_20131228_103623_490.jpg IMG_20131228_151034_995.jpg IMG_20131228_151039_871.jpg

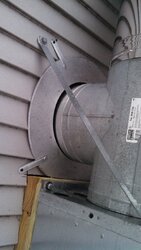
After I returned boom is when I realized I needed to use spacers to adjust.. I riveted on my own screw down holding brackets to keep outer thimble secure, you see where I also had to trim it

IMG_20140118_160742_870.jpg IMG_20140118_160749_373.jpg

NOTE: I now know that you can use self taping screws at the twist lock joints if you choose, I plan to go back in spring and do such. I was not to impressed with the twist lock on the duravent pipe. I will use 3 short screws per joint that will not pierce inner tube
.
 
Last edited:
Because I had to move the chimney support out I had to use a 12" pipe To go through the wall instead of the included 9"

The inner thimble was straight forward, I didn't nail it in place like the instructions said, I riveted four 'L' brackets to it and then screwed those into studs... Gave me more adjustability when trying to fit both sides together, the outer part kept catching the nail heads when I first tried following the instructions.
IMG_20140118_162447.jpg
 
Last edited:
Had to figure out some stuff, became very clear that I would have to figure out best way to mount chimney support as directly to vinyl didn't seem like a good idea.. so I measured twice and cut out all the layers of siding and insulation down to the sheathing. I than lag bolted 2x4 pieces to the studs.

You'll want to be very sure this can't be an entry point for water ever.
 
Than it was cherry picker time to errec the chimney.. there are two layers of 2x4 lag bolted, the bottom and middle also have 1x4 and top has 1/2 spacers (to true up chimney run)
How close to the gutter is the chimney pipe?
 
The double wall dvl was easy, took awhile to figure out and I did need to order a diff length pipe than I originally planned which set me back a week but it was easy, I put too much thought into it I admit

IMG_20140118_162447.jpg

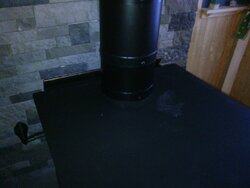
The only issue was the stove pipe flue adapter didnt fit well, after fussing with it awhile I used a standard 6" long piece I had in its place, the stainless steel inner pipe was a very tight fit into the flue, I used self taping screws to hold it in place, it is a very secure and tight fit much more so than the actual adapter. Be very carefully to remain true and square running the self taping screws into the stove flue collar, once you feel them start to catch be very carefull not to over tighten. Also do the same with the dvl pipe and screws, it doesn't take much to strip out the hole. It is sheet metal after all.

IMG_20140118_162459.jpg

Finally, drilled the whole for the pyrometer about 18" up

IMG_20140118_105902.jpg
 
Last edited:
How close to the gutter is the chimney pipe?
About 1" and about 5" to the actual shingles/roof. Aluminum gutter

I had to pad out as the side wall isn't exactly straight and than you add in clearance around the top trim and roof line, padding out worked

I can hang from the bottom mount without issue, that stuff is much more secure than it would have been going through siding, Styrofoam insulation and the original cedar shake hidden underneath, old house with actual clapboard sheathing

Now that inspection is passed I will go back and seal up everything very good, didn't want to in case I had to change stuff
 
Ah good, I was concerned they might be vinyl gutters.

Good documentation of the whole process. Thanks for taking the shots and time to post them. You can place images as thumbnails in your posts. That way you can include more pics and explanations in one post. Use the "More Options" button to expose the thumbnails. I will do it for a few posts to show the difference.
 
Status
Not open for further replies.