I am nearly finished with a long project in which I removed an old FMI 42GC zero clearance fireplace and built a shallow alcove for the installation of my Hearthstone Mansfield 8012. I will put a link to that at the bottom.
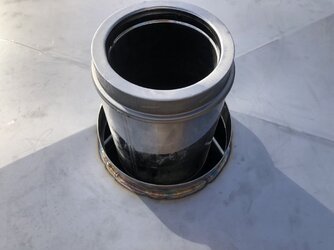
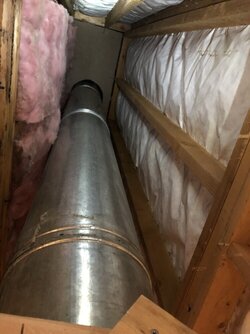
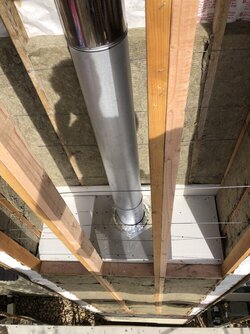
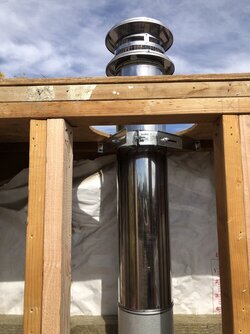
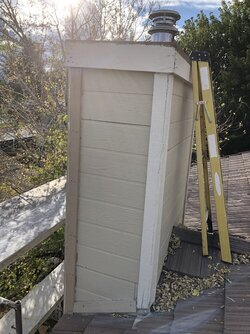
My chase is 26' tall on the outside of the house, with about 17' of flue. I removed the old double wall air gap flue that was for the FMI because it was not rated for a wood stove. I replaced this with Class A DuraTech insulated double wall 6" pipe using their ceiling support box to transition from black pipe to class A.
The pictures will tell the story but it was not an easy project to say the least!
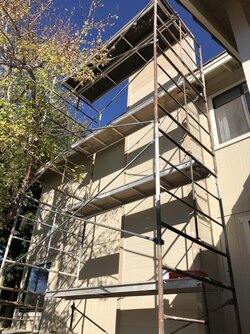
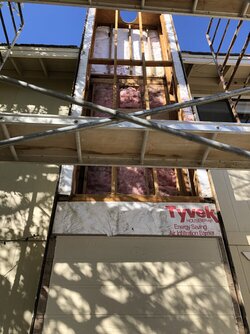
1. I removed the siding from the back of the chase for access to the flue. In was lucky to borrow 20' of scaffolding from a family member!
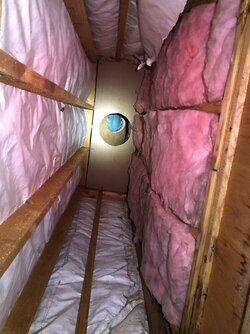
2. The second story was insulated with the pink fiberglass you can see, that is a bathroom with a tiled shower on the other side of the insulation.
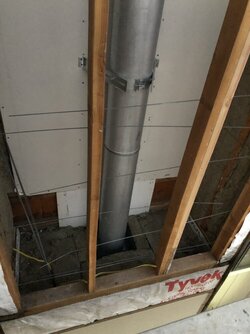
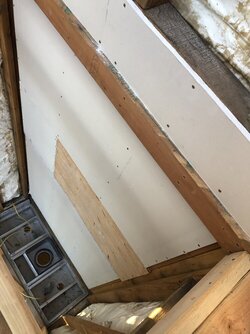
- I used 5/8" type x sheet rock to protect the insulation even though it was farther than the 2" clearance that class A pipe requires.
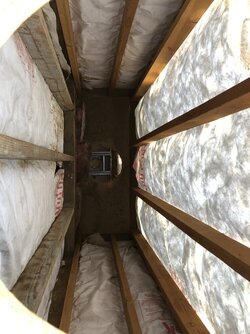
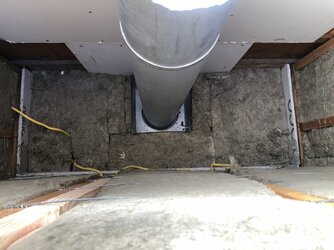
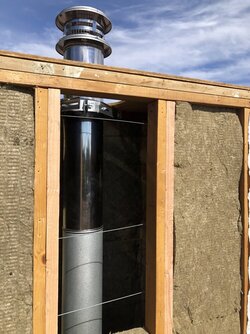
3. I used rock wool insulation to insulate the entire chase, including the top of the fireplace "ceiling". Since I had the siding off I used thick metal wire stapled to the studs to hold the insulation on until I could vapor wrap and side it again.
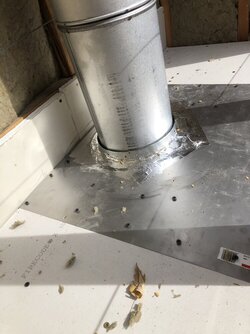
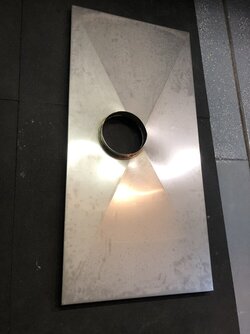
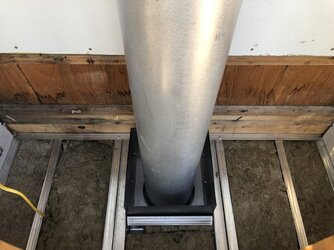
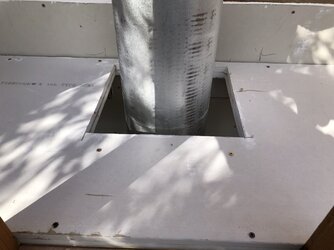
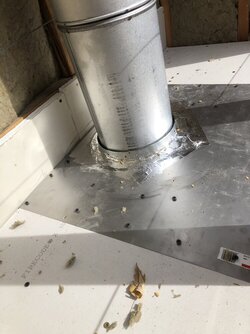
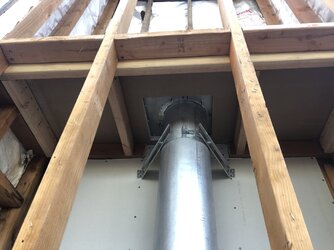
4. I built a fire stop at the 8' mark with double 5/8" type x sheet rock and made my own metal transition piece to ensure a 2" clearance from the drywall.
5. I was unsure if I should ventilate the chase with some side vents and decided against it, I didn't want to let the cold air into the chase. Otherwise why insulate it.
** if that is something I should have done, let me know!!
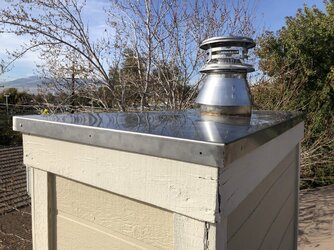
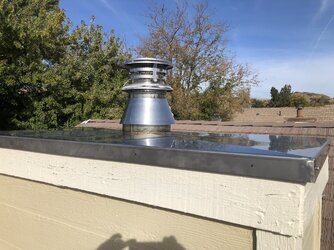
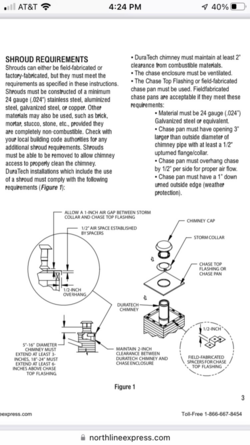
6. My brother in law is bending a new chase cap for me out or stainless steel so I am waiting on that still.
 www.hearth.com
Let me know what I did wrong lol!
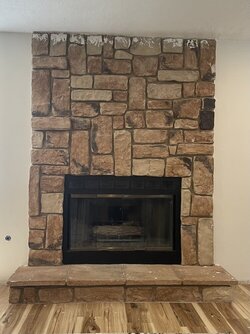
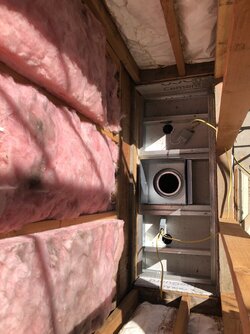
The first pictures are of the chase and flue when the old fireplace was still installed.
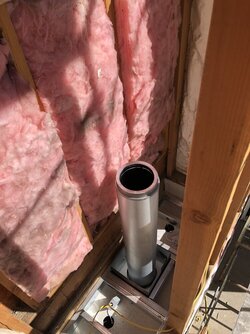
My chase is 26' tall on the outside of the house, with about 17' of flue. I removed the old double wall air gap flue that was for the FMI because it was not rated for a wood stove. I replaced this with Class A DuraTech insulated double wall 6" pipe using their ceiling support box to transition from black pipe to class A.
The pictures will tell the story but it was not an easy project to say the least!
1. I removed the siding from the back of the chase for access to the flue. In was lucky to borrow 20' of scaffolding from a family member!
2. The second story was insulated with the pink fiberglass you can see, that is a bathroom with a tiled shower on the other side of the insulation.
- I used 5/8" type x sheet rock to protect the insulation even though it was farther than the 2" clearance that class A pipe requires.
3. I used rock wool insulation to insulate the entire chase, including the top of the fireplace "ceiling". Since I had the siding off I used thick metal wire stapled to the studs to hold the insulation on until I could vapor wrap and side it again.
4. I built a fire stop at the 8' mark with double 5/8" type x sheet rock and made my own metal transition piece to ensure a 2" clearance from the drywall.
5. I was unsure if I should ventilate the chase with some side vents and decided against it, I didn't want to let the cold air into the chase. Otherwise why insulate it.
** if that is something I should have done, let me know!!
6. My brother in law is bending a new chase cap for me out or stainless steel so I am waiting on that still.
Removing FMI 42GC zero clearance and alcove build for Hearthstone Mansfield 8012
Hello all and thanks for all of the helpful info you have created on this forum. I am in the process of removing an FMI 24GC zero clearance fireplace that was original to the home when it was built in 1988. It has a wood framed / wood sided exterior chase on our 2 story home in which the...
 www.hearth.com
Let me know what I did wrong lol!
The first pictures are of the chase and flue when the old fireplace was still installed.


Last edited:


