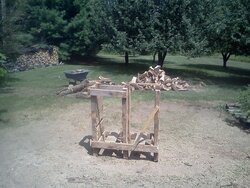
My existing sawbuck has 24" centers for the X's, works great for log length wood. But...
I have another huge stack of rounds, lengths vary from 16" to 26". I'm after 17" so I can go N/S in the BKK, and that means I'll have to do some cutting. I now come to my question-
For the sake of efficiency, would you-..
(A)- modify your sawbuck to be able to cut at 17", one round at a time (20" max. diam. rounds)-
-or-
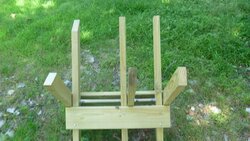
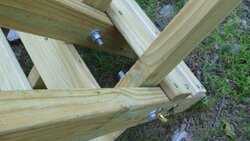
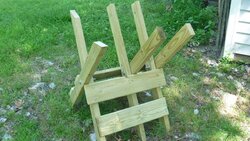
(B)- split all the rounds regardsless of length, then fab a verticle cut box to cut to desired length? (I think ZAP has posted something like this in the past)
I'm leaning towards cutting the rounds first, then stacking the cookies for shoulder season.
Thanks, JB
I have another huge stack of rounds, lengths vary from 16" to 26". I'm after 17" so I can go N/S in the BKK, and that means I'll have to do some cutting. I now come to my question-
For the sake of efficiency, would you-..
(A)- modify your sawbuck to be able to cut at 17", one round at a time (20" max. diam. rounds)-
-or-
(B)- split all the rounds regardsless of length, then fab a verticle cut box to cut to desired length? (I think ZAP has posted something like this in the past)
I'm leaning towards cutting the rounds first, then stacking the cookies for shoulder season.
Thanks, JB


")

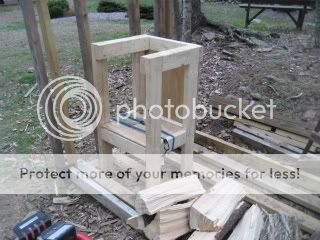
") Sure will save time & most importantly - my back when bucking lots of smaller 4"-8" poles & branches.
Sure will save time & most importantly - my back when bucking lots of smaller 4"-8" poles & branches.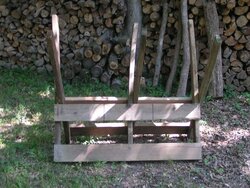
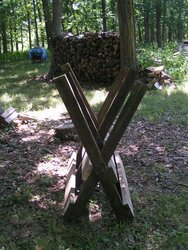
")