I've been lurking for a few months, soaking up as much knowledge as I can, and really enjoying the feel of this place. I want to first say thank you to all who make this site what it is today!
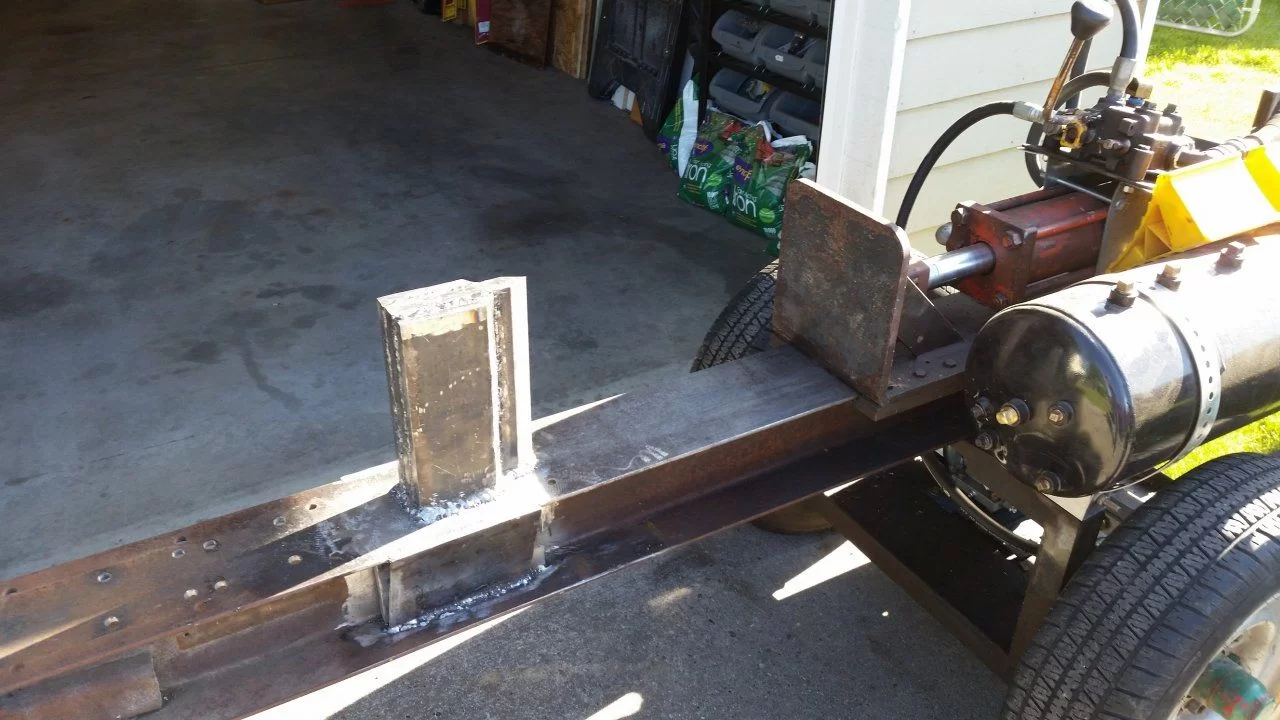
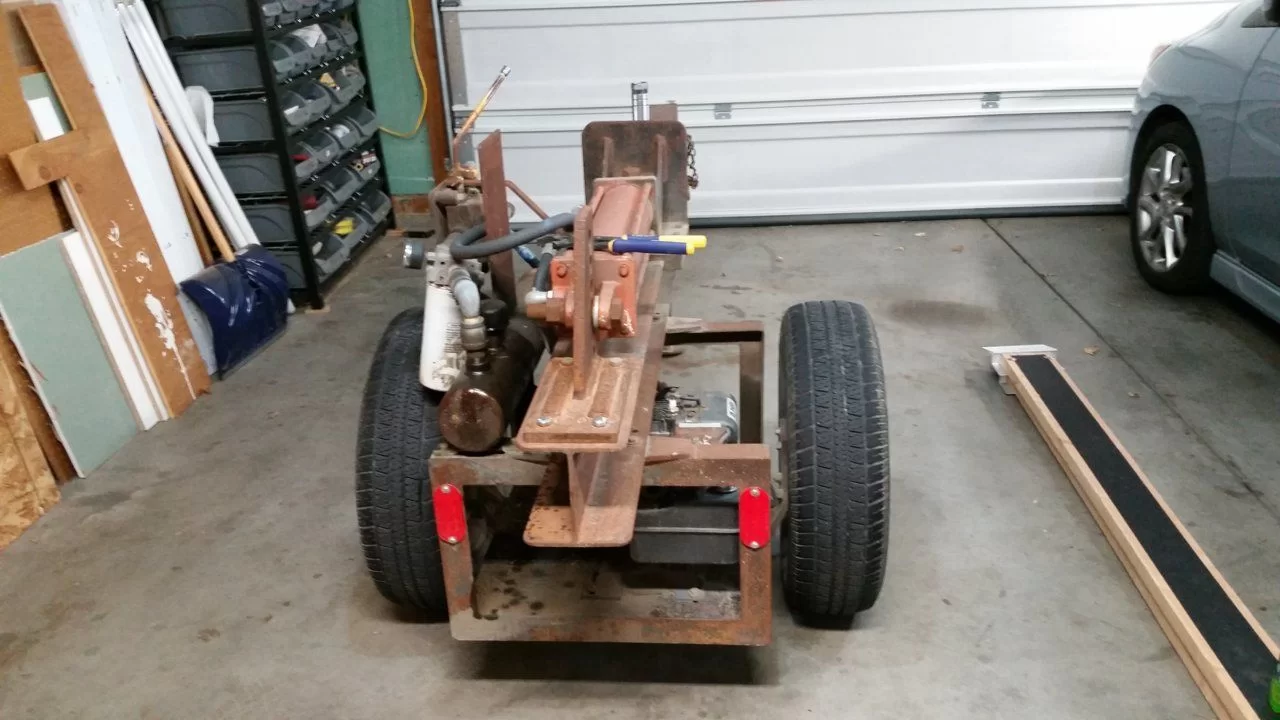
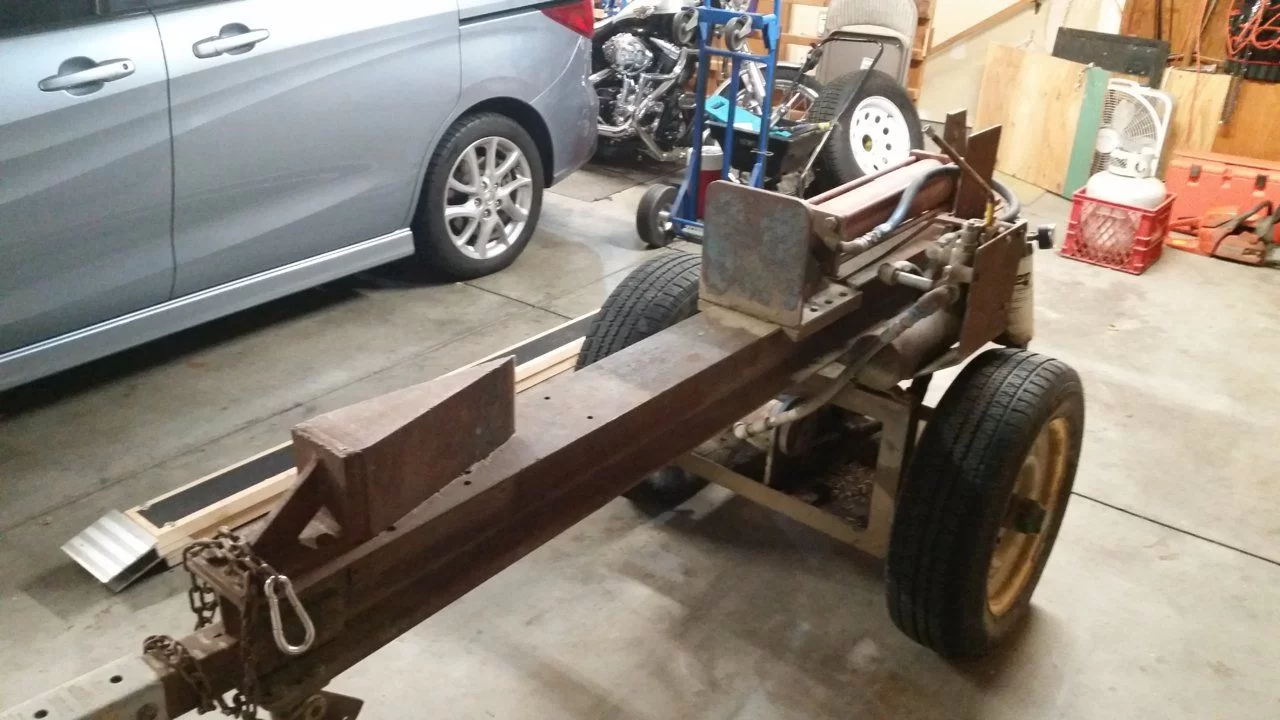
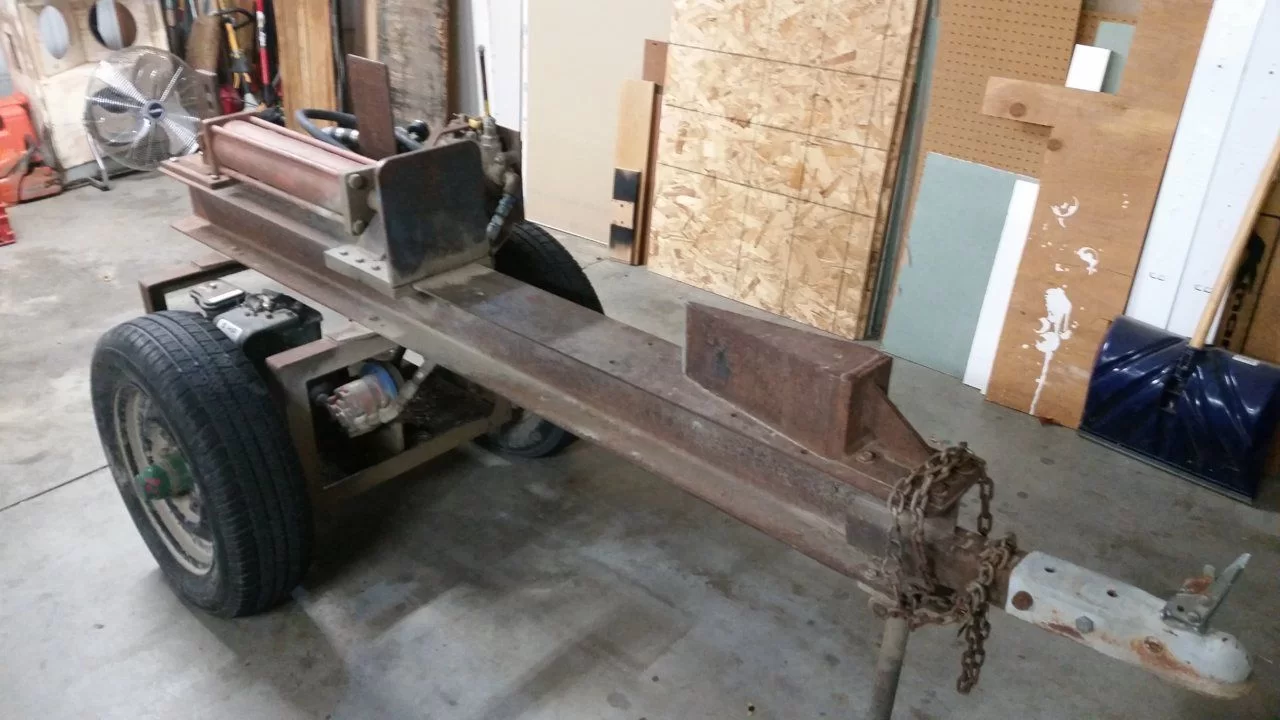
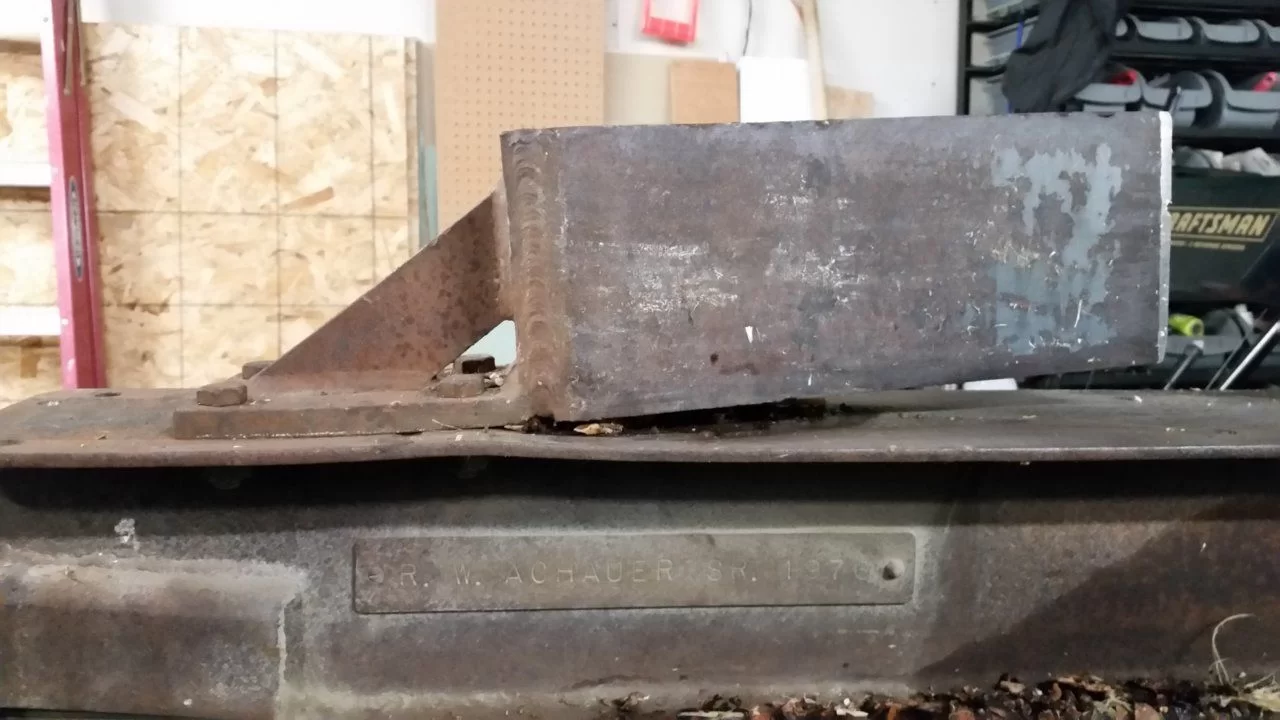
As my title says, I found a log splitter on Craigslist that was a home made model made from farm and tractor parts back in the 70's. I am in the process of bringing it back to life to help with my wood processing, as we heat our house solely with our wood stove, as we have for the past 15 years. I have always split by hand until renting a splitter in the fall of 2014. Wow, what a difference! I was splitting my firewood plus my parents firewood, so the splitter really made a huge difference! Since that time I have been doing homework to see if I could build one or buy a used one for a decent price. Well, this fall I found one and have been tinkering with it and getting it back up and operational.
The 5hp Briggs engine on it had a rusted fuel tank, and with the cost of a new tank being $80, and was told finding a used one was near impossible. I bought a Harbor Freight 6.7hp Predator for $100 and moved on.
Once I put the new engine on and got it running, I tested the unit and it was working, but not what I was expecting. I found out the pump on it is only a single stage, and once I got into any knots or tough spots in the wood, it would kill the engine. I made a few adjustments to my valve and got a little bit better performance, but was still not happy with the performance.
Also during this testing stage, I realized that the hydraulic reservoir is too small and will not cool the fluid enough and it gets really hot and the hotter it got, the performance went down. The tank holds less than 2 gallons of fluid.
So, a couple weeks ago, I ordered a new 11gpm 2 stage pump which arrived this week. I have installed it on the motor and would love to run it, but with the small reservoir, I am worried the fluid will still get too hot and I'll be frustrated with it still.
So, after all that back-story, my question is about the reservoir I want to put on. I have seen people use everything from a plastic 5 gallon gas can, an old keg, a propane tank, etc... In all I've read online, I keep hearing it said that I should have an internal baffle to help route the fluid in a way to use as much of the tank surface as possible to cool the fluid before it goes back through the pump. If I was to use one of the tanks listed above, that would not be possible. I was looking for some input from some of you who may have a similar tank on your splitter and the pros and cons of using it without a baffle to help cool the fluid.
Hopefully my explanation above makes sense, and I look forward to any input you may have.
I've read enough posts here to know that pics are important, just need to resize them and upload. I will work on that tonight or tomorrow.
![[Hearth.com] 70's Log Splitter - Refurbishing](https://www.hearth.com/talk/data/attachments/171/171969-dffdbb8f3941c439f0045f3cda16287b.jpg?hash=MkuiAjqhN- "[Hearth.com] 70's Log Splitter - Refurbishing")
![[Hearth.com] 70's Log Splitter - Refurbishing](https://www.hearth.com/talk/data/attachments/171/171970-03405078f4783778dfa8ff25e9c8ac75.jpg?hash=dpiVWVlLh- "[Hearth.com] 70's Log Splitter - Refurbishing")

![[Hearth.com] 70's Log Splitter - Refurbishing](https://www.hearth.com/talk/data/attachments/175/175025-bdd89f704445927b6bff8e39c07fcaed.jpg?hash=j-E6yir9ph "[Hearth.com] 70's Log Splitter - Refurbishing")
![[Hearth.com] 70's Log Splitter - Refurbishing](https://www.hearth.com/talk/data/attachments/175/175026-b0c188ada279db34969f9ff1c62b9494.jpg?hash=rot8QgIJKL "[Hearth.com] 70's Log Splitter - Refurbishing")
![[Hearth.com] 70's Log Splitter - Refurbishing](https://www.hearth.com/talk/data/attachments/175/175038-2c38b36c763c76b3f05928d5c23edd19.jpg?hash=mnfDQkmqWk "[Hearth.com] 70's Log Splitter - Refurbishing")
![[Hearth.com] 70's Log Splitter - Refurbishing](https://www.hearth.com/talk/data/attachments/175/175039-1d51a9443e2fcaa6571bb4e5c081ca3b.jpg?hash=GpLA_fhxKF "[Hearth.com] 70's Log Splitter - Refurbishing")
")